Configuration
You want to configure personalization so that if the visitor has:
- Viewed the architecture page, show personalized content.
- Not viewed the architecture page, show default content.
info
In this example, you will use the same component to display content, but the content will change based on the visitor's classification. You can do more with personalization than just change the content that is available to the component. You can also change the type of component that is used, and hide components.
Add personalization component
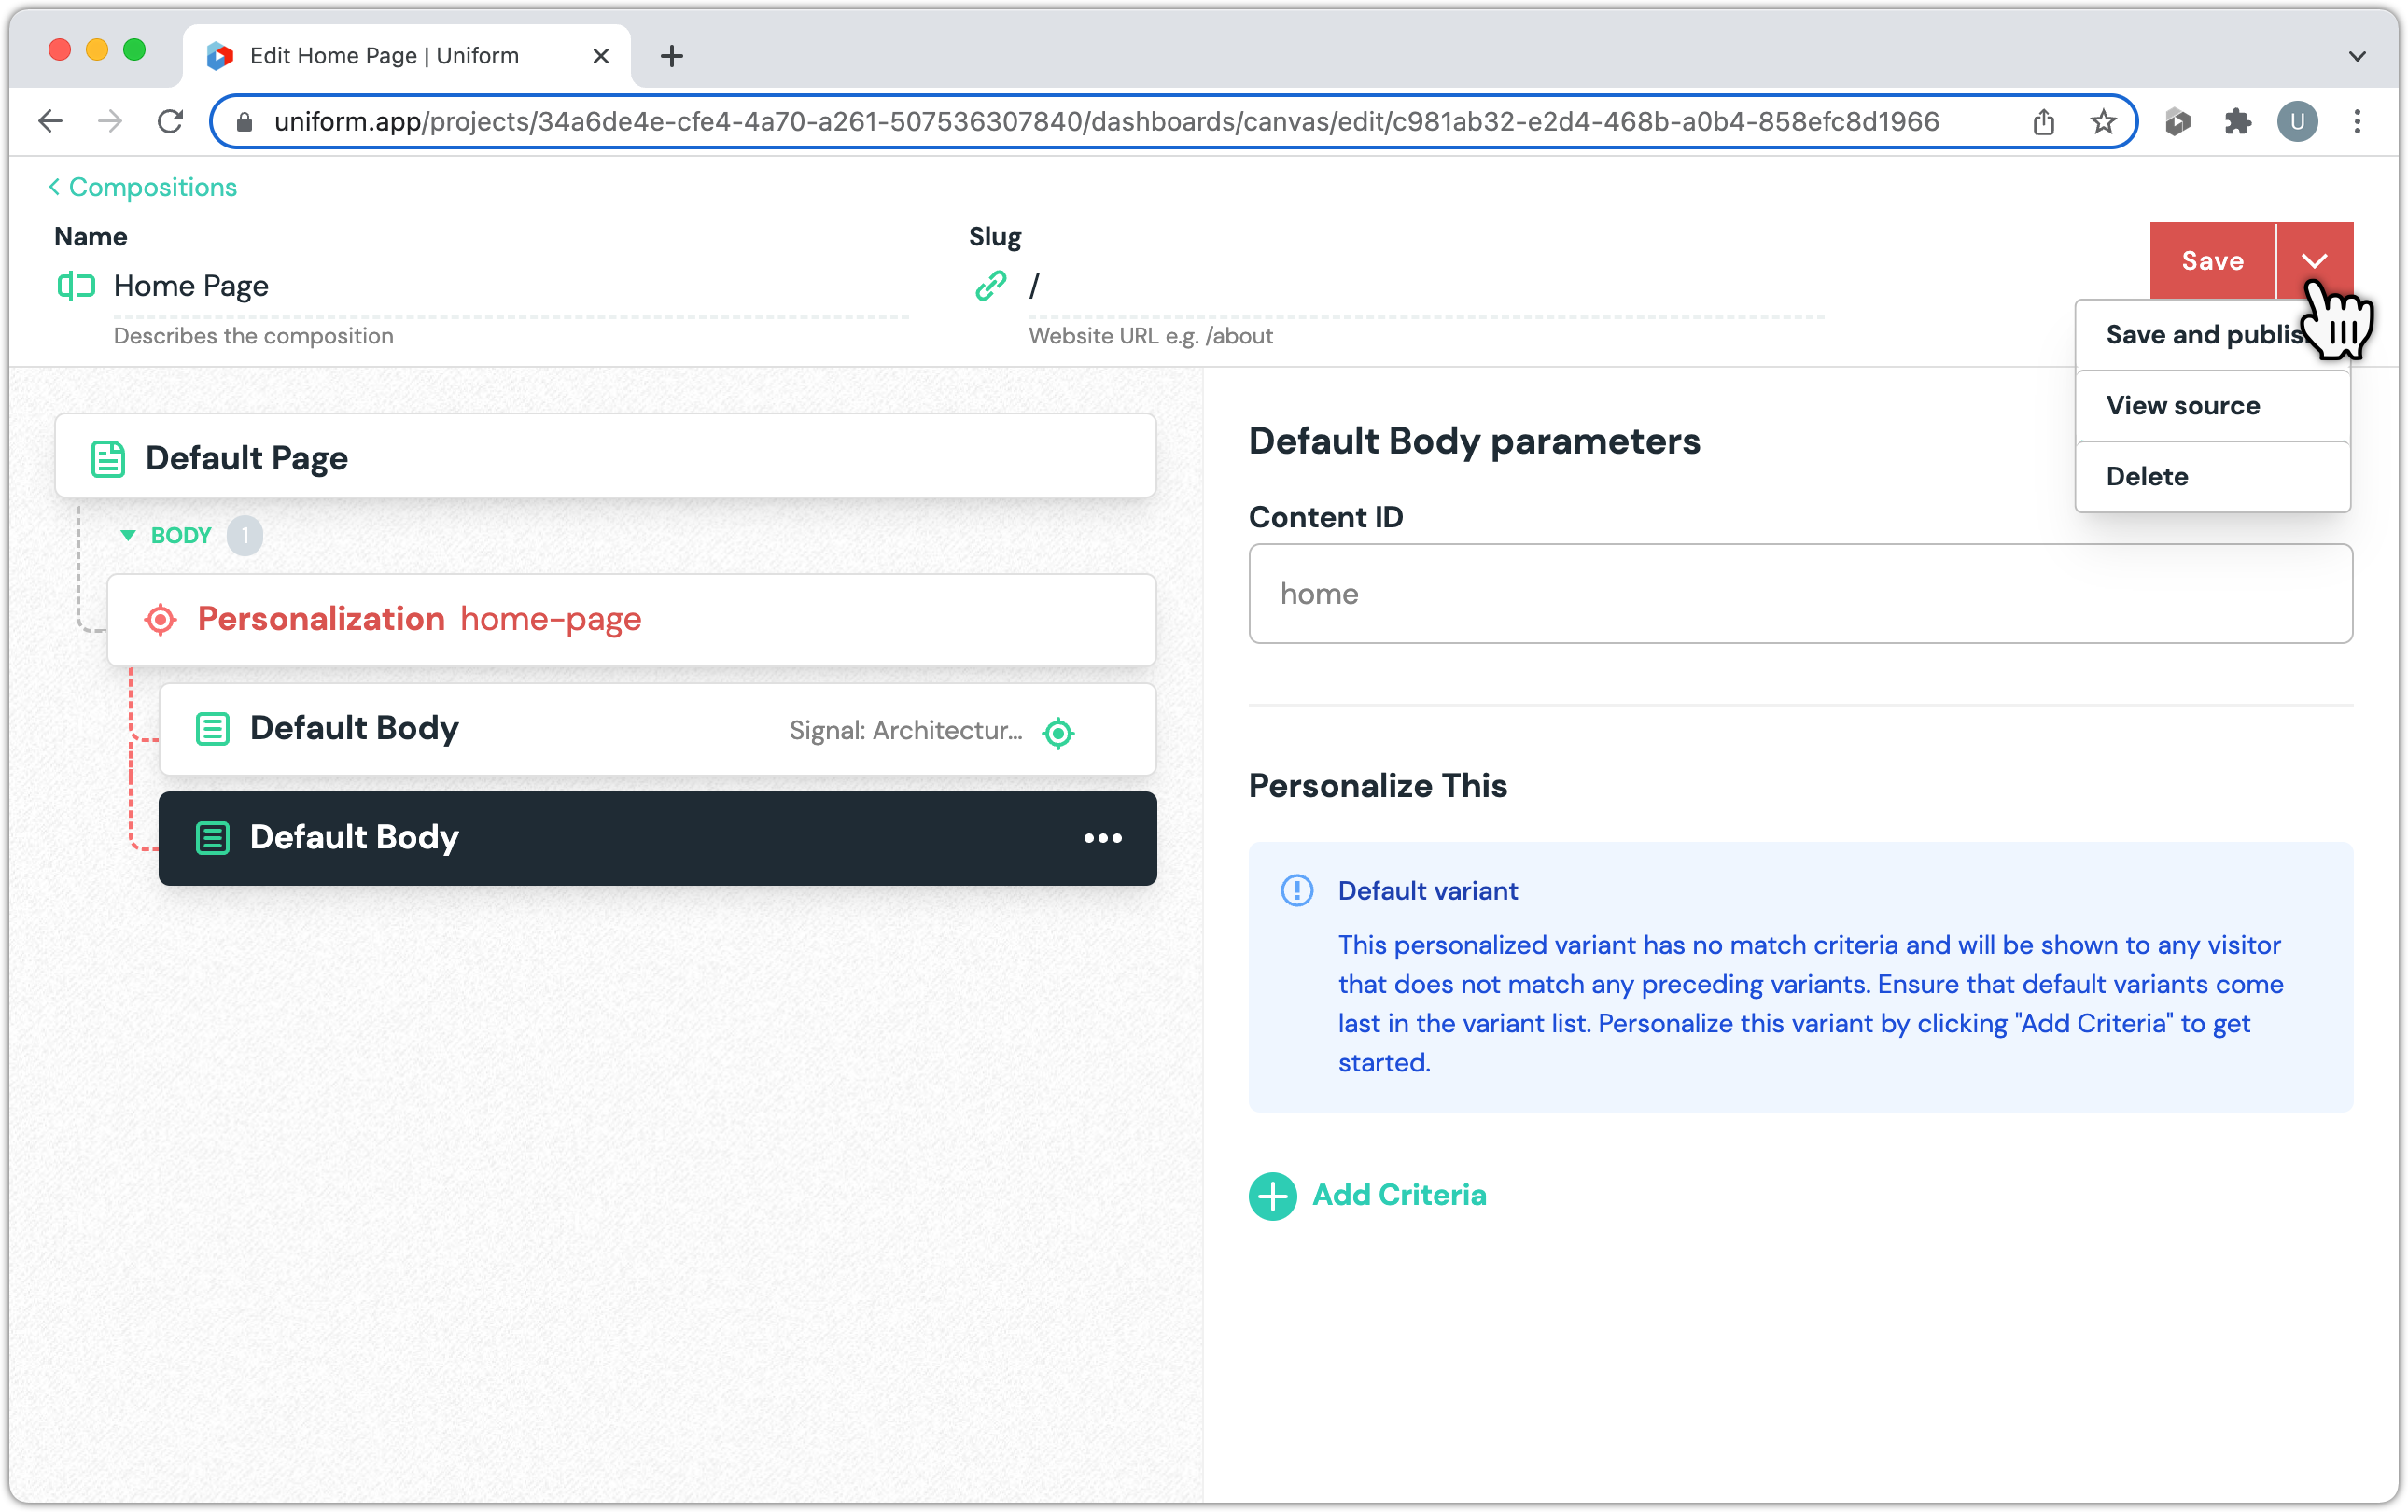
Personalization requires you add a personalization component to a slot in the composition.
Click the + button.
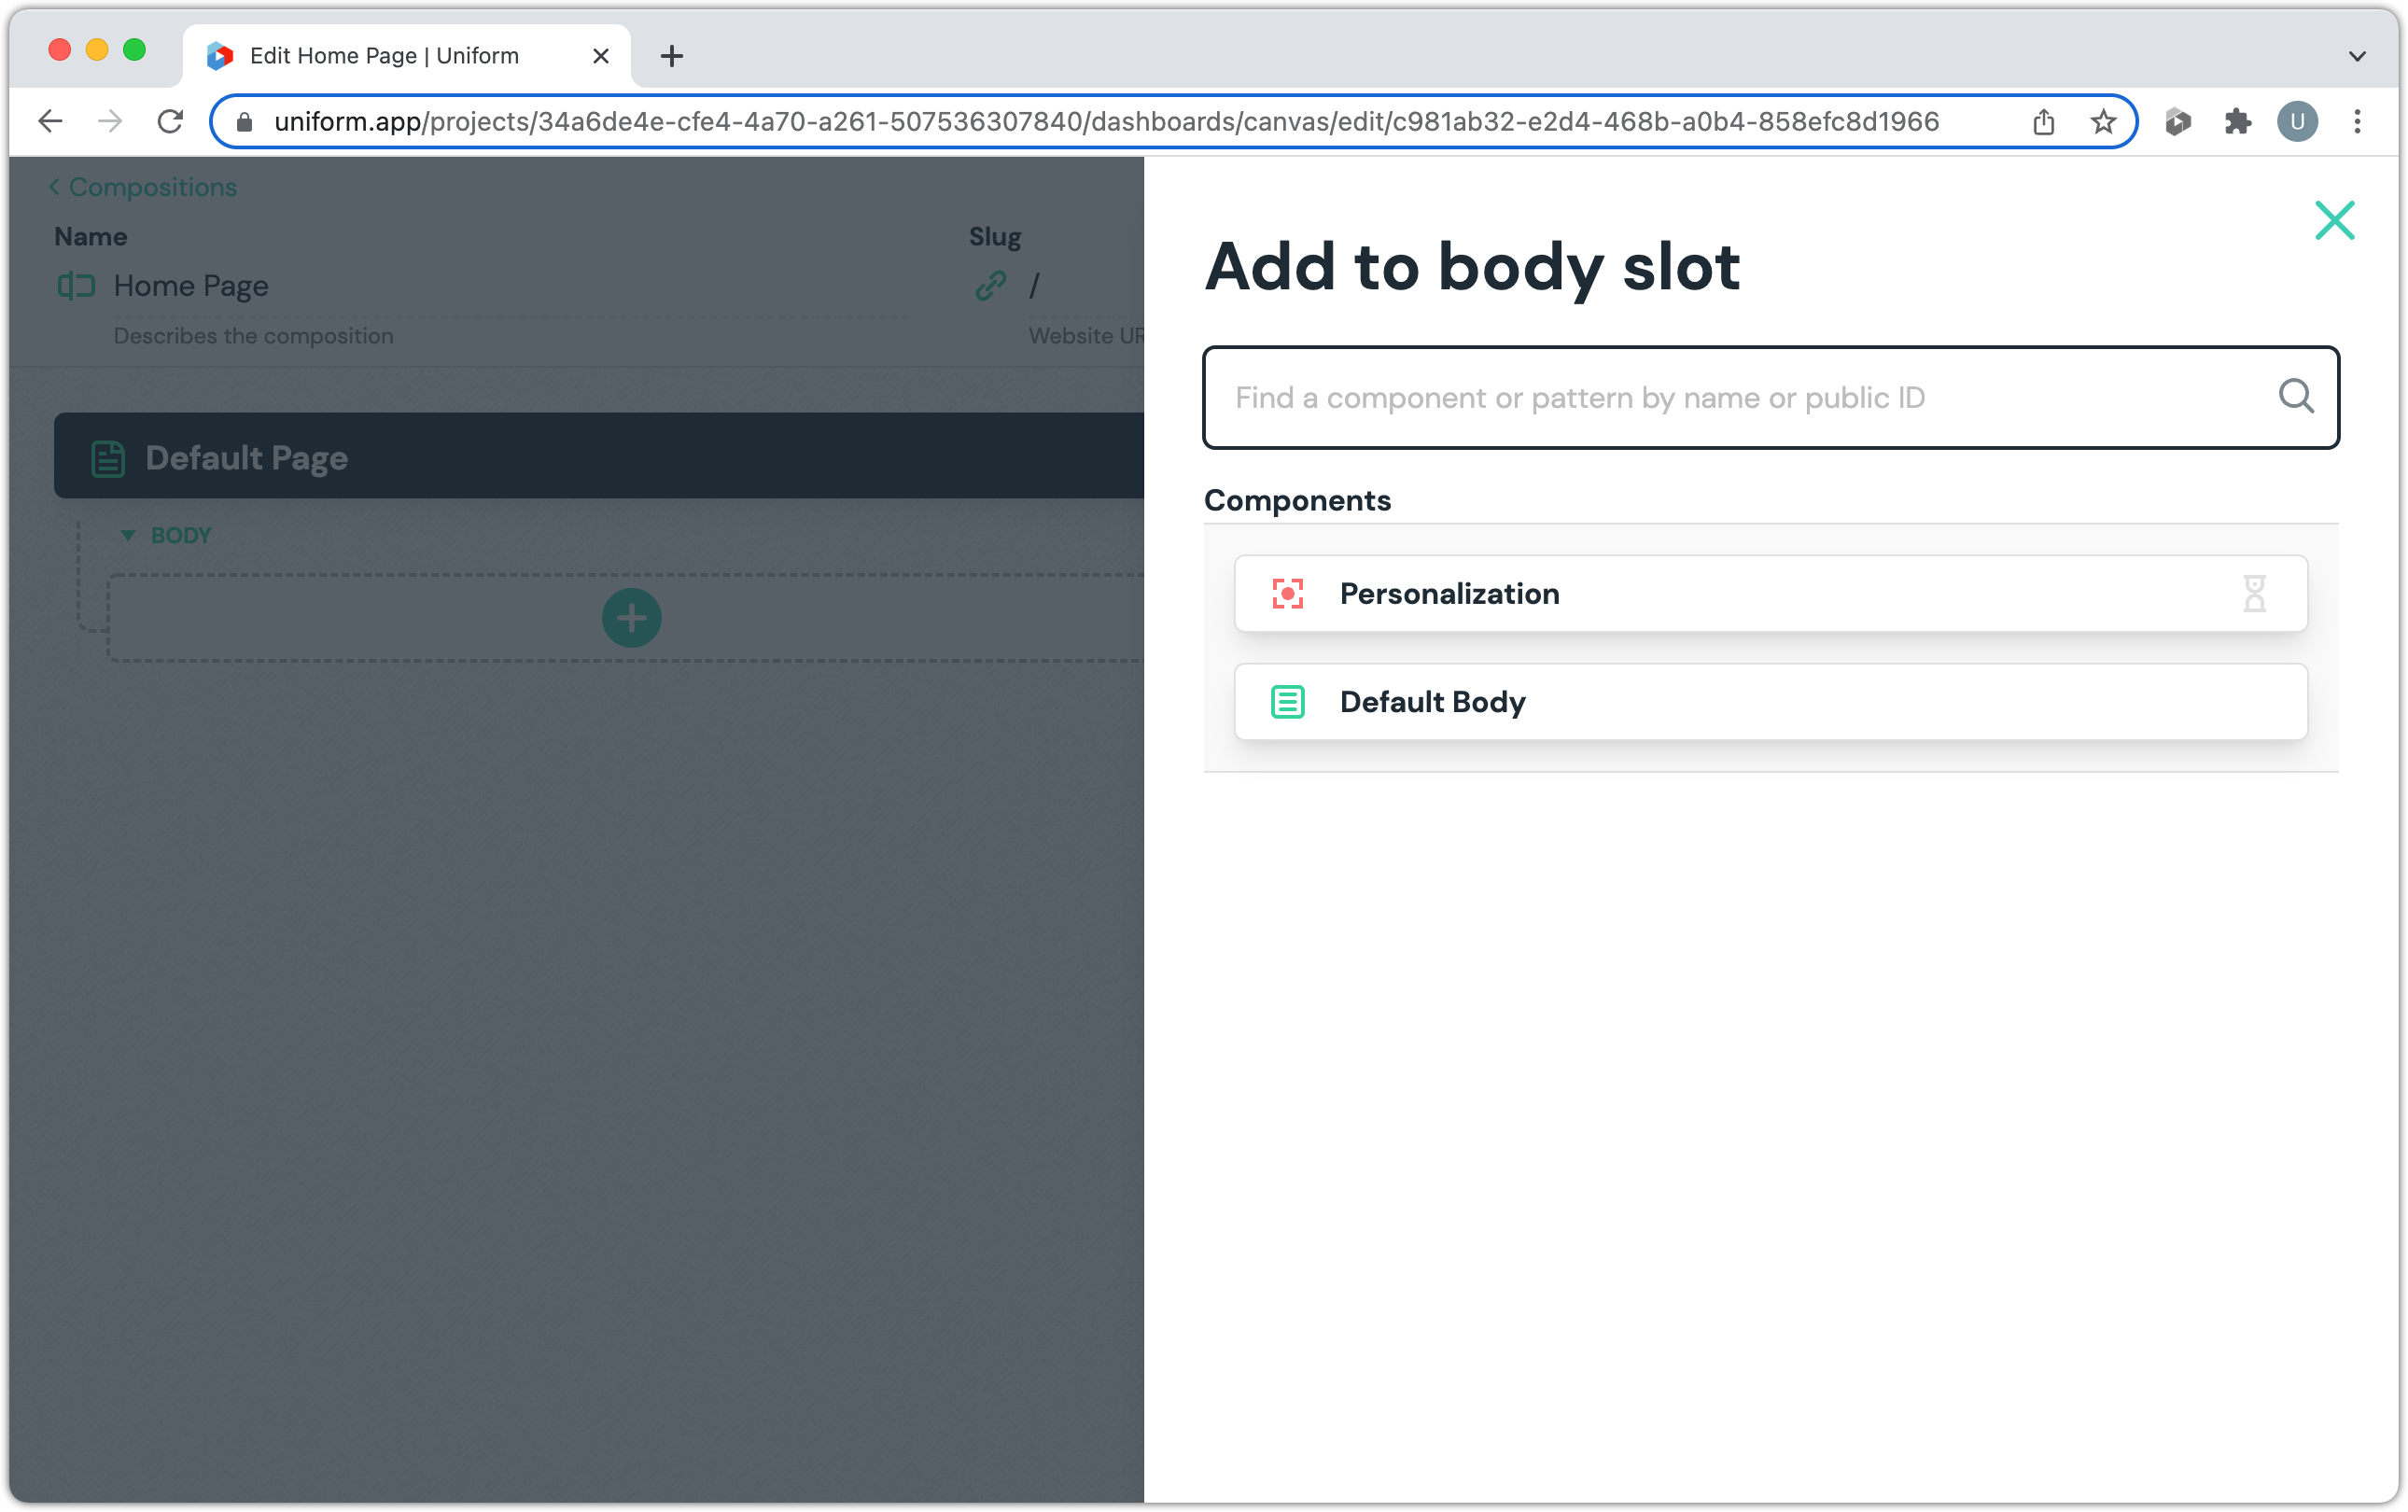
Click Personalization
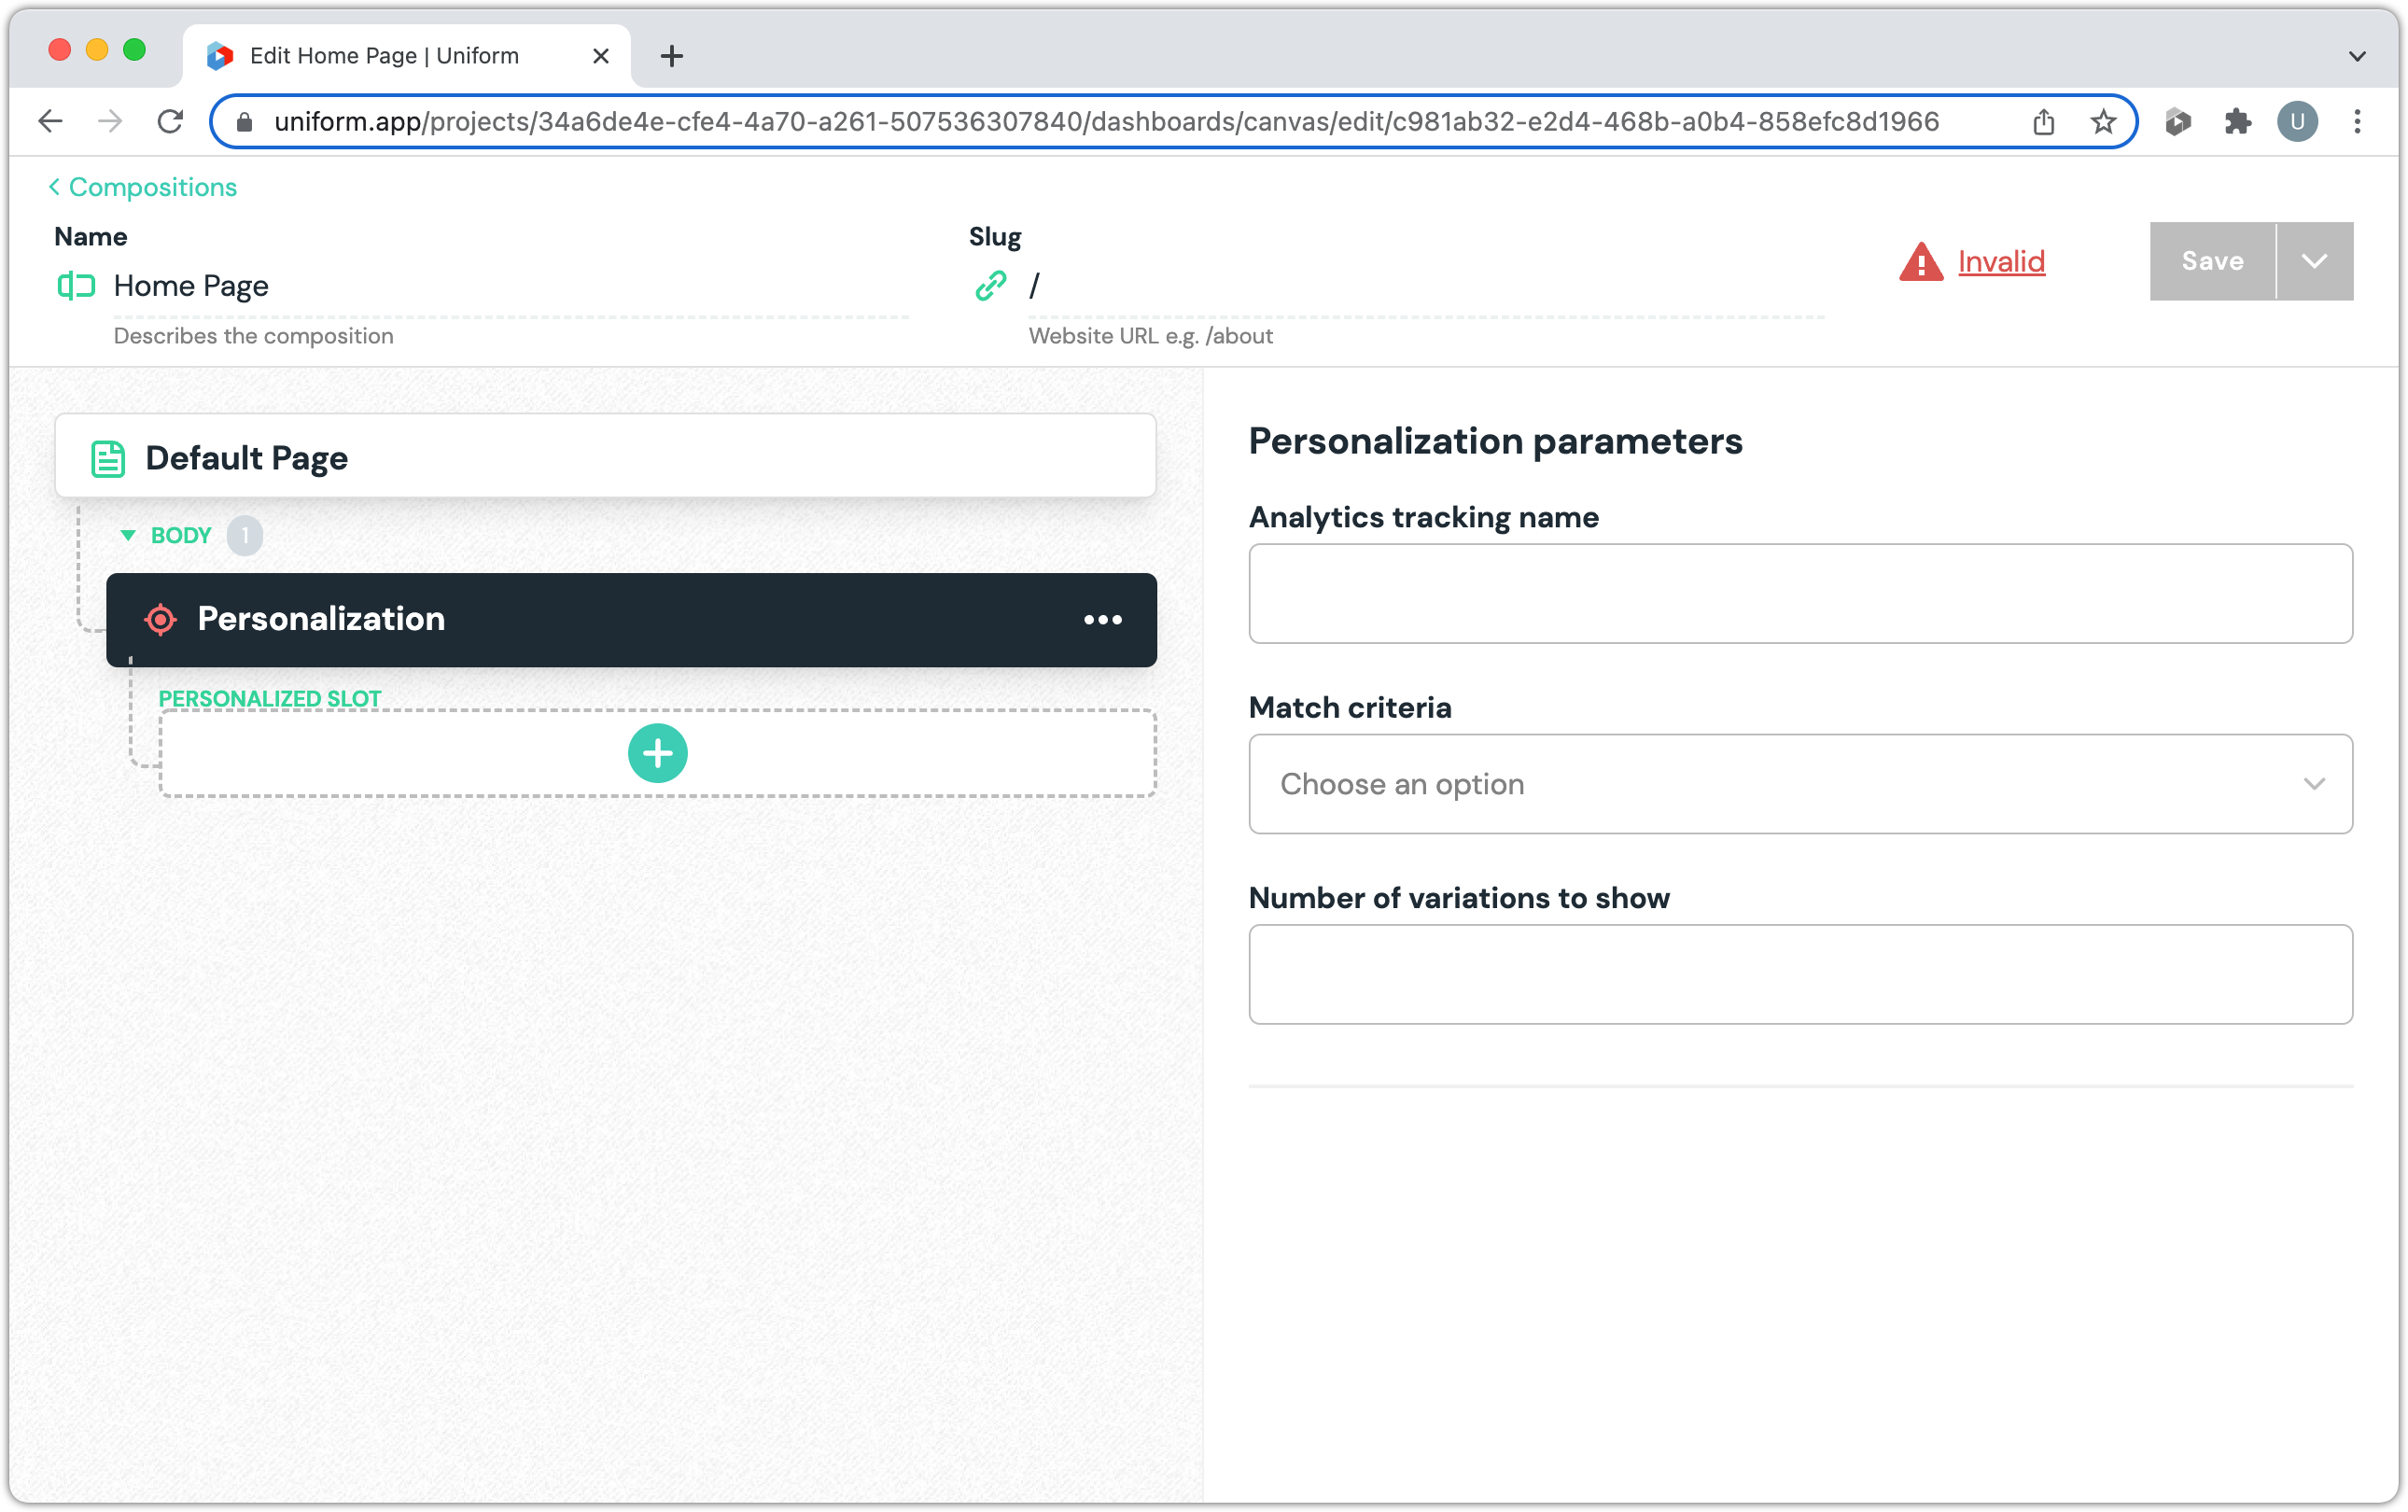
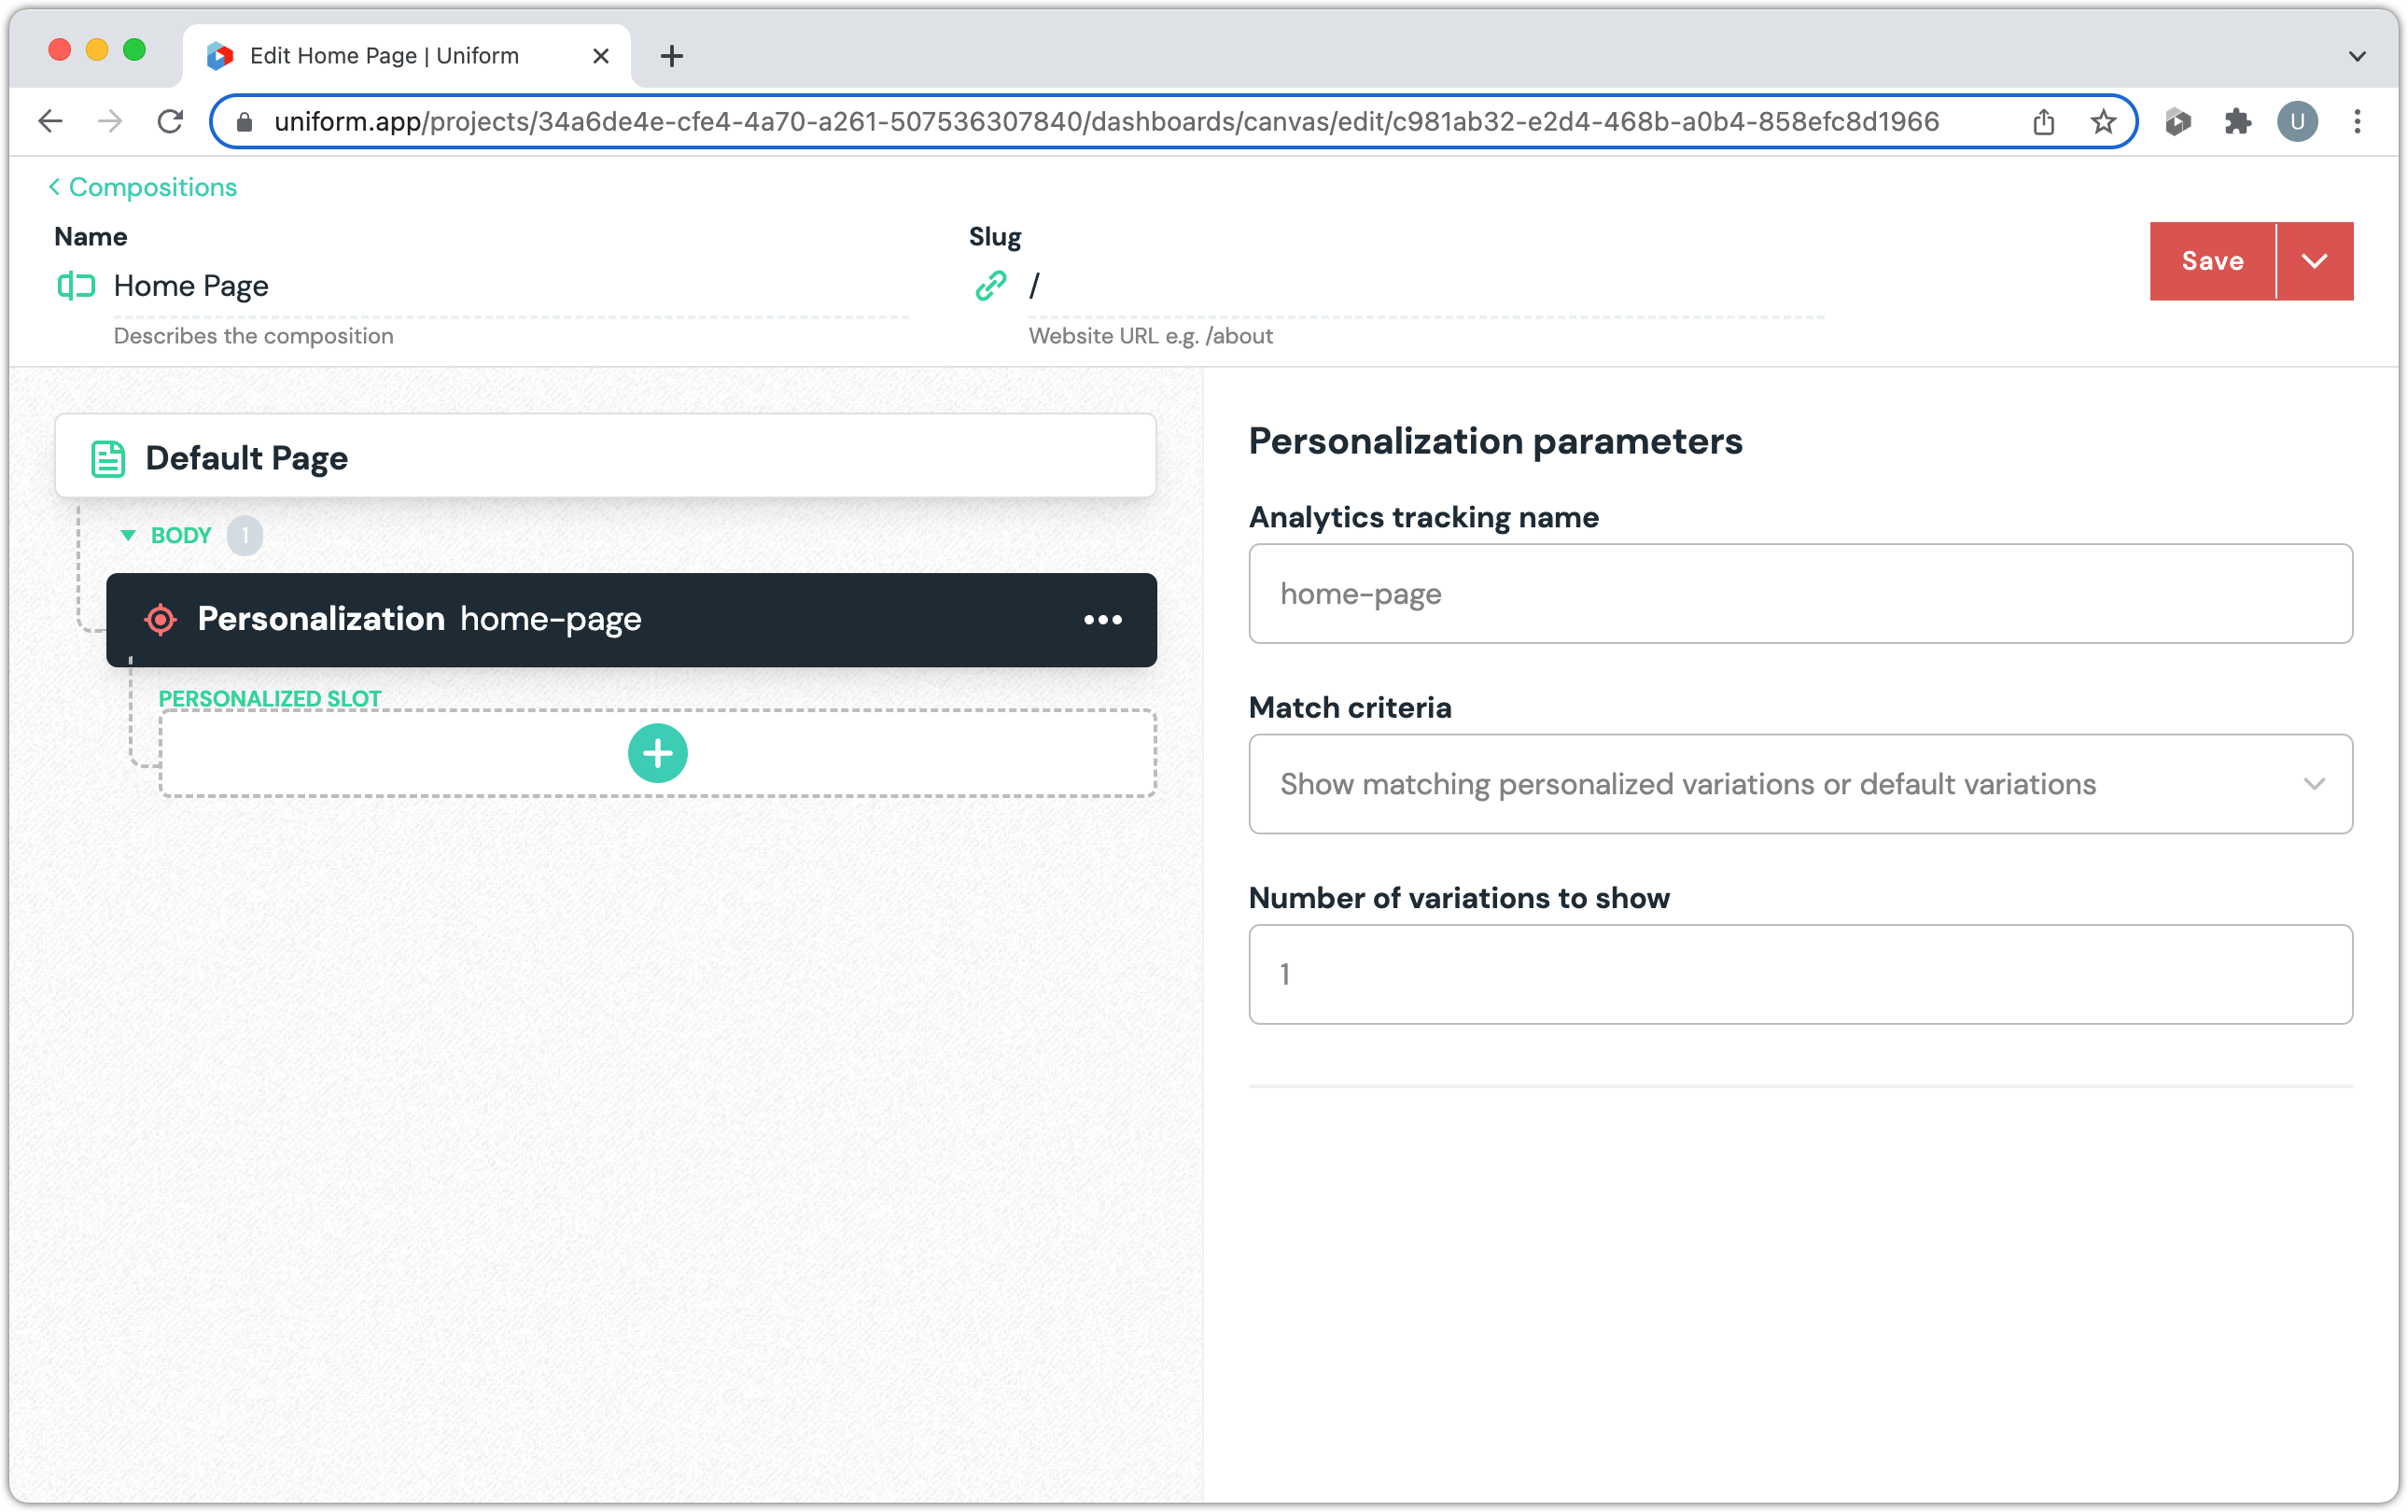
Enter the following values:
- Analytics tracking name:
home-page - Match criteria: Show matching personalized variations or default variations
- Number of variations to show:
1
info
Personalization involves defining a set of differently configured components, where each component is configured to be relevant under a certain condition. Theses different components are added under the personalization component.
- Analytics tracking name:
Add personalized component
When the visitor has triggered the Architecture page viewed signal, the Default Body component should be displayed with the personalized content.
Click the + button.

Click Default Body
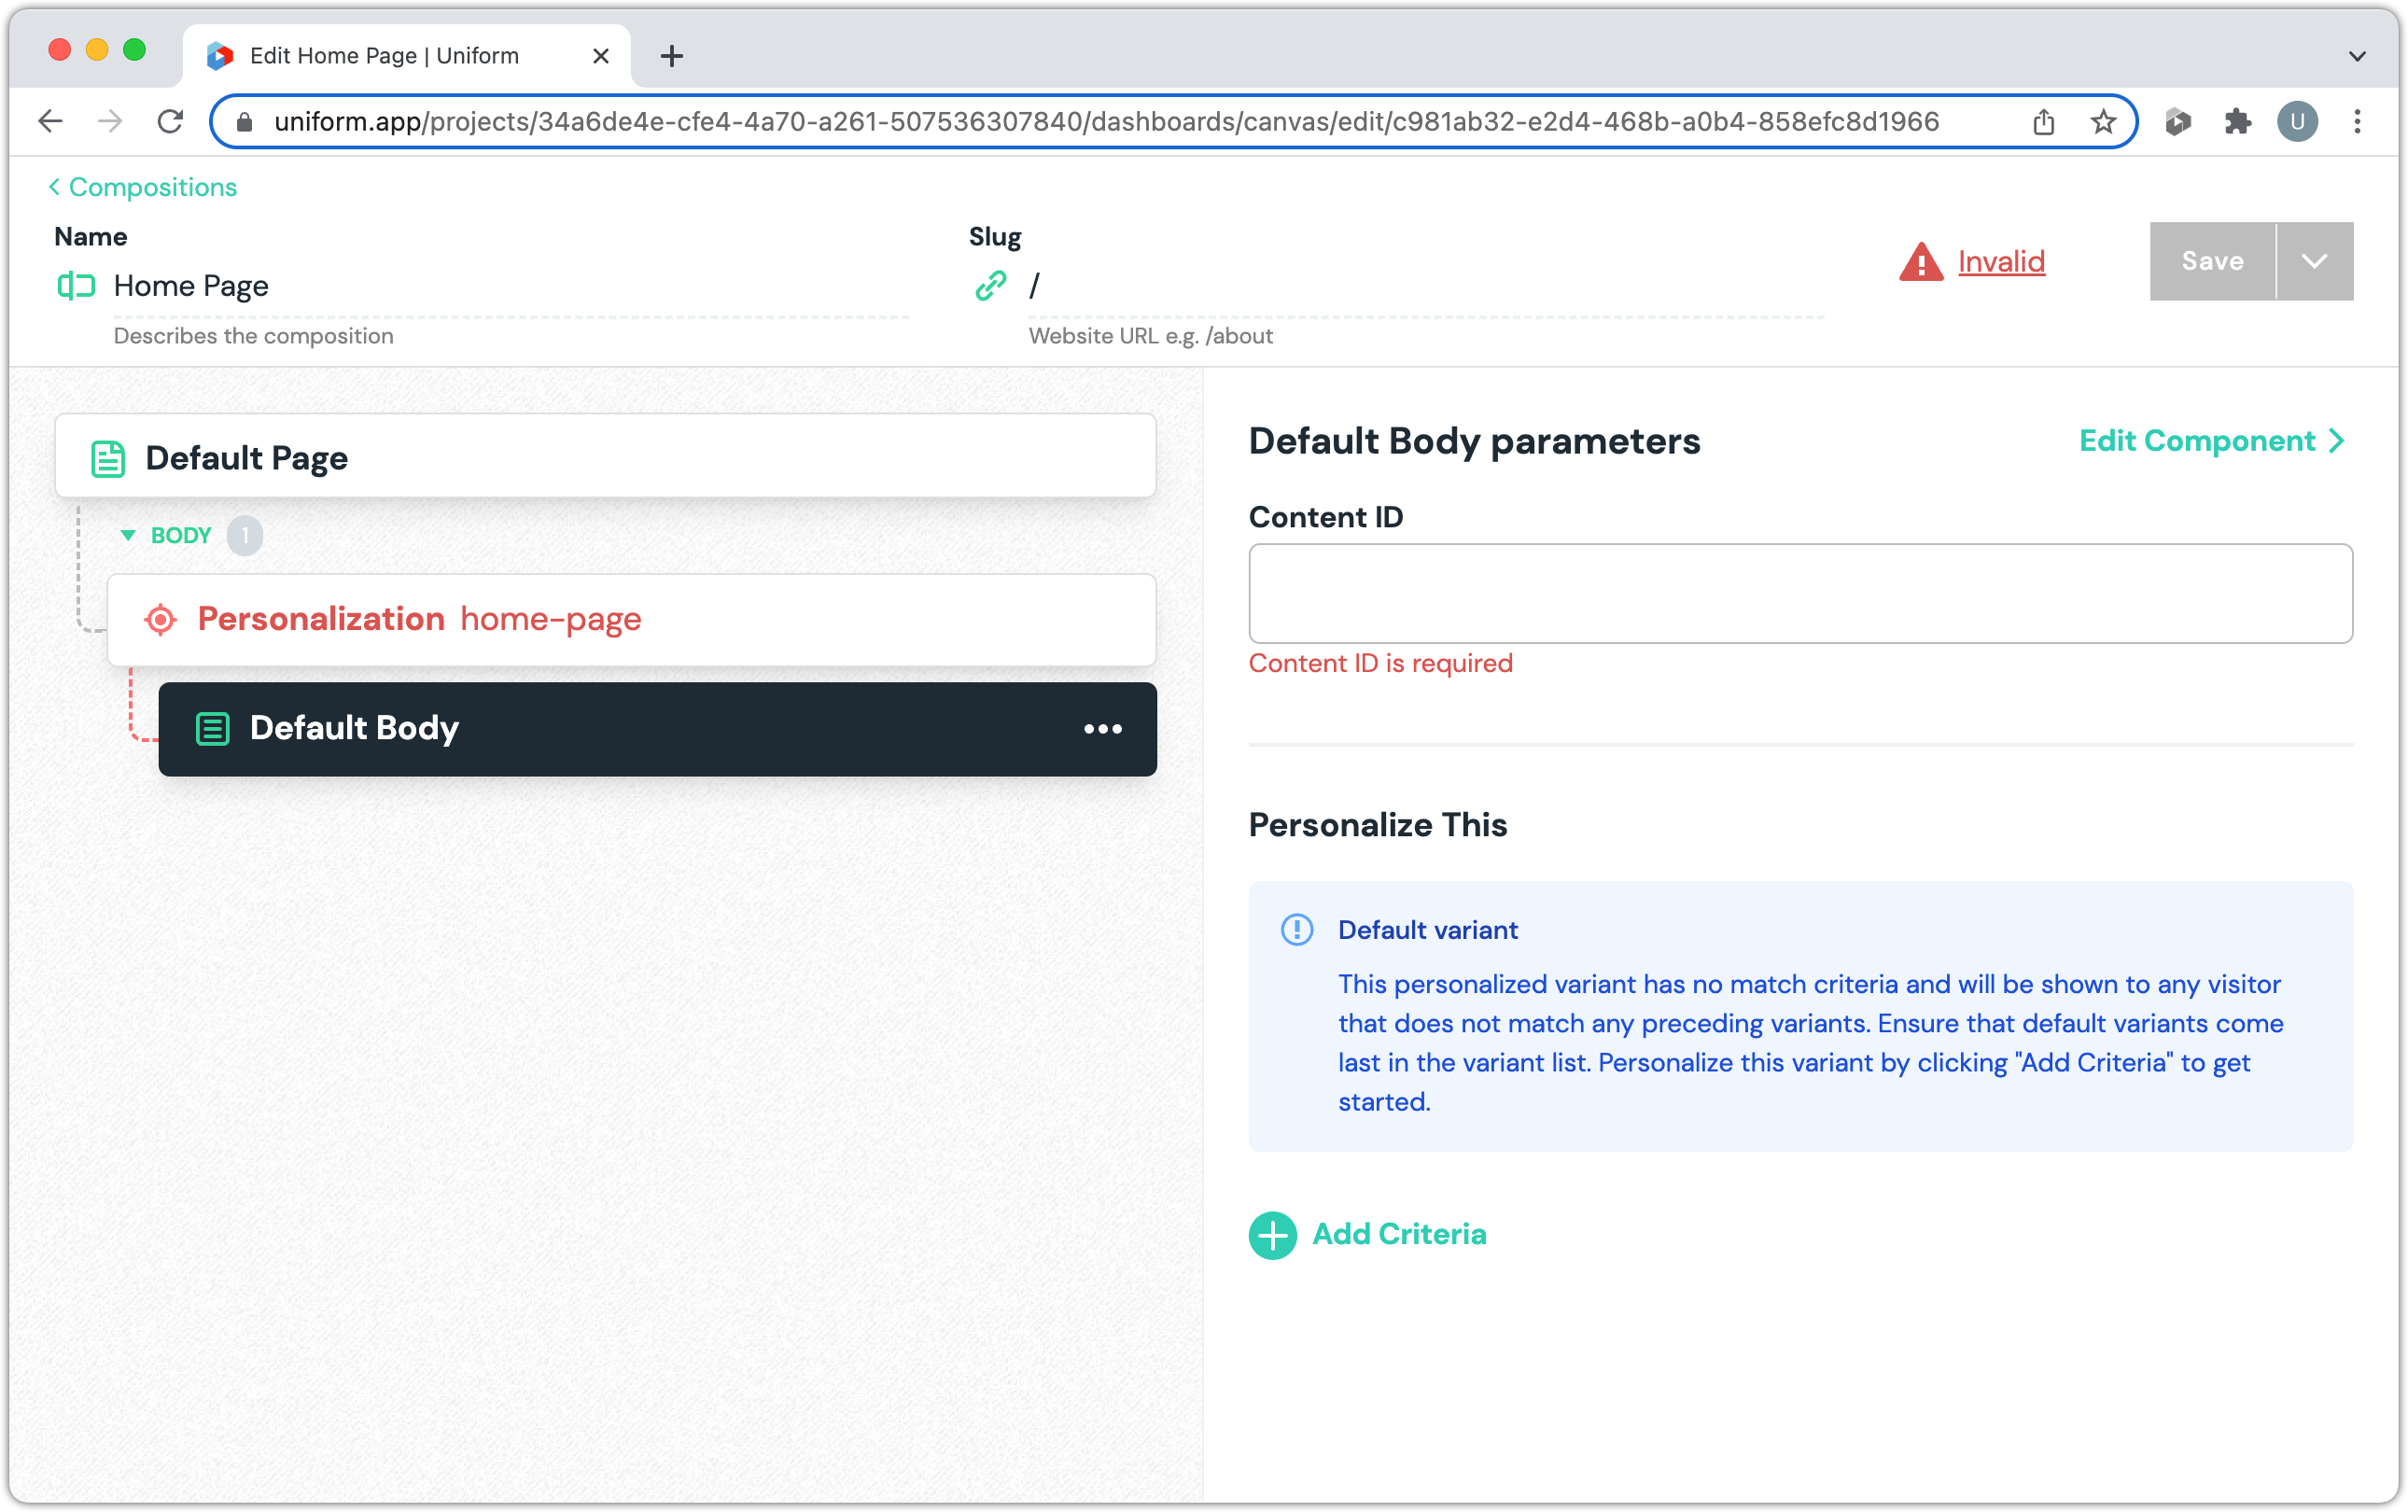
For the Content ID, enter
home-for-architecture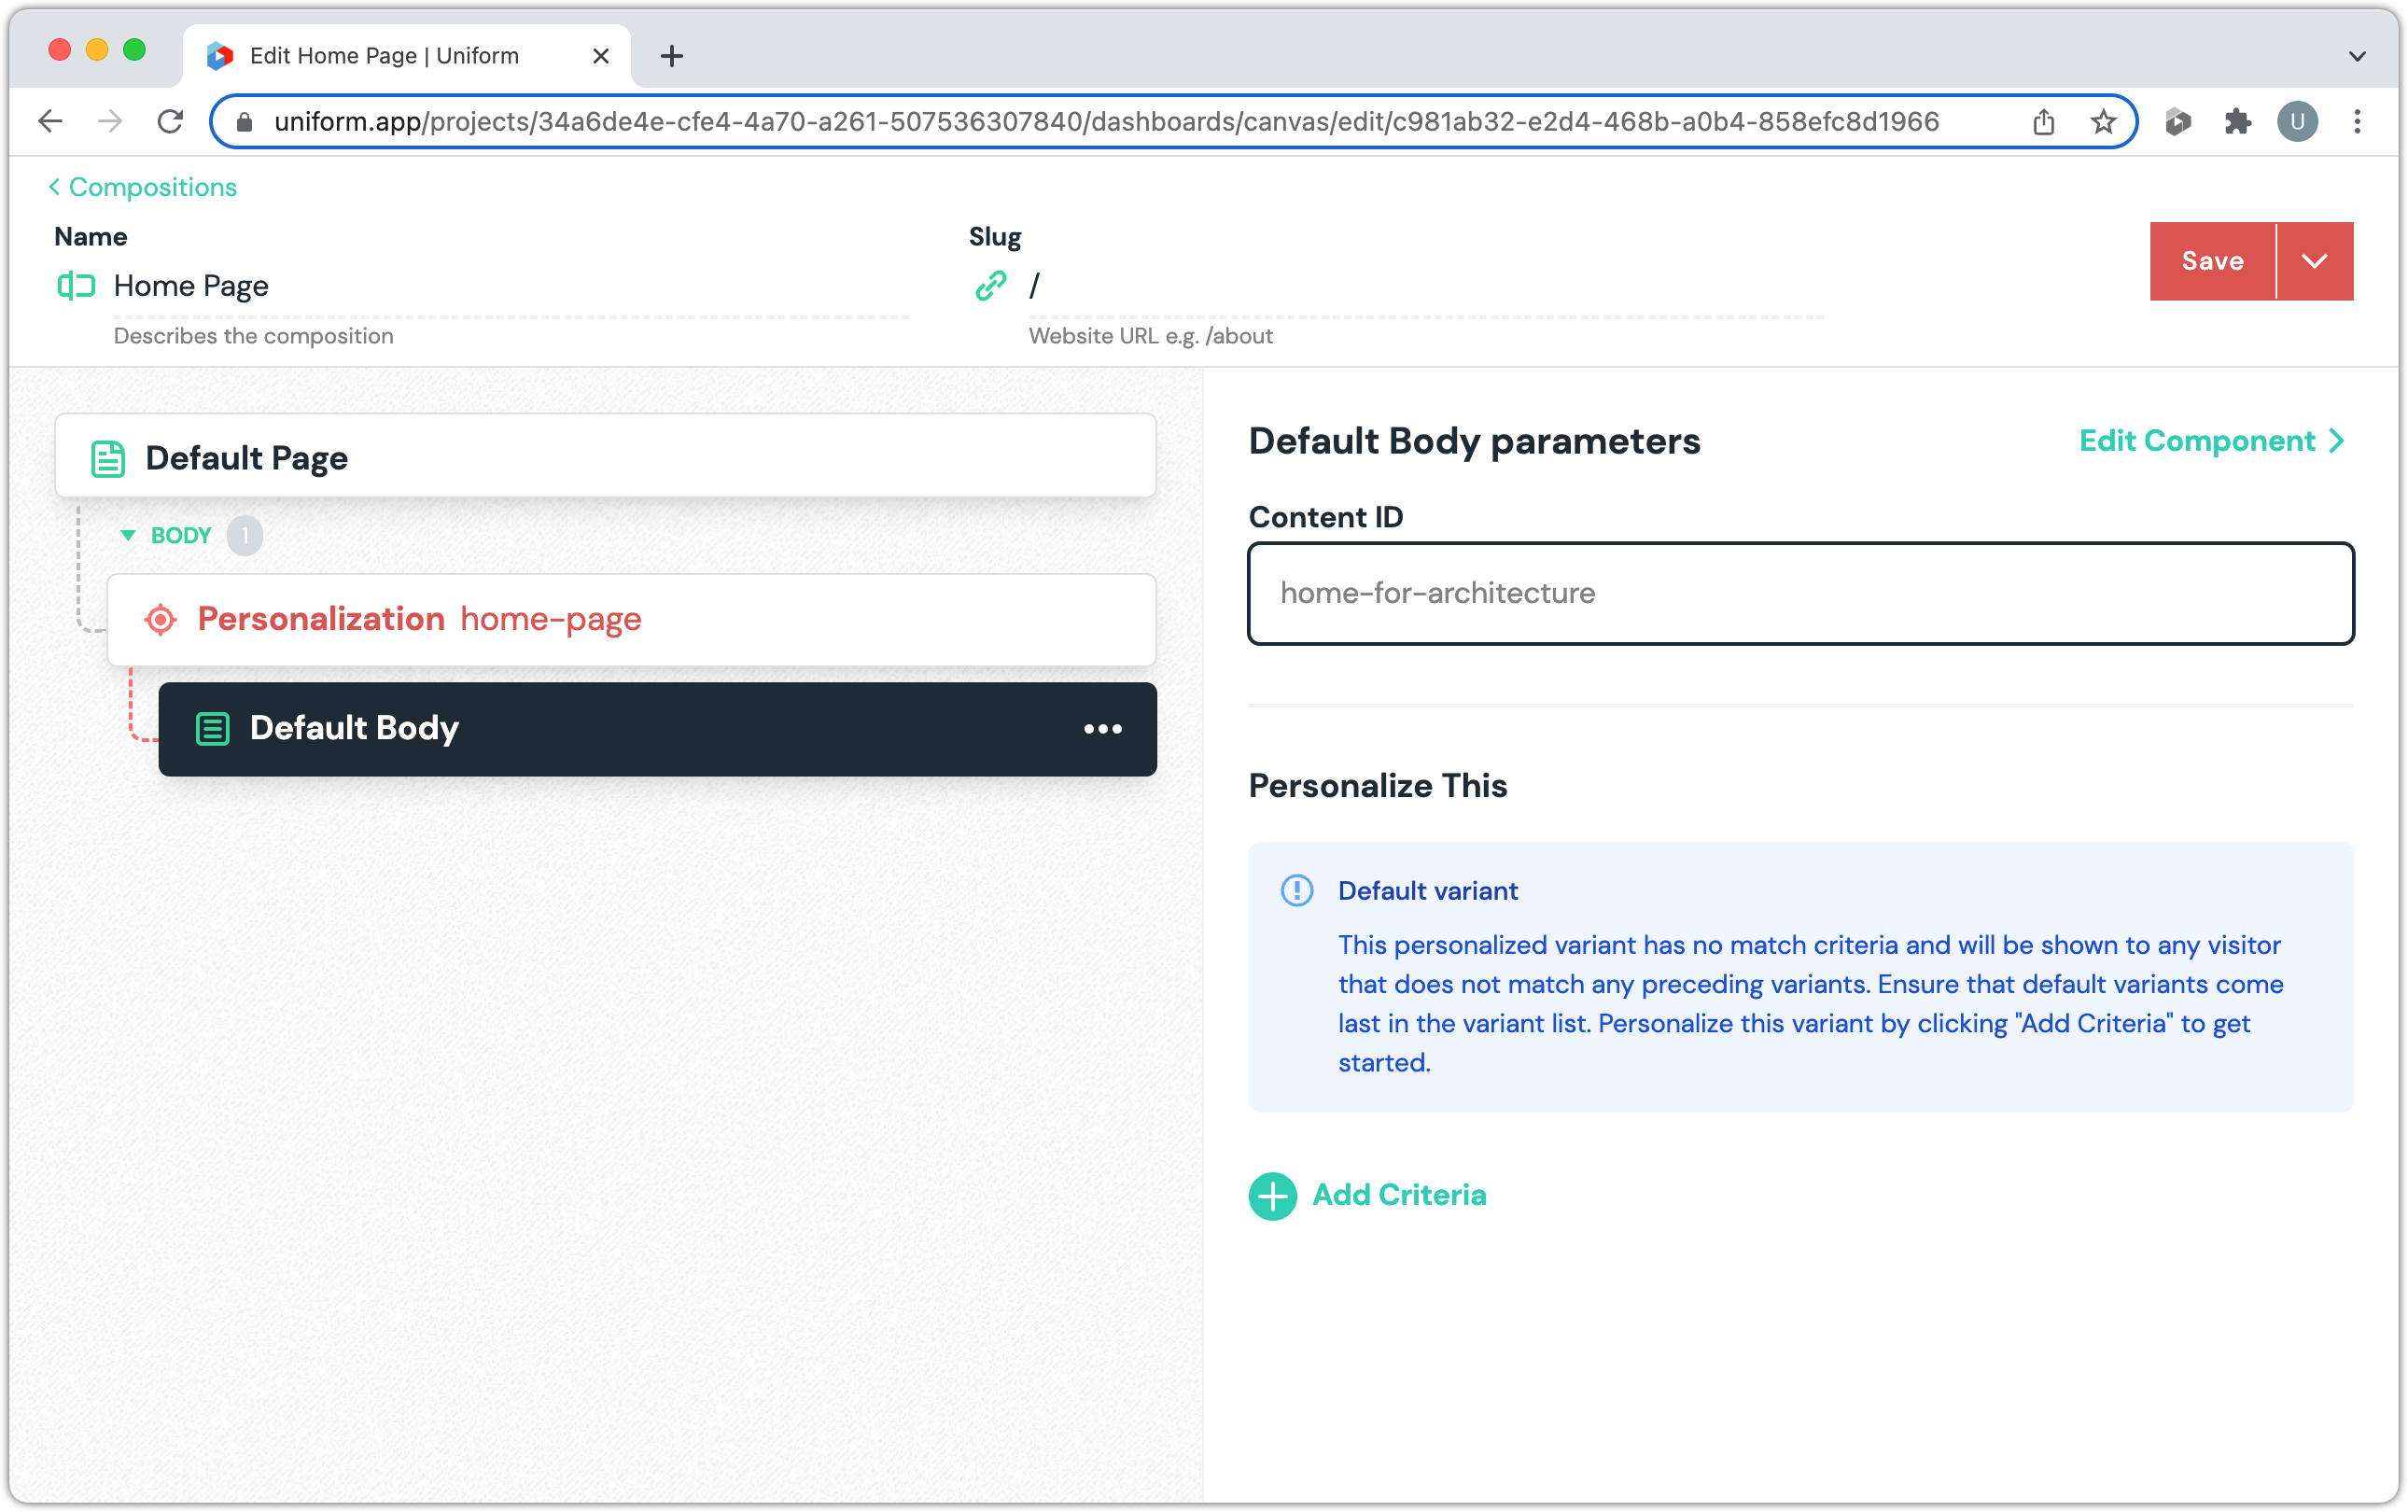
info
Uniform will use this value to determine the data to provide to the front-end.
Click Add Criteria
Enter the following values:
- Dimension: Signal: Architecture page viewed
- Operator: >
- Value:
0
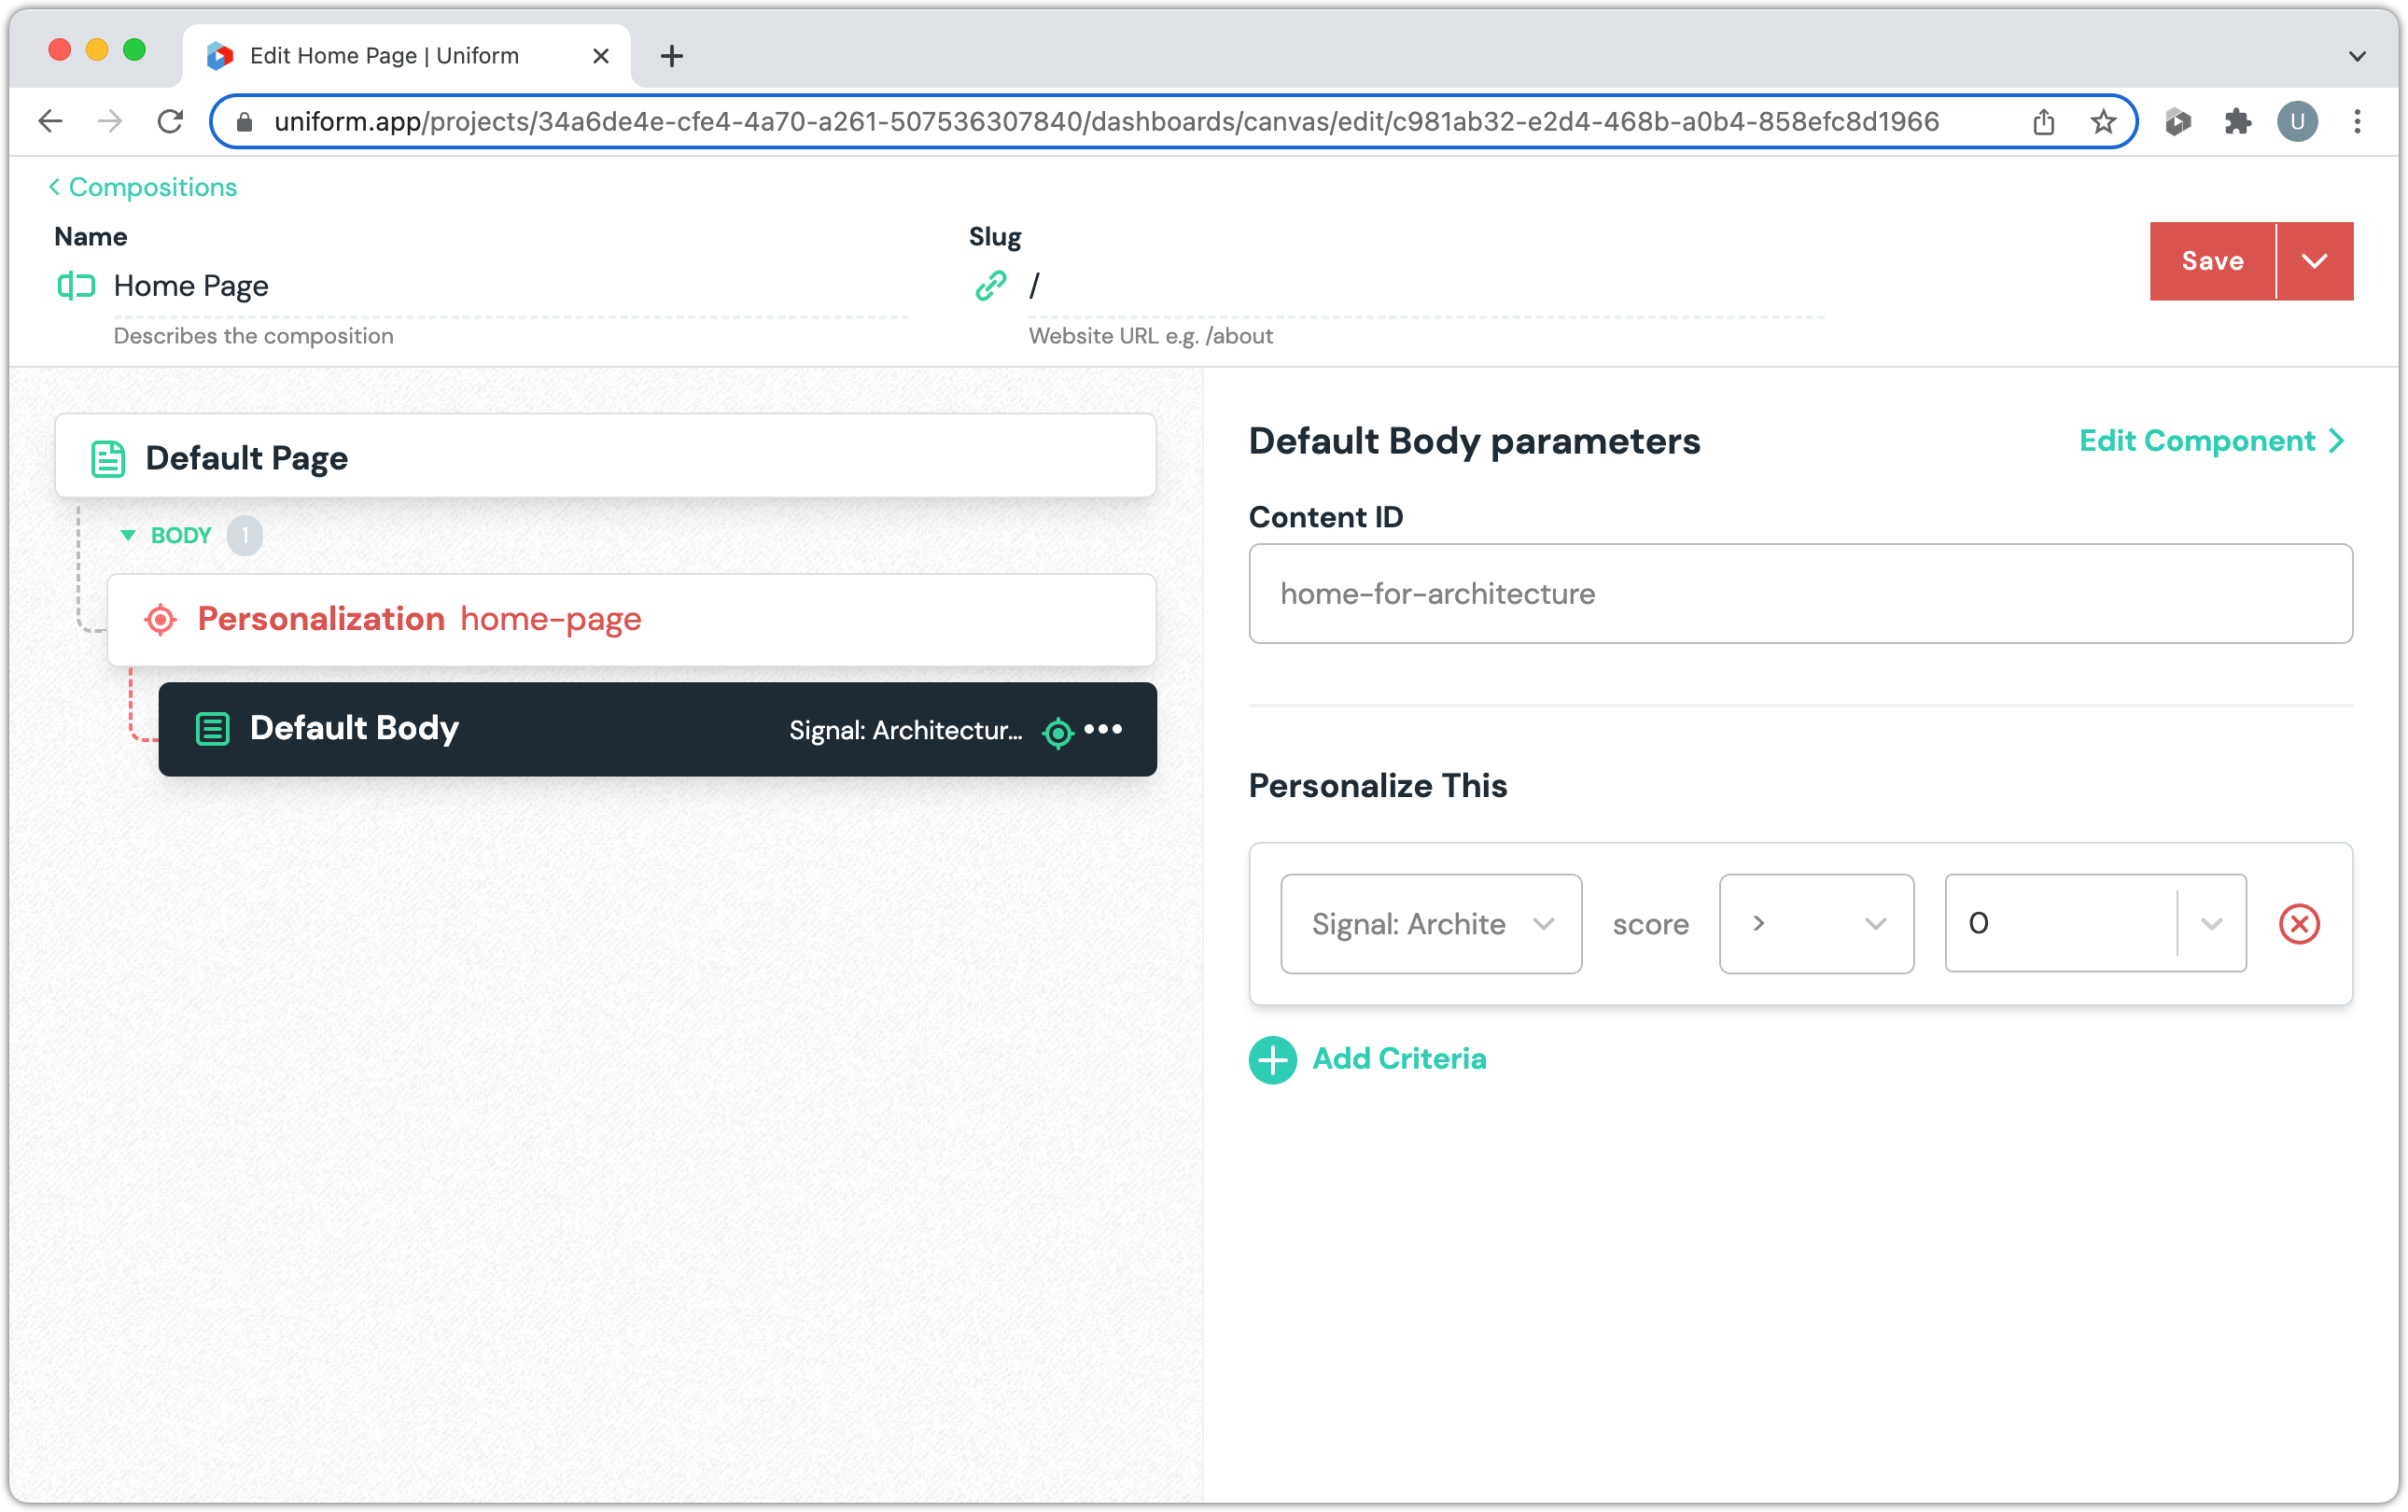
info
This defines the condition that must be true in order for the home-for-architecture content to be used.
Add non-personalized component
If the visitor has not triggered the Architecture page viewed signal, the Default Body component should be displayed with the home content.
Position your mouse under Default Body
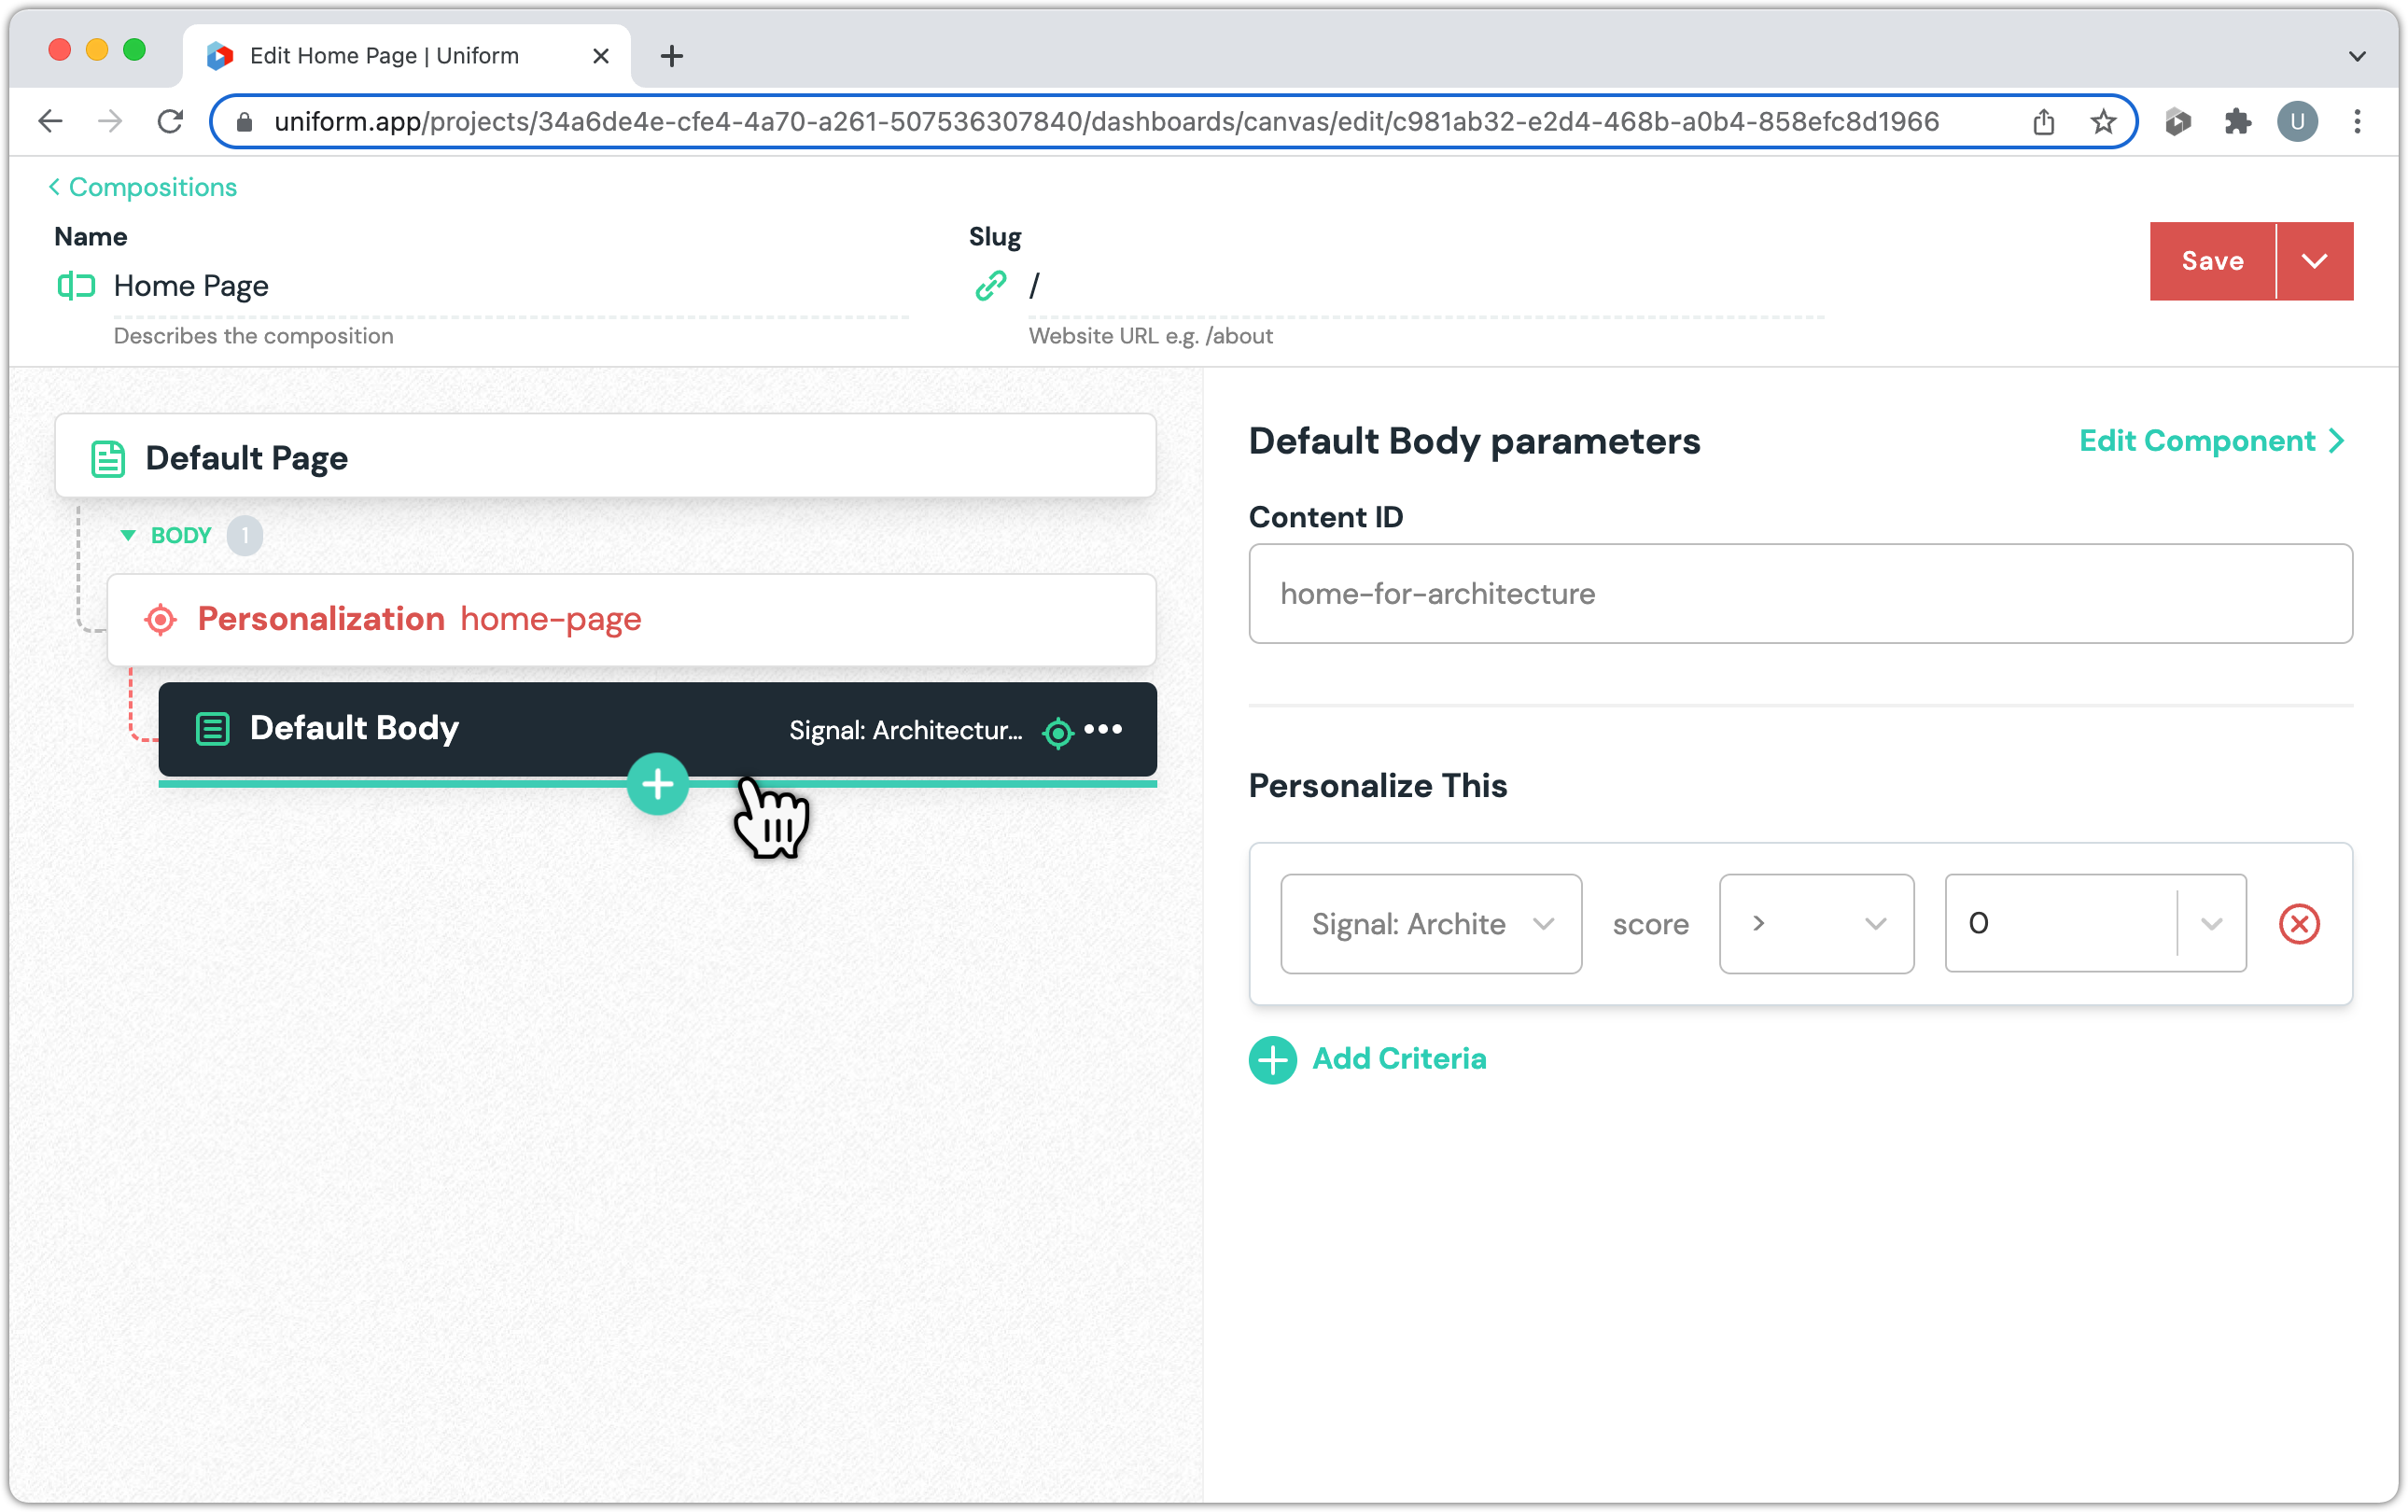
Click the + button.

Click Default Body
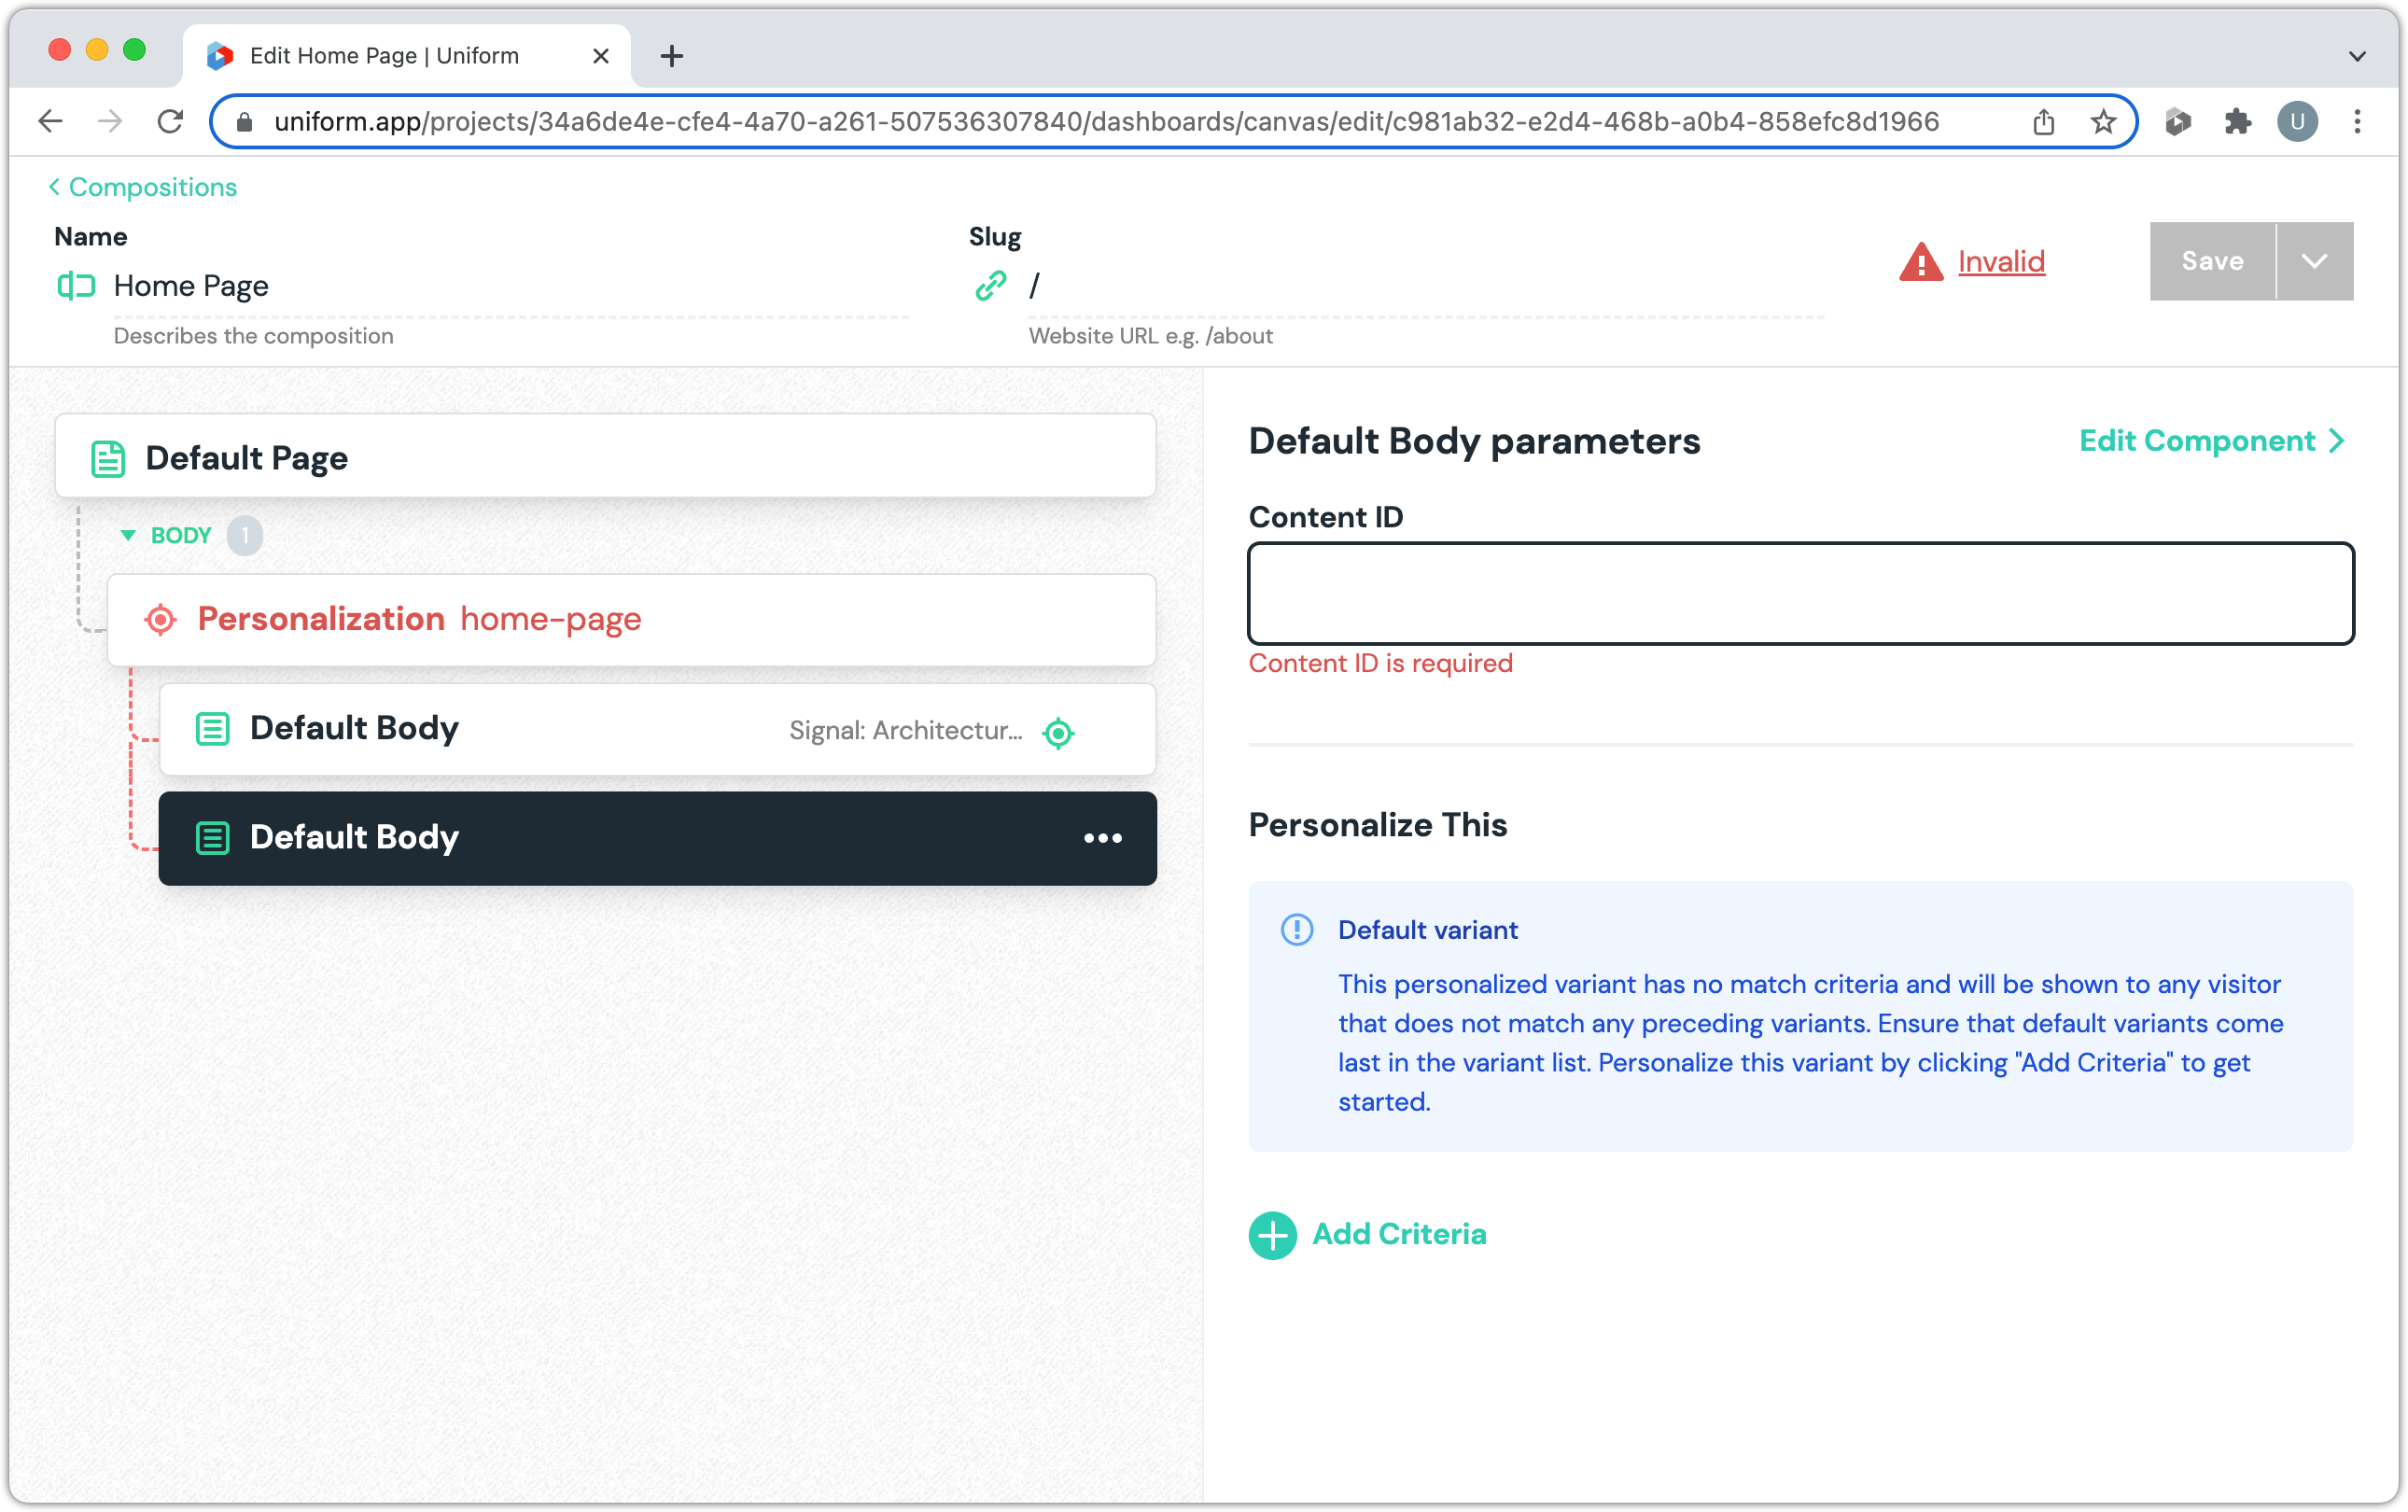
For the Content ID, enter
homeinfo
Uniform will use this value to determine the data to provide to the front-end.
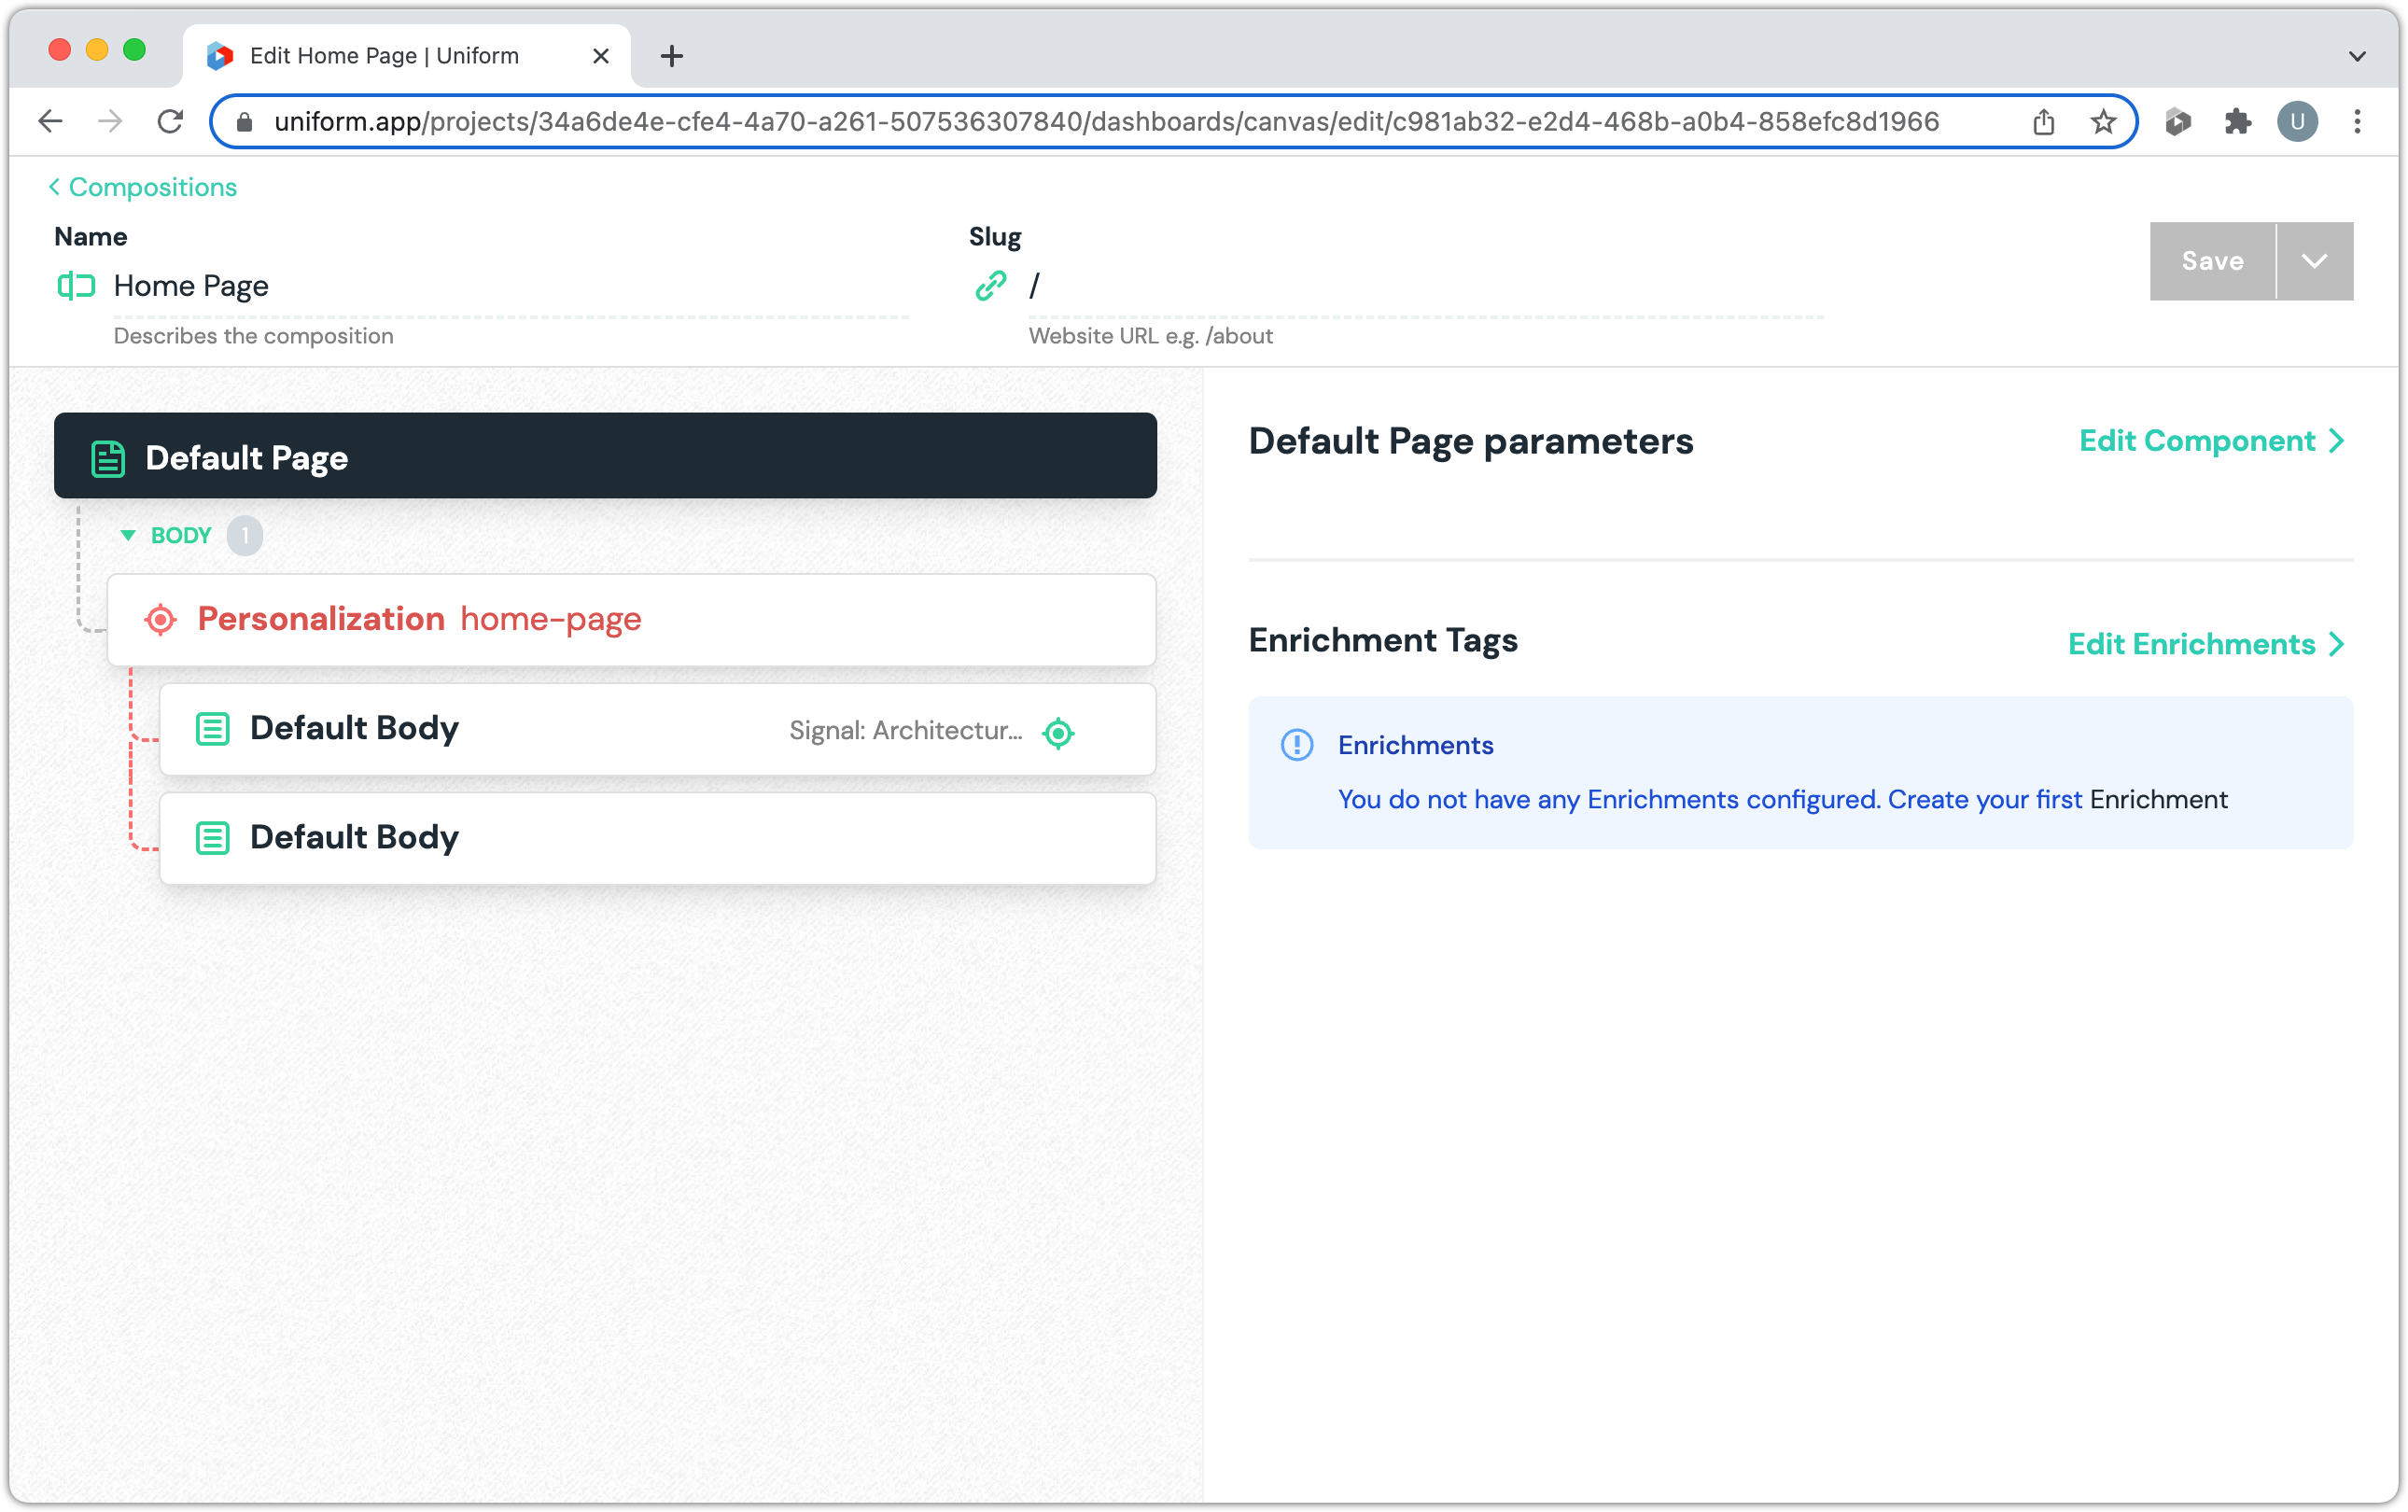
The Save button also acts as a drop-down. Click the ⌵ icon to activate the dropdown.
info
By not specifying any personalization criteria, you are telling Context that this is the content to use when no personalization conditions match.
Click Save > Save and publish
Click < Compositions
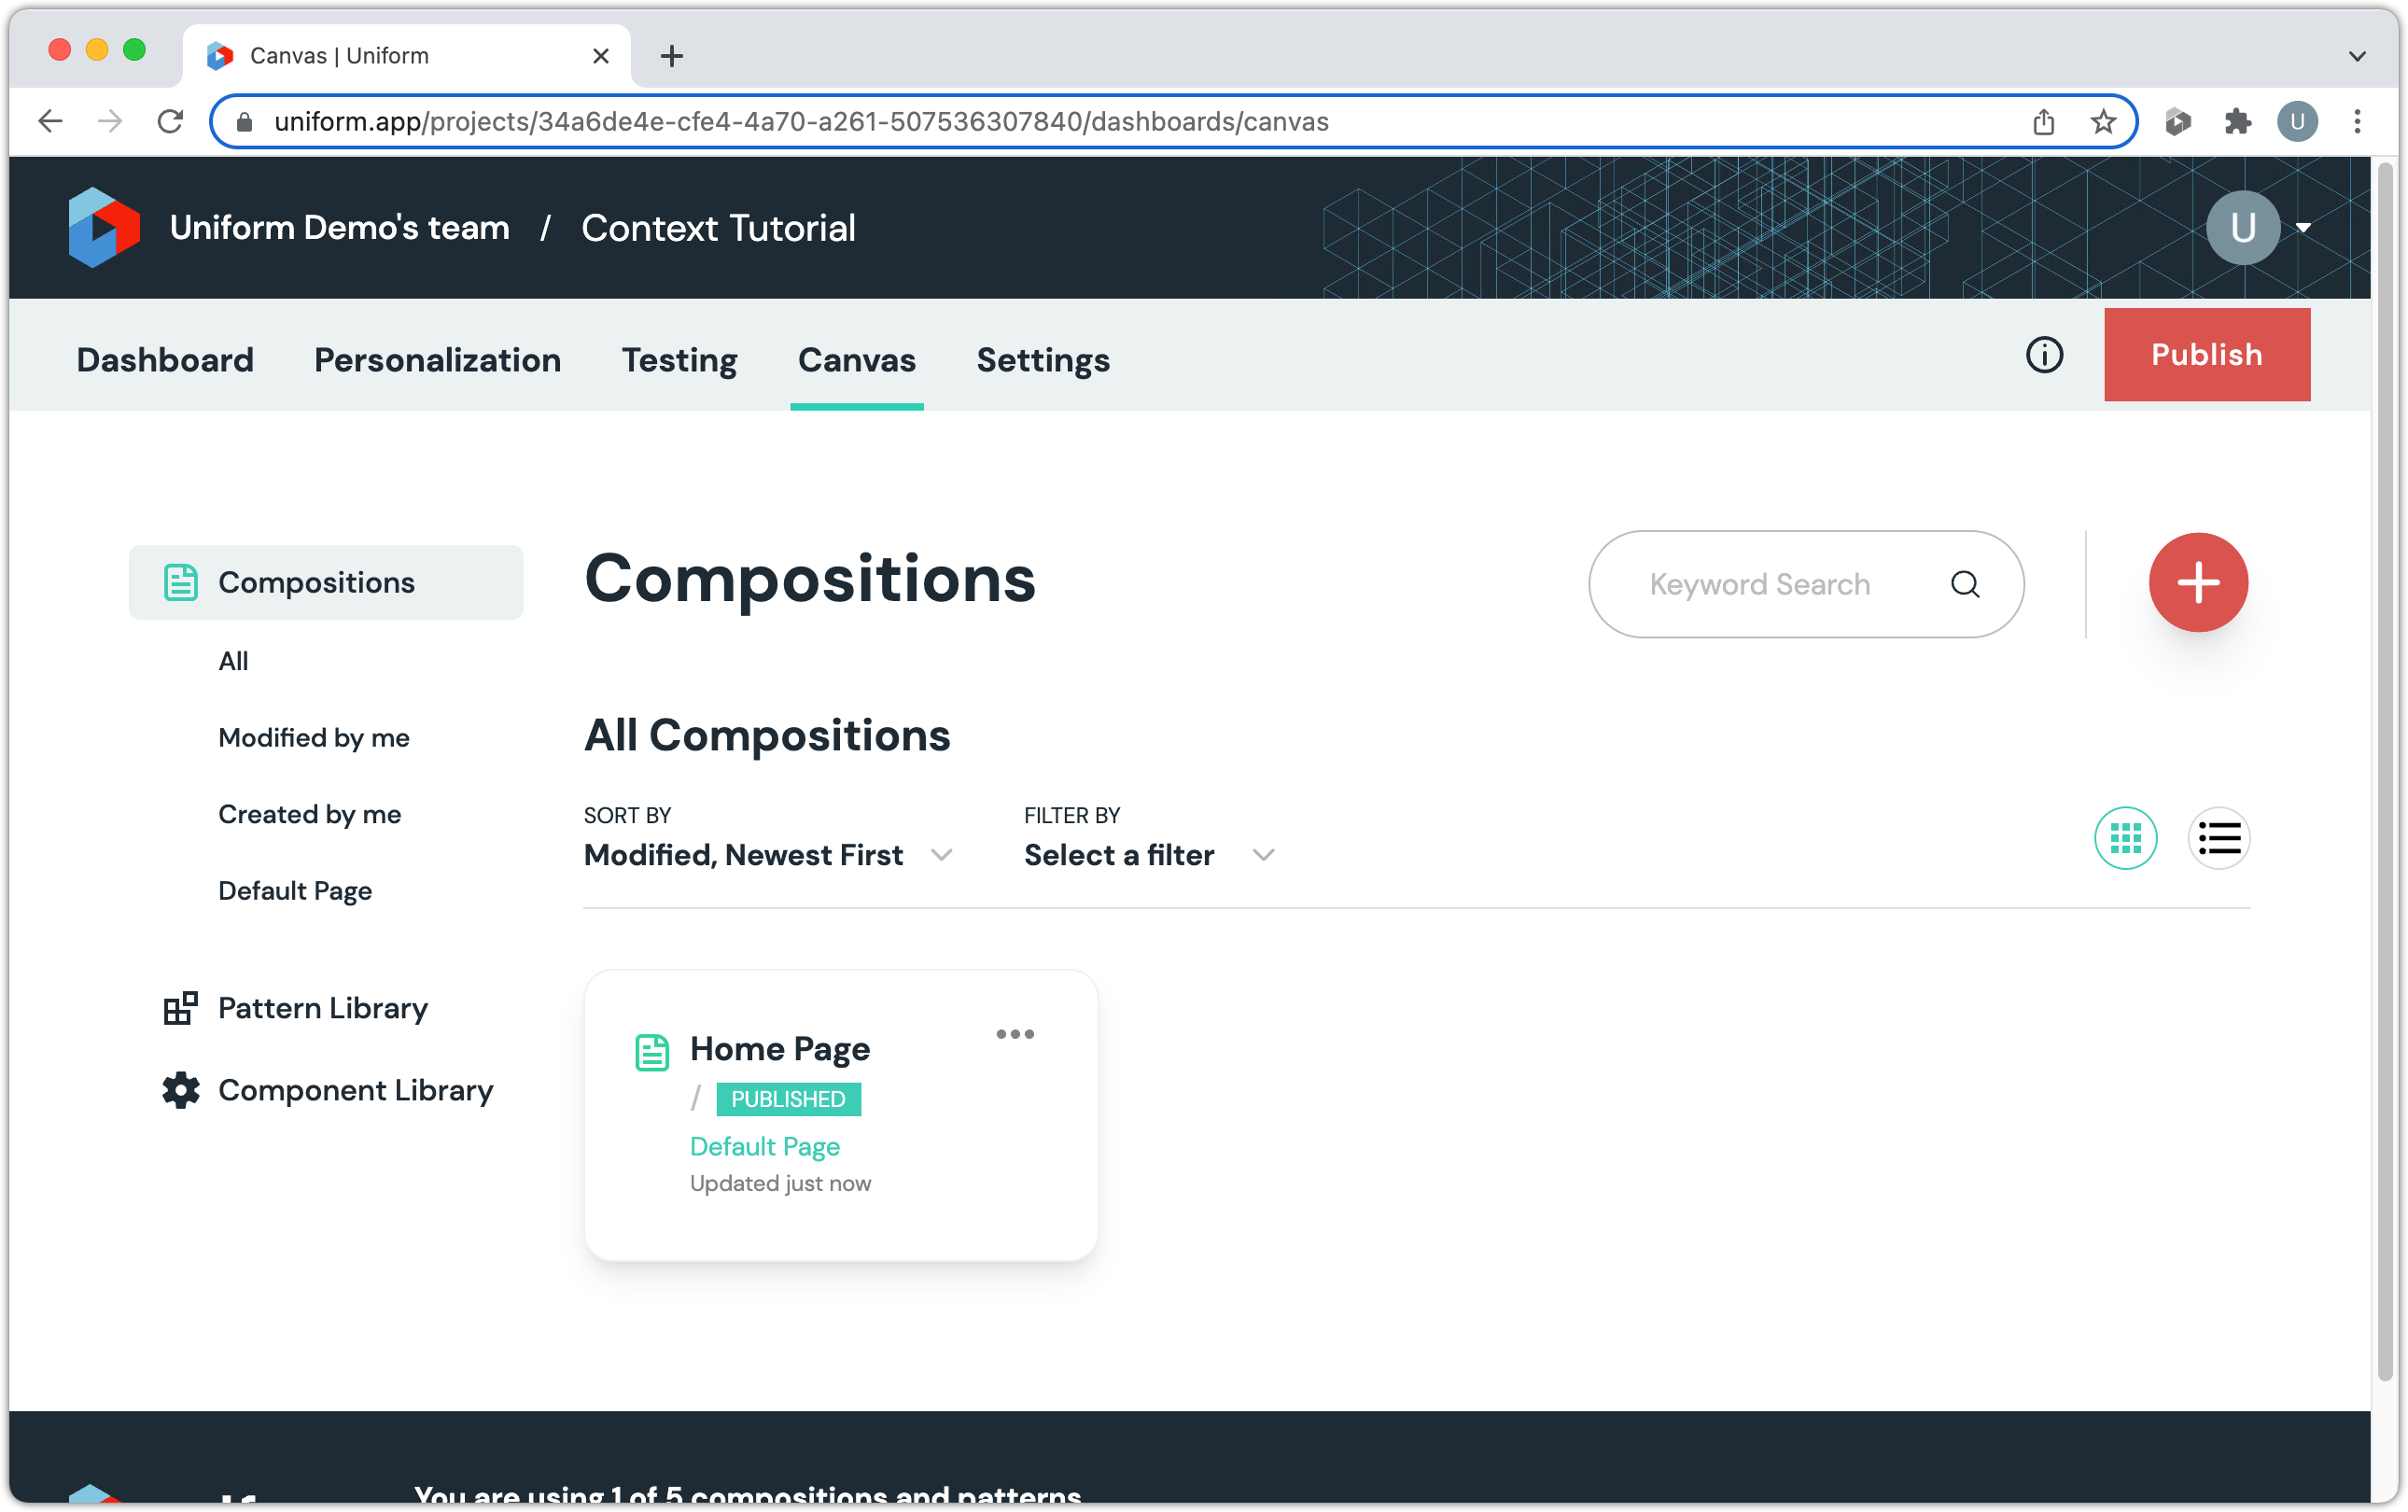
About this step
This takes you back to the main Canvas screen.