Canvas tutorial for Nuxt.js
We will be using Nuxt3
This tutorial is built for Vue.js v3 / Nuxt 3, which is in the Release Candidate stage at the moment. If you are using an earlier version of Vue.js or Nuxt, and looking to activate Uniform, please contact us.
Introduction
This tutorial walks you through the process of adding both Uniform Canvas and Uniform Context capabilities into your app. At the end of this tutorial, you will have a Nuxt app with a page rendering compositions from Uniform Canvas, personalizable, and A/B testable with Uniform Context. Uniform Context is an additional capability that works together with Canvas, bringing decoupled tracking, edge-side personalization, and A/B testing into your Nuxt app.
info
Learn more about the Context capability here.
While this tutorial asks you to go through a vanilla Nuxt setup, you can reuse the same steps if you want to integrate Uniform into your existing Nuxt app.
If you'd like to see the sources for the end-result, check out this repo:
git clone https://github.com/uniformdev/nuxt-canvas-context-helloworld.git
Let's get started!
Prerequisites
- A Uniform account with an empty project.
- Give both the core concepts behind Canvas and Glossary a read, so you are familiar with the concepts.
- Node.js LTS installed on your machine with either npm, yarn or pnpm.
Get API key
- Click your team name (e.g.
your@email.com's team) in the header to access your team - Click Settings to access team settings
- Click API Keys. Create a new API key and give it a recognizable name, such as
canvas-hello-world. - Click
Add permissions to a new projectand choose the project you want to use for this tutorial, then grant the following permissions:Uniform Canvas -> Compositions -> Read DraftUniform Canvas -> Compositions -> Read PublishedUniform Context -> Manifest -> Read
- Click Create API key
- Copy the API key and save it for later
- Copy the project ID and save it for later
Step 1: Component & Composition Setup
Step 1.1: Add new Components
In order to have something to render with Canvas, we need to define a component. This is very similar in concept to defining a Vue component's props type: what data does this component need to render, and which systems do we get the data from. To keep this as simple as possible we'll source content from a local text parameter, but keep in mind for later that the real power of Canvas is linking parameters to other data sources.
Switch to the Canvas tab and navigate to the Component Library.
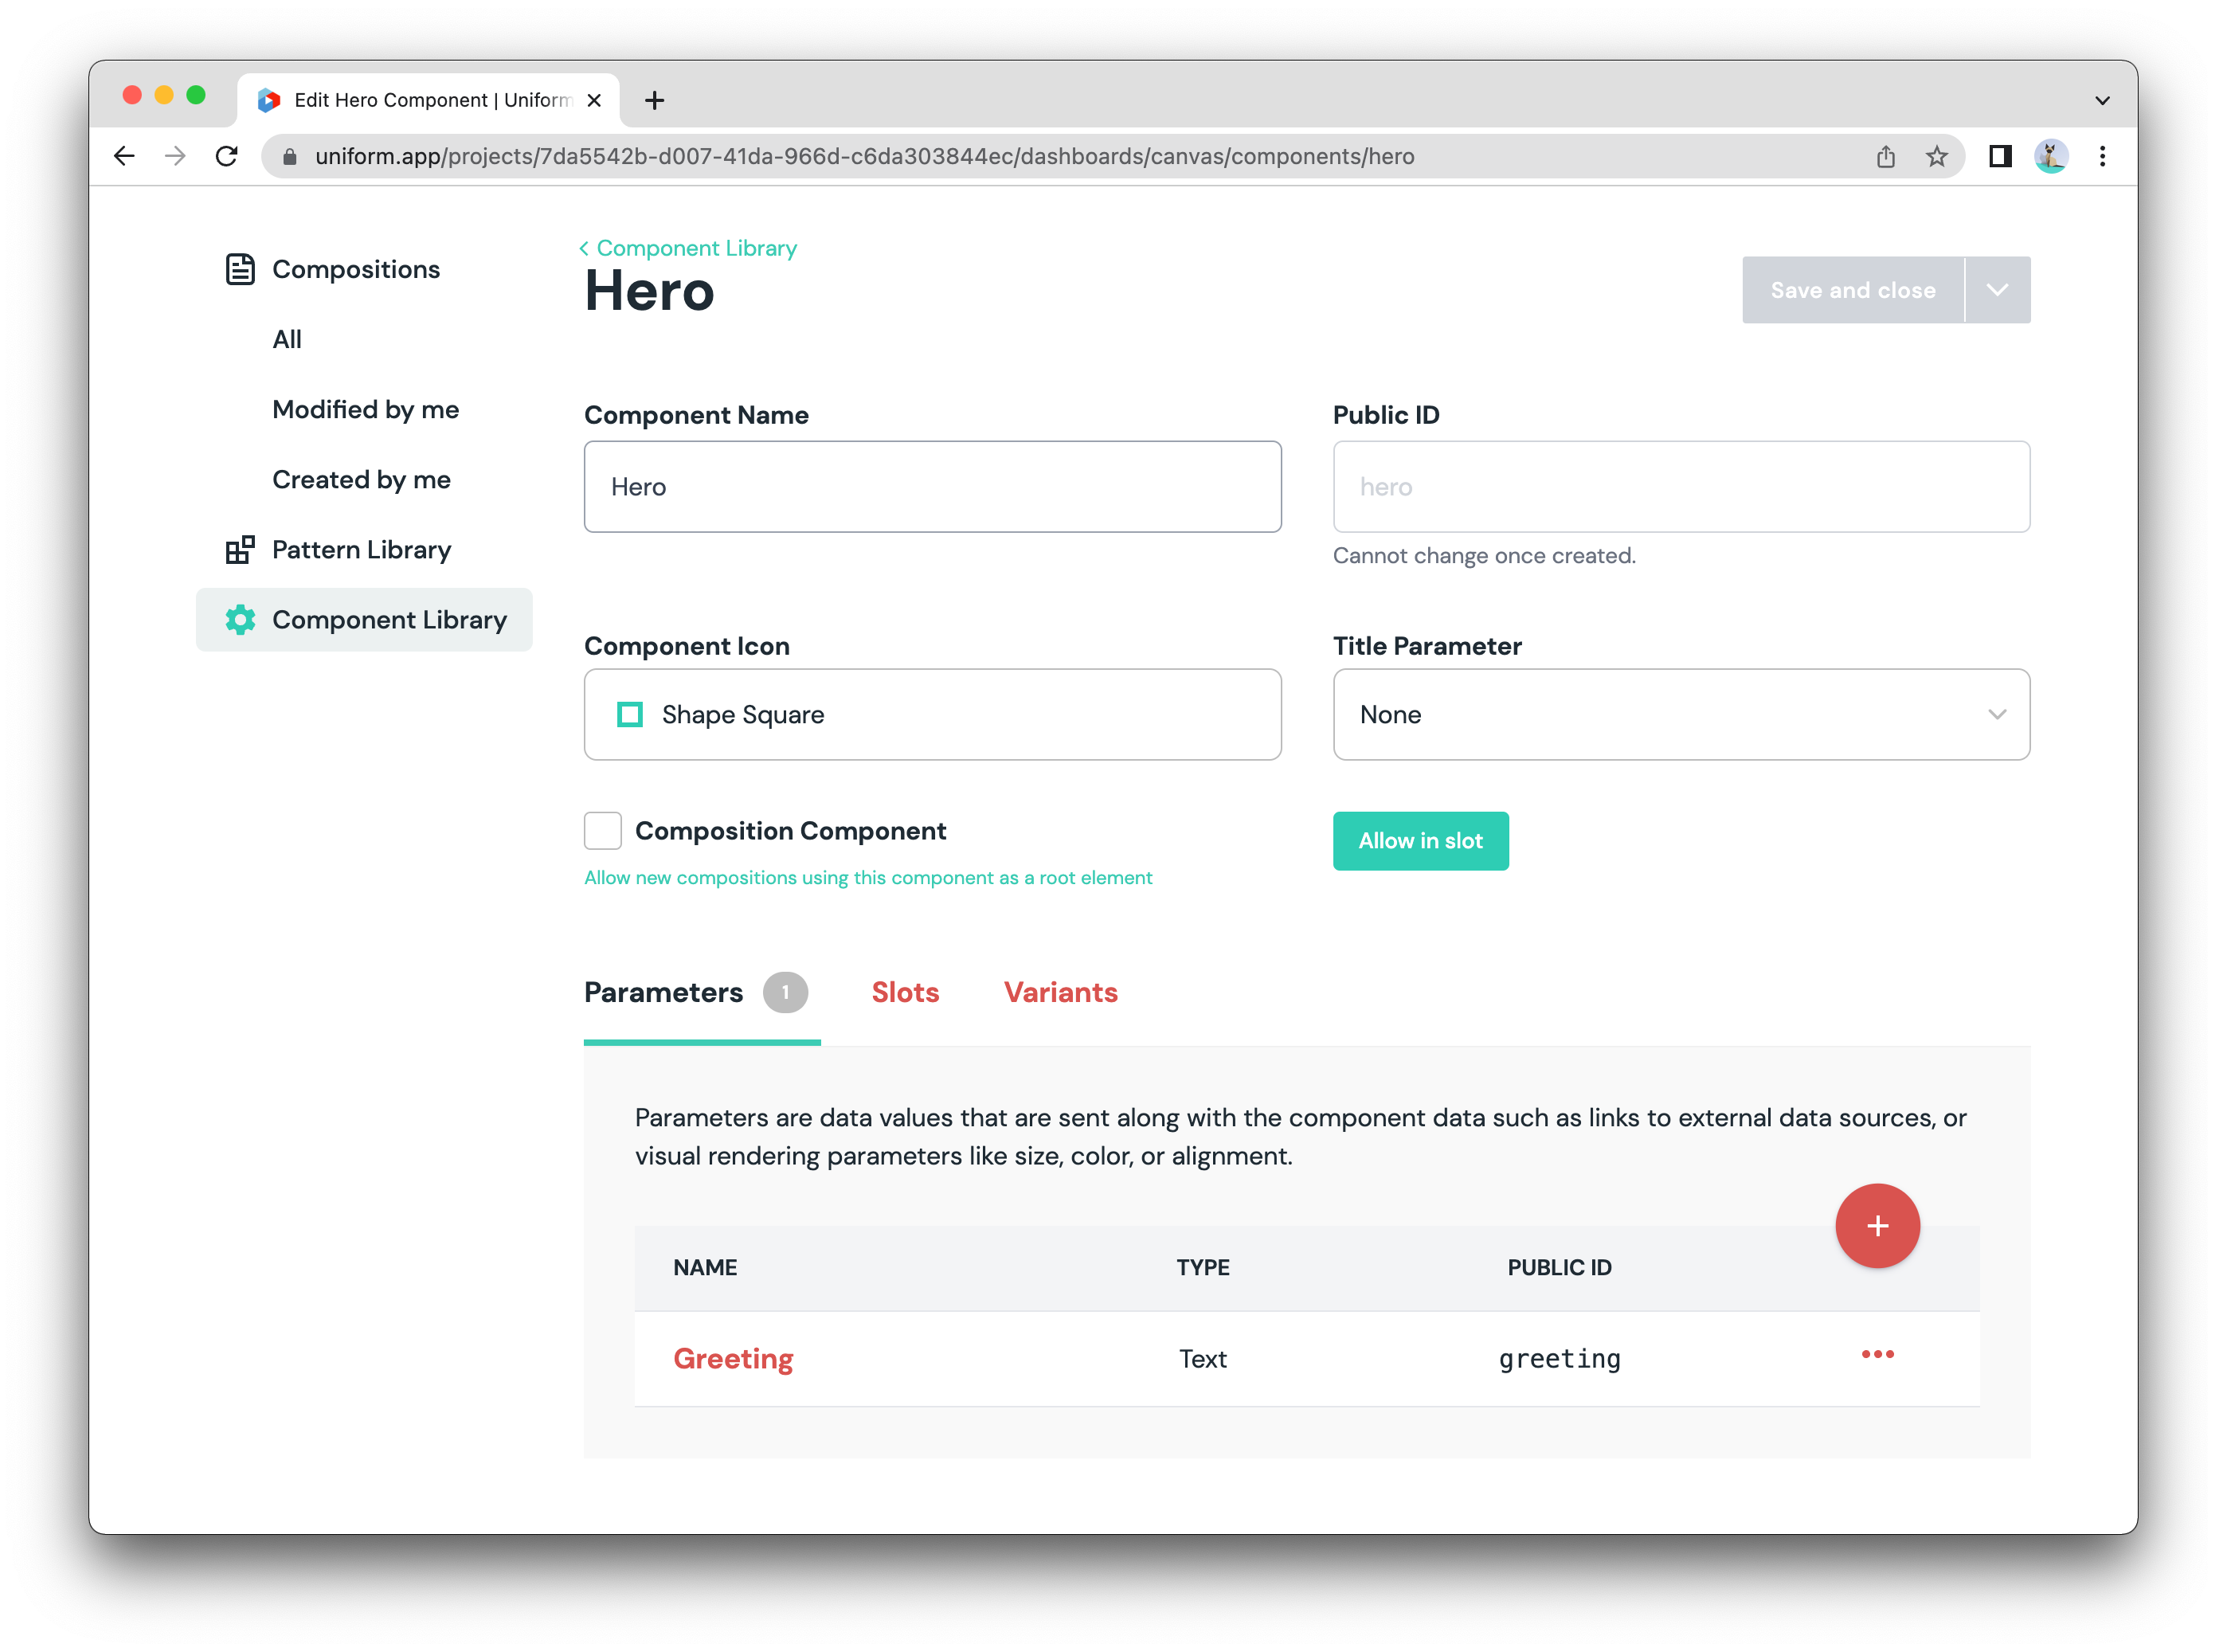
Click (+) to add a new component. Let's name it Hero.
On the component editor, click (+) next to Parameters to add a new parameter
Give the parameter a name such as Greeting, choose Text as the type, and give it a public ID that you will remember later such as greeting.
info
The public ID will be this parameter's name in the API and your code, so pick a rememberable and readable name.
Click
Save and Closeor typectrl+shift+sto save and close the component.
Here is how your component is expected to be set up:
Step 1.2: Add a new Composition
Let's create a page component which we can use as a Composition.
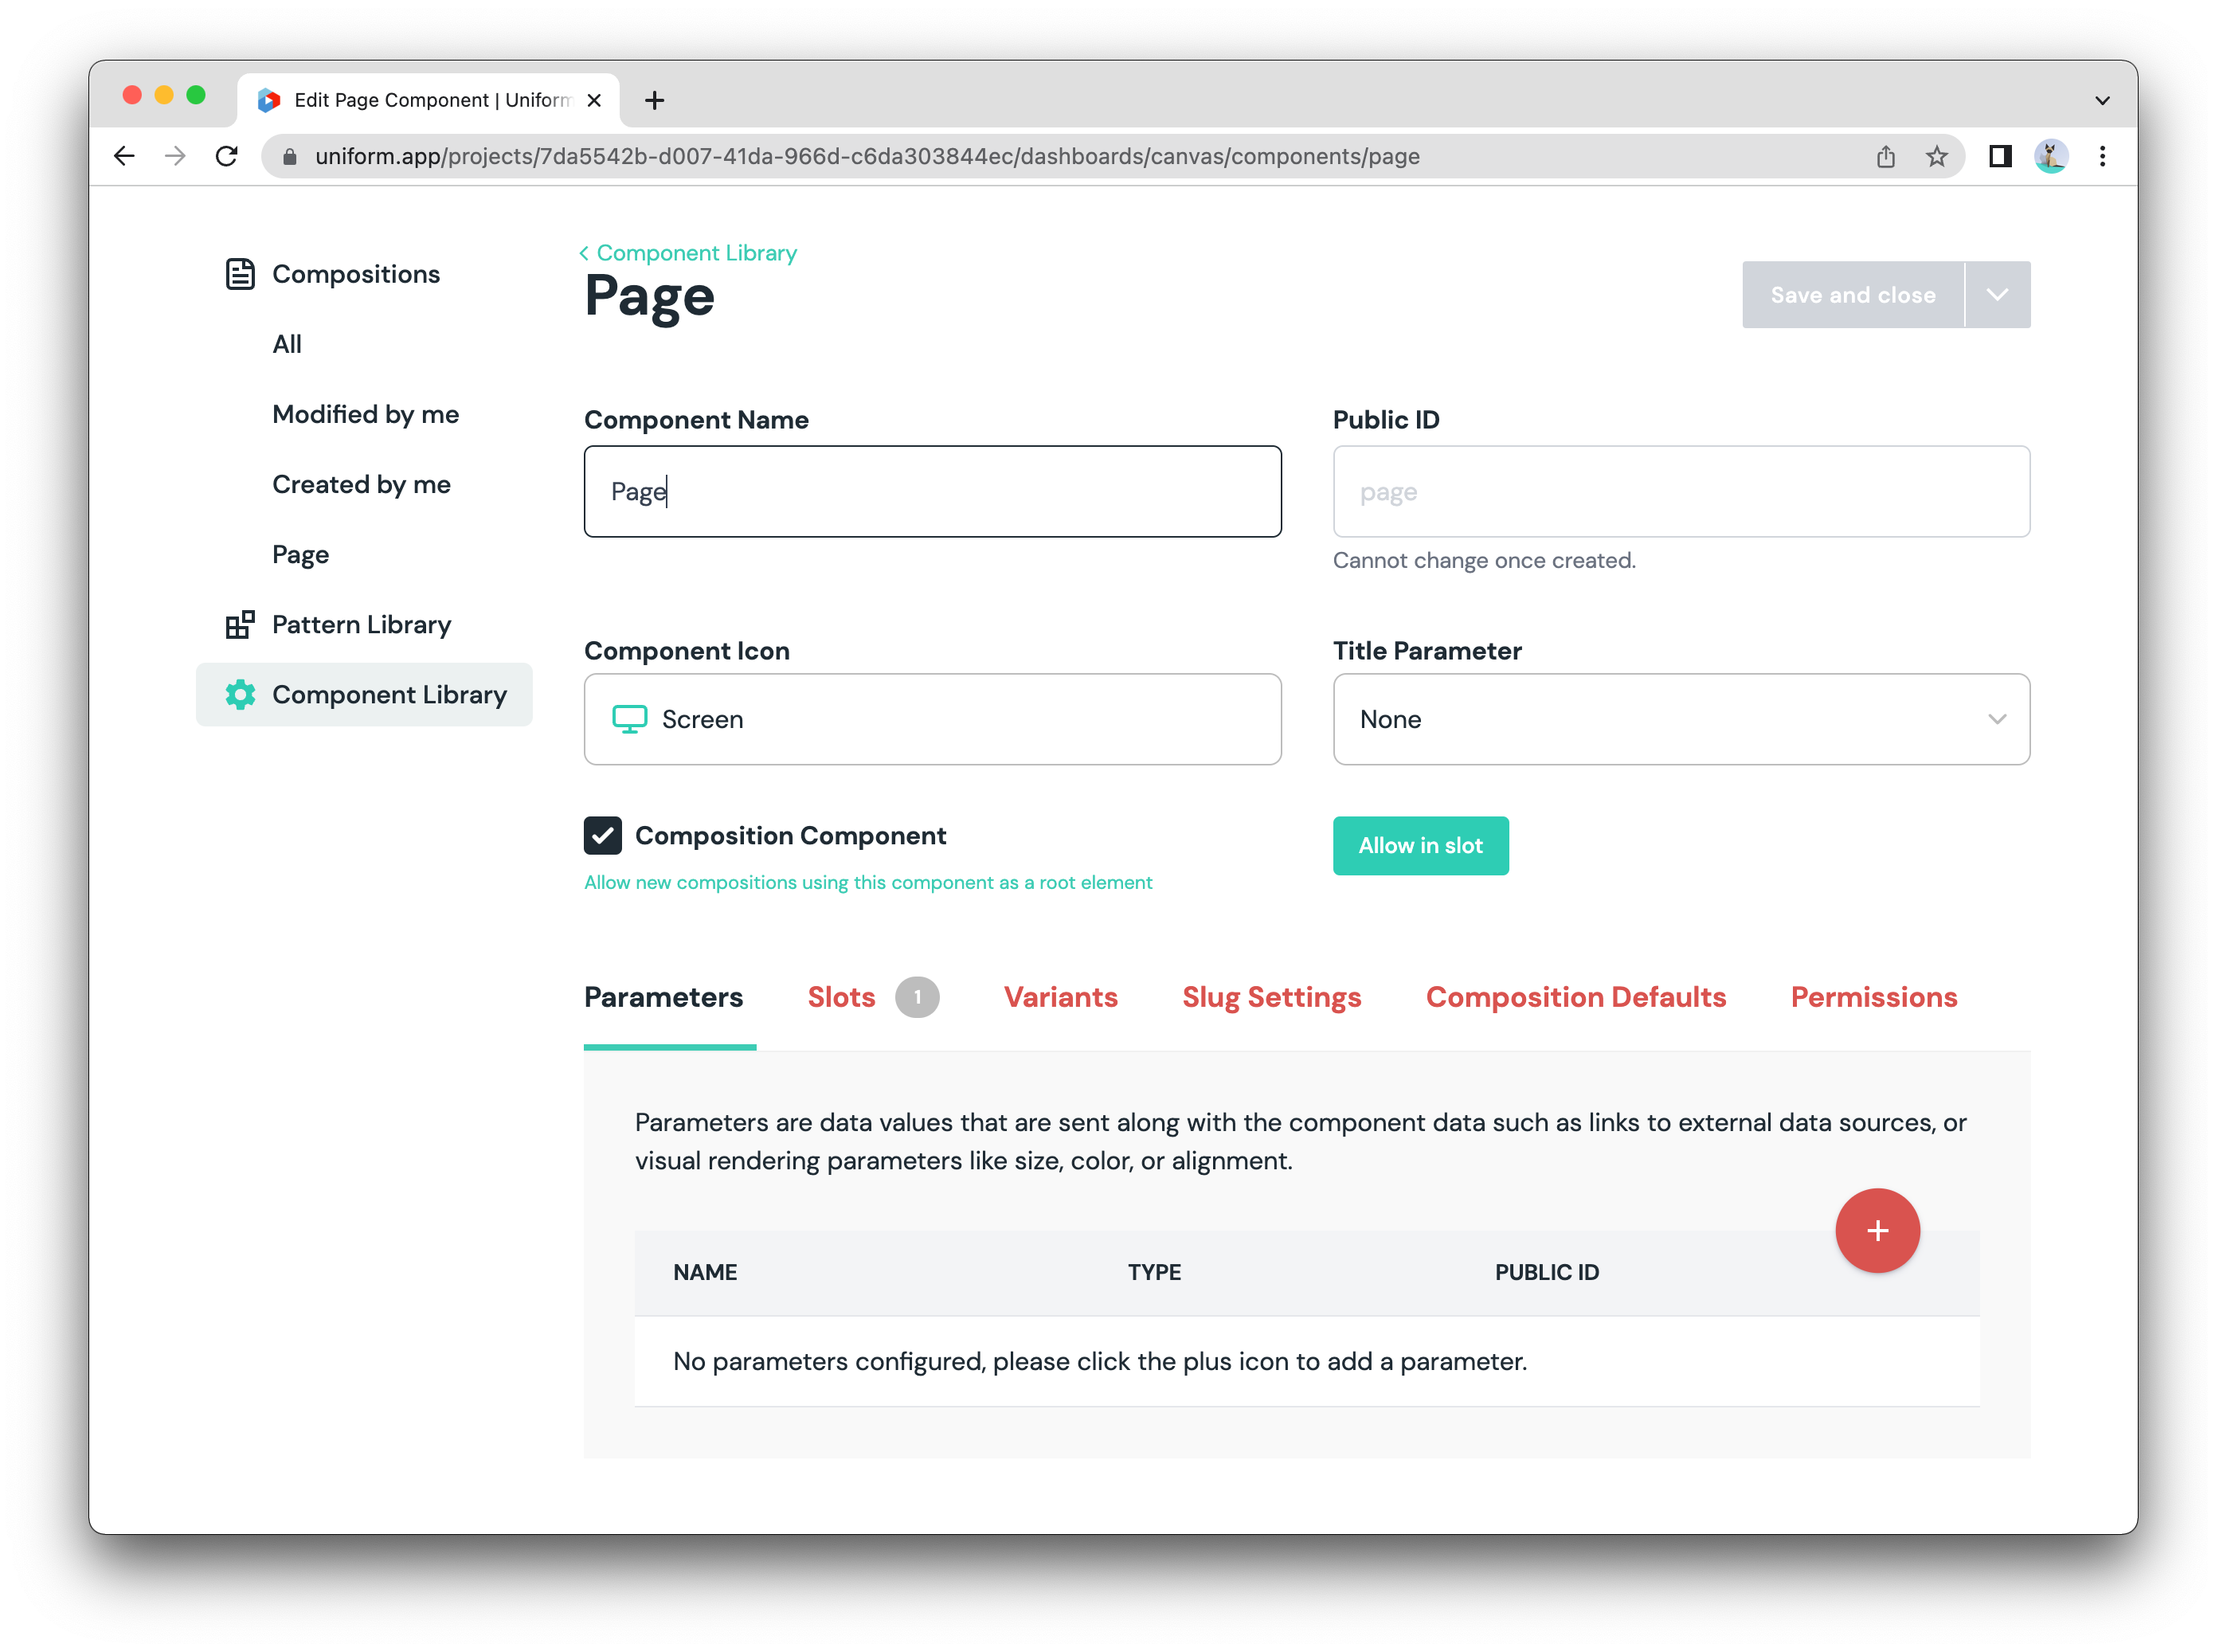
- Click (+) to add a new component. Let's name it Page.
- Tick the
Composition Componentcheckbox. - On the component editor, go to the Slots tab, then click the (+) button to add a new slot.
- Give the slot a name such as Content. In the "Allowed Components", pick the Hero component that we've created previously.
- Click
Save and Closeor typectrl+shift+sto save and close the component.
Here is how your component is expected to be set up:
Now that we've defined a component type, we need to create an instance of that type - a Composition - that we can render in Nuxt.
- Click Compositions in the left navigation, then (+) to add a new composition
- Pick the Page type we've just added, and give it a name, such as
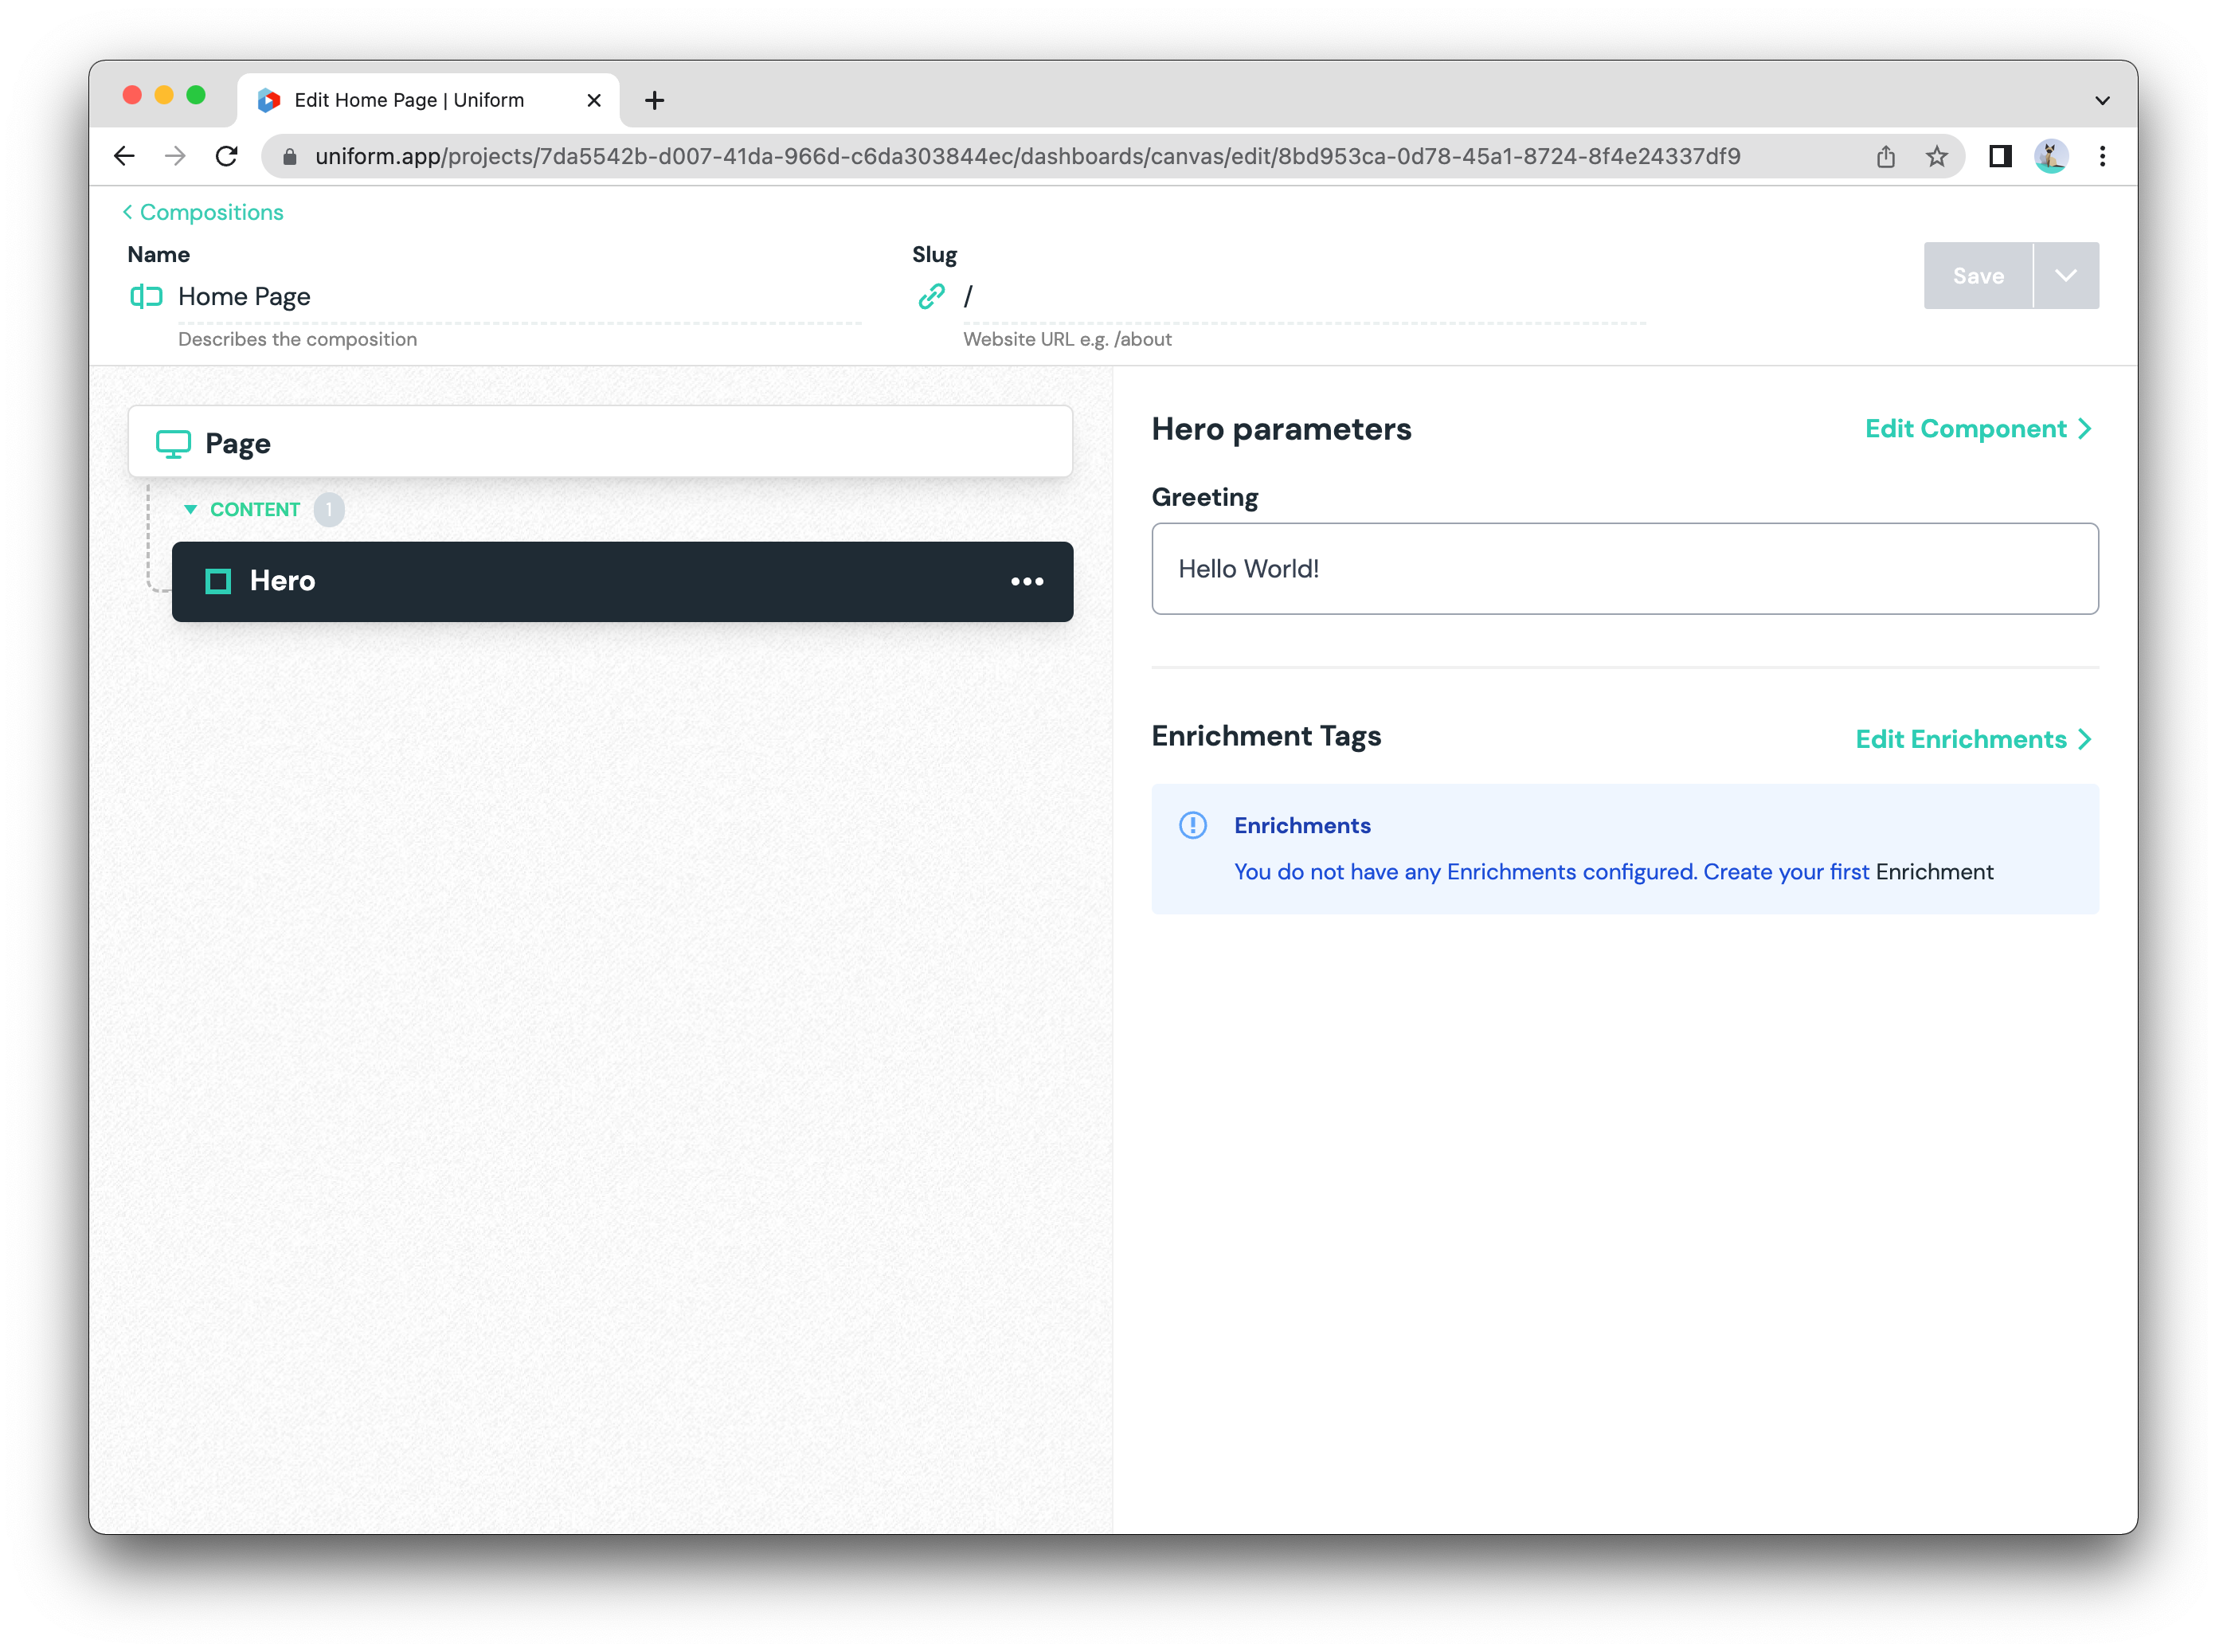
Home Page. - On the left side of the screen, under the Content slot, click the (+) button and add a Hero component.
- Enter some text in the greeting parameter (i.e. 'Hello World!')
- Set the slug in the header to
/ - Click
Save and publishor typectrl+shift+sto save it.
Here is how your new Hero composition would look like:
success
Now this composition can be retrieved from Canvas API using slug / or composition ID and pulled into your Nuxt app. Let's set it up next.
Applications usually consist of more than one page. To demo this scenario, let's create two more Compositions the same way we did for the home page:
One for developers:
- Go back to the compositions overview, then click (+) to add a new composition.
- Pick the Page type we've just added, and call it
Developer. - Set the slug in the header to
/developer - Click the (+) button and add a Hero component, and set 'Hello Developer!' in the greeting parameter.
- Click
Save and publishor typectrl+shift+sto save it.
And one for marketers:
- Go back to the compositions overview, then click (+) to add a new composition.
- Pick the Page type we've just added, and call it
Marketer. - Set the slug in the header to
/marketer - Click the (+) button and add a Hero component, and set 'Hello Marketer!' in the greeting parameter.
- Click
Save and publishor typectrl+shift+sto save it.
Step 2: Your Nuxt app setup
Step 2.1: Create your new Nuxt app
This step may be skipped if you are adding Uniform to your existing Nuxt app.
In a command line of your choice (uniform-demo can be any name you want here):
npx nuxi init uniform-demo
And then:
cd uniform-demo
Step 2.2: Set up the Canvas module for Nuxt
Install the Uniform Nuxt module and its peer dependencies:
- npm
- yarn
- pnpm
npm install @uniformdev/uniform-nuxt @uniformdev/canvas @uniformdev/canvas-vue @uniformdev/context @uniformdev/context-vueyarn add @uniformdev/uniform-nuxt @uniformdev/canvas @uniformdev/canvas-vue @uniformdev/context @uniformdev/context-vuepnpm add @uniformdev/uniform-nuxt @uniformdev/canvas @uniformdev/canvas-vue @uniformdev/context @uniformdev/context-vueCreate a
.envfile in app root and add the following environment variables:UNIFORM_API_KEY=<your-key-here>
UNIFORM_PROJECT_ID=<your-project-id-here>Make sure to replace the values with what you've saved earlier in the Get API key step.
Update
nuxt.config.tswith the following:nuxt.config.tsimport { defineNuxtConfig } from 'nuxt';
export default defineNuxtConfig({
modules: [
[
'@uniformdev/uniform-nuxt',
{
projectId: process.env.UNIFORM_PROJECT_ID,
readOnlyApiKey: process.env.UNIFORM_API_KEY,
},
],
],
transpile: ['@uniformdev/canvas-vue', '@uniformdev/context-vue'],
});The
transpileconfig is needed while Vue 3 doesn't support native ES modules.Run
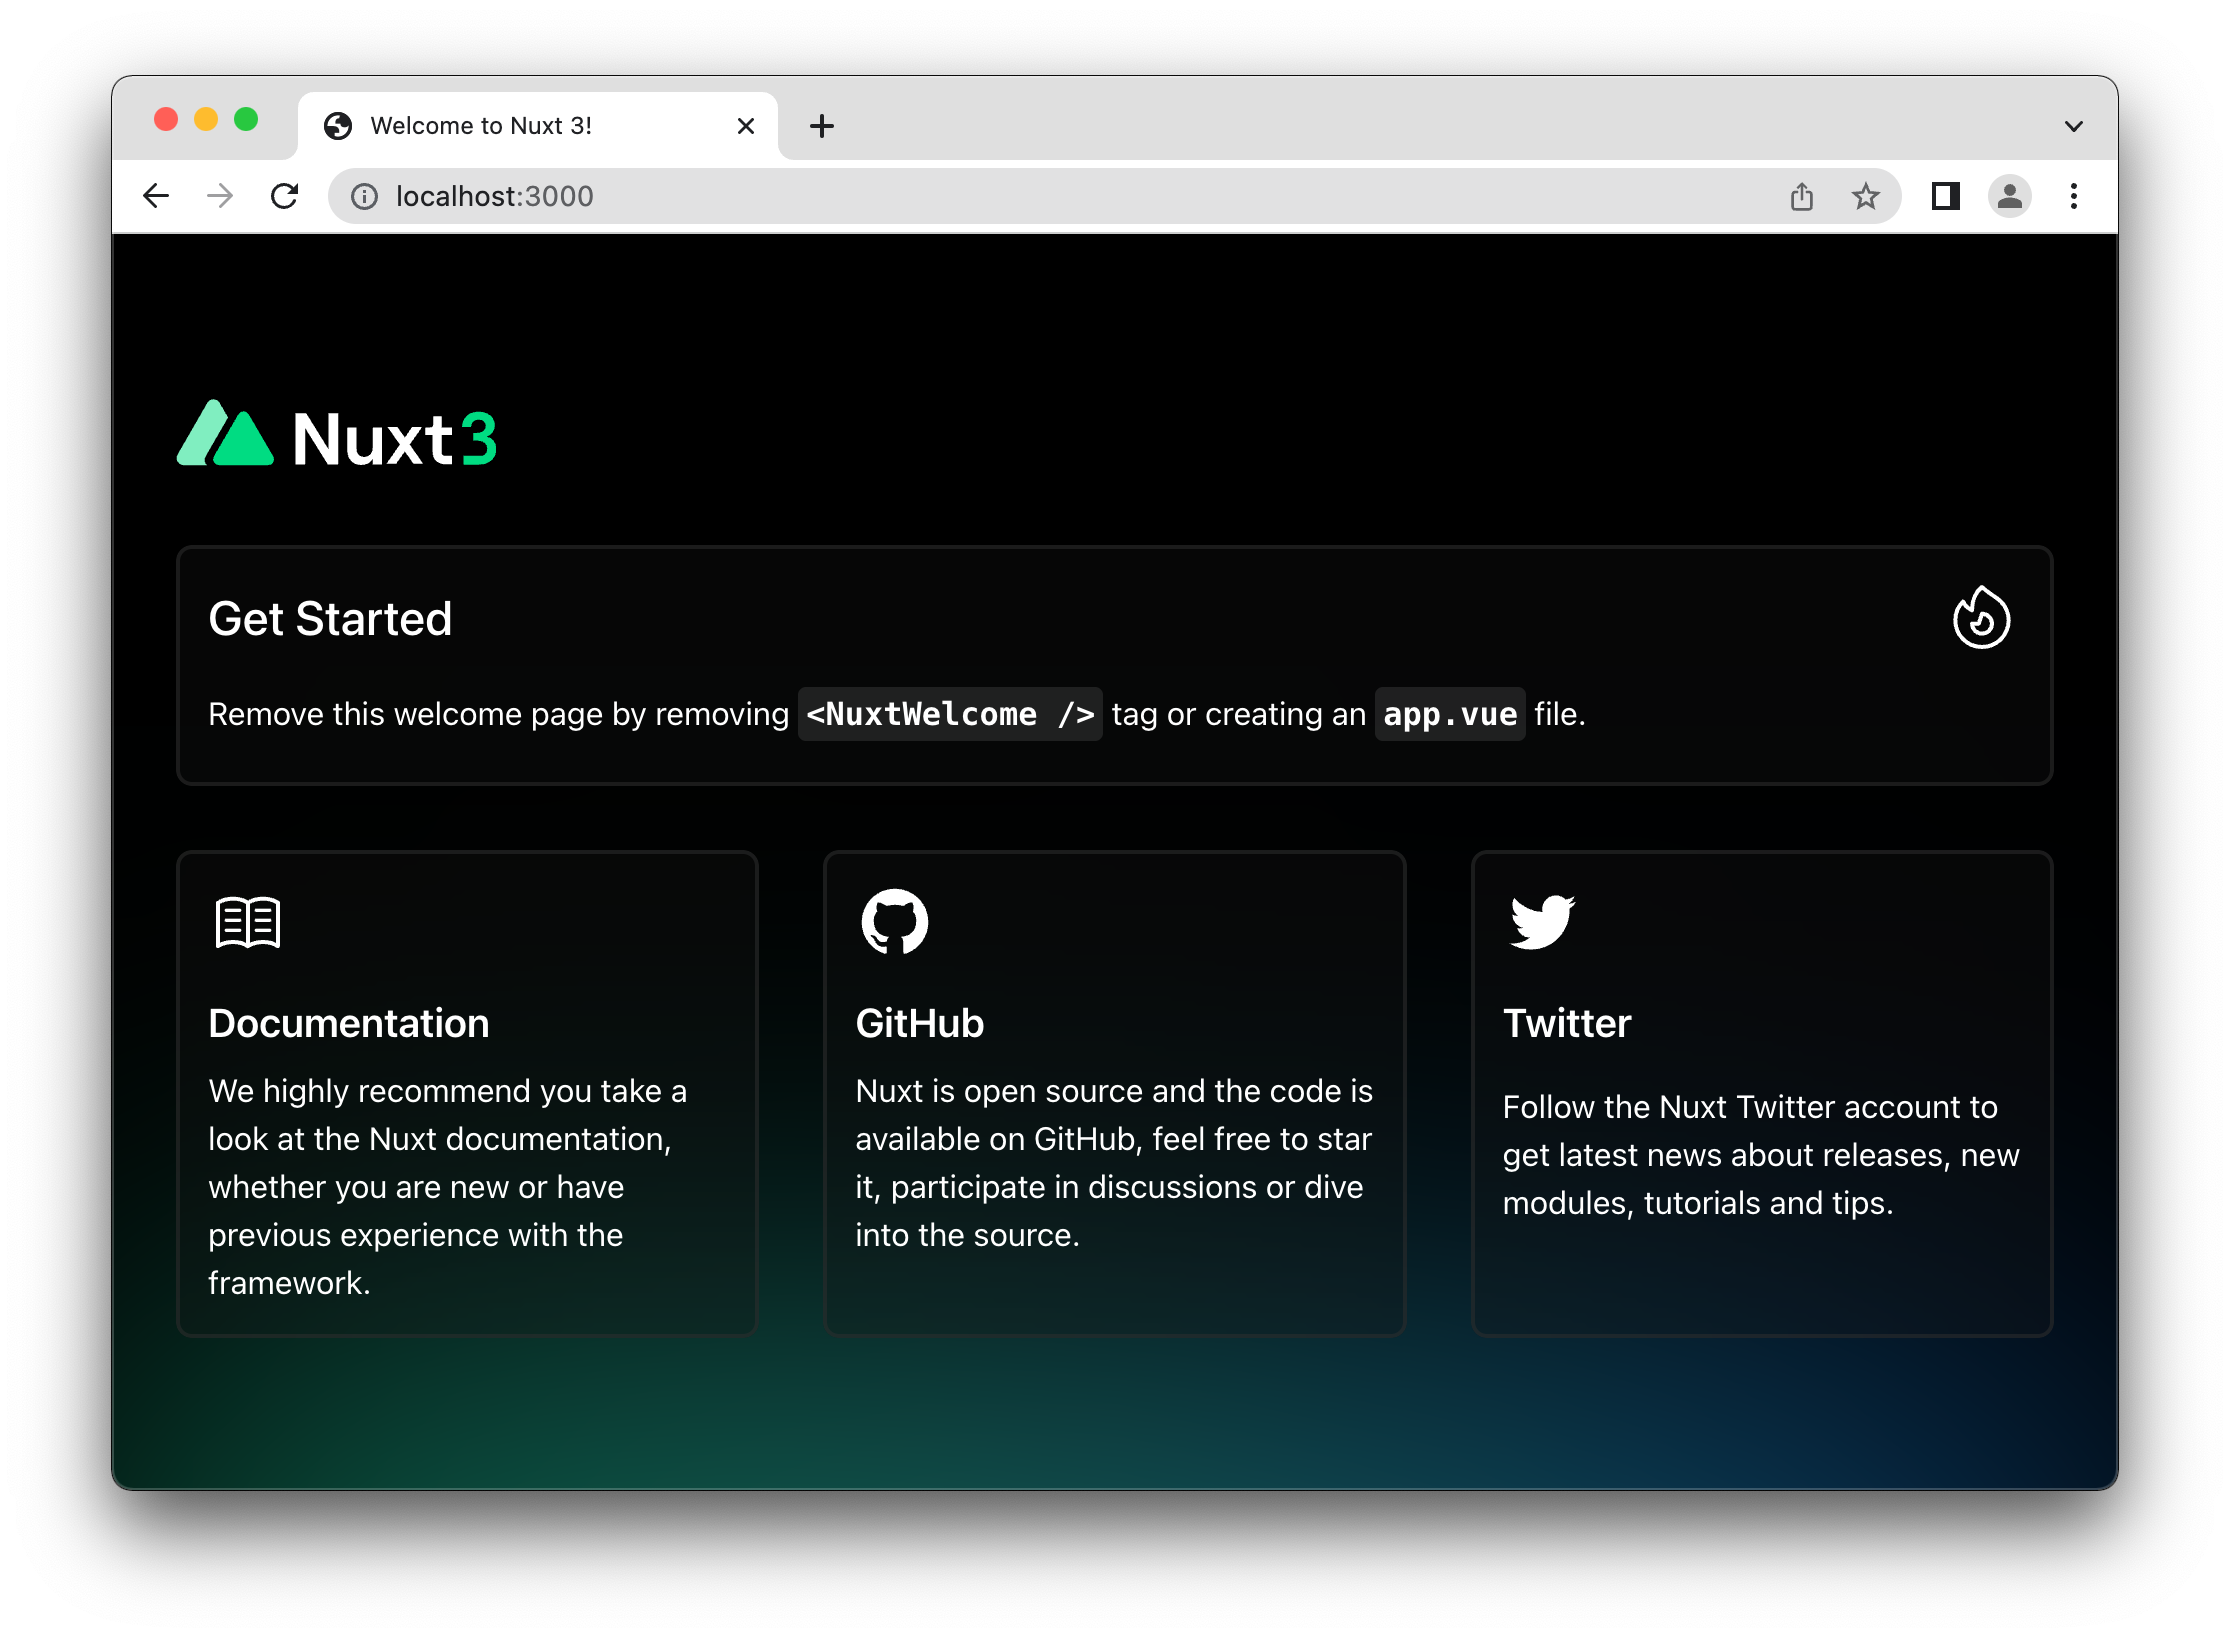
npm run dev,yarn devorpnpm devto start the dev server. Open http://localhost:3000 in your browser, or use the port that Nuxt suggests.
You are expected to see the Nuxt app rendering normally:
Step 3: Data fetching from Canvas API
Now that we have our Nuxt app configured, let's add data fetching and rendering of the compositions from Canvas within our Nuxt app. The Canvas client is a simple promise-based API client that can be used anywhere you like, such as during server-side rendering, static site generation, or even client-side rendering.
Step 3.1: Fetch Composition data
If you haven't already, run
npm run dev,yarn devorpnpm devto get your nuxt.js app running locally.Create a
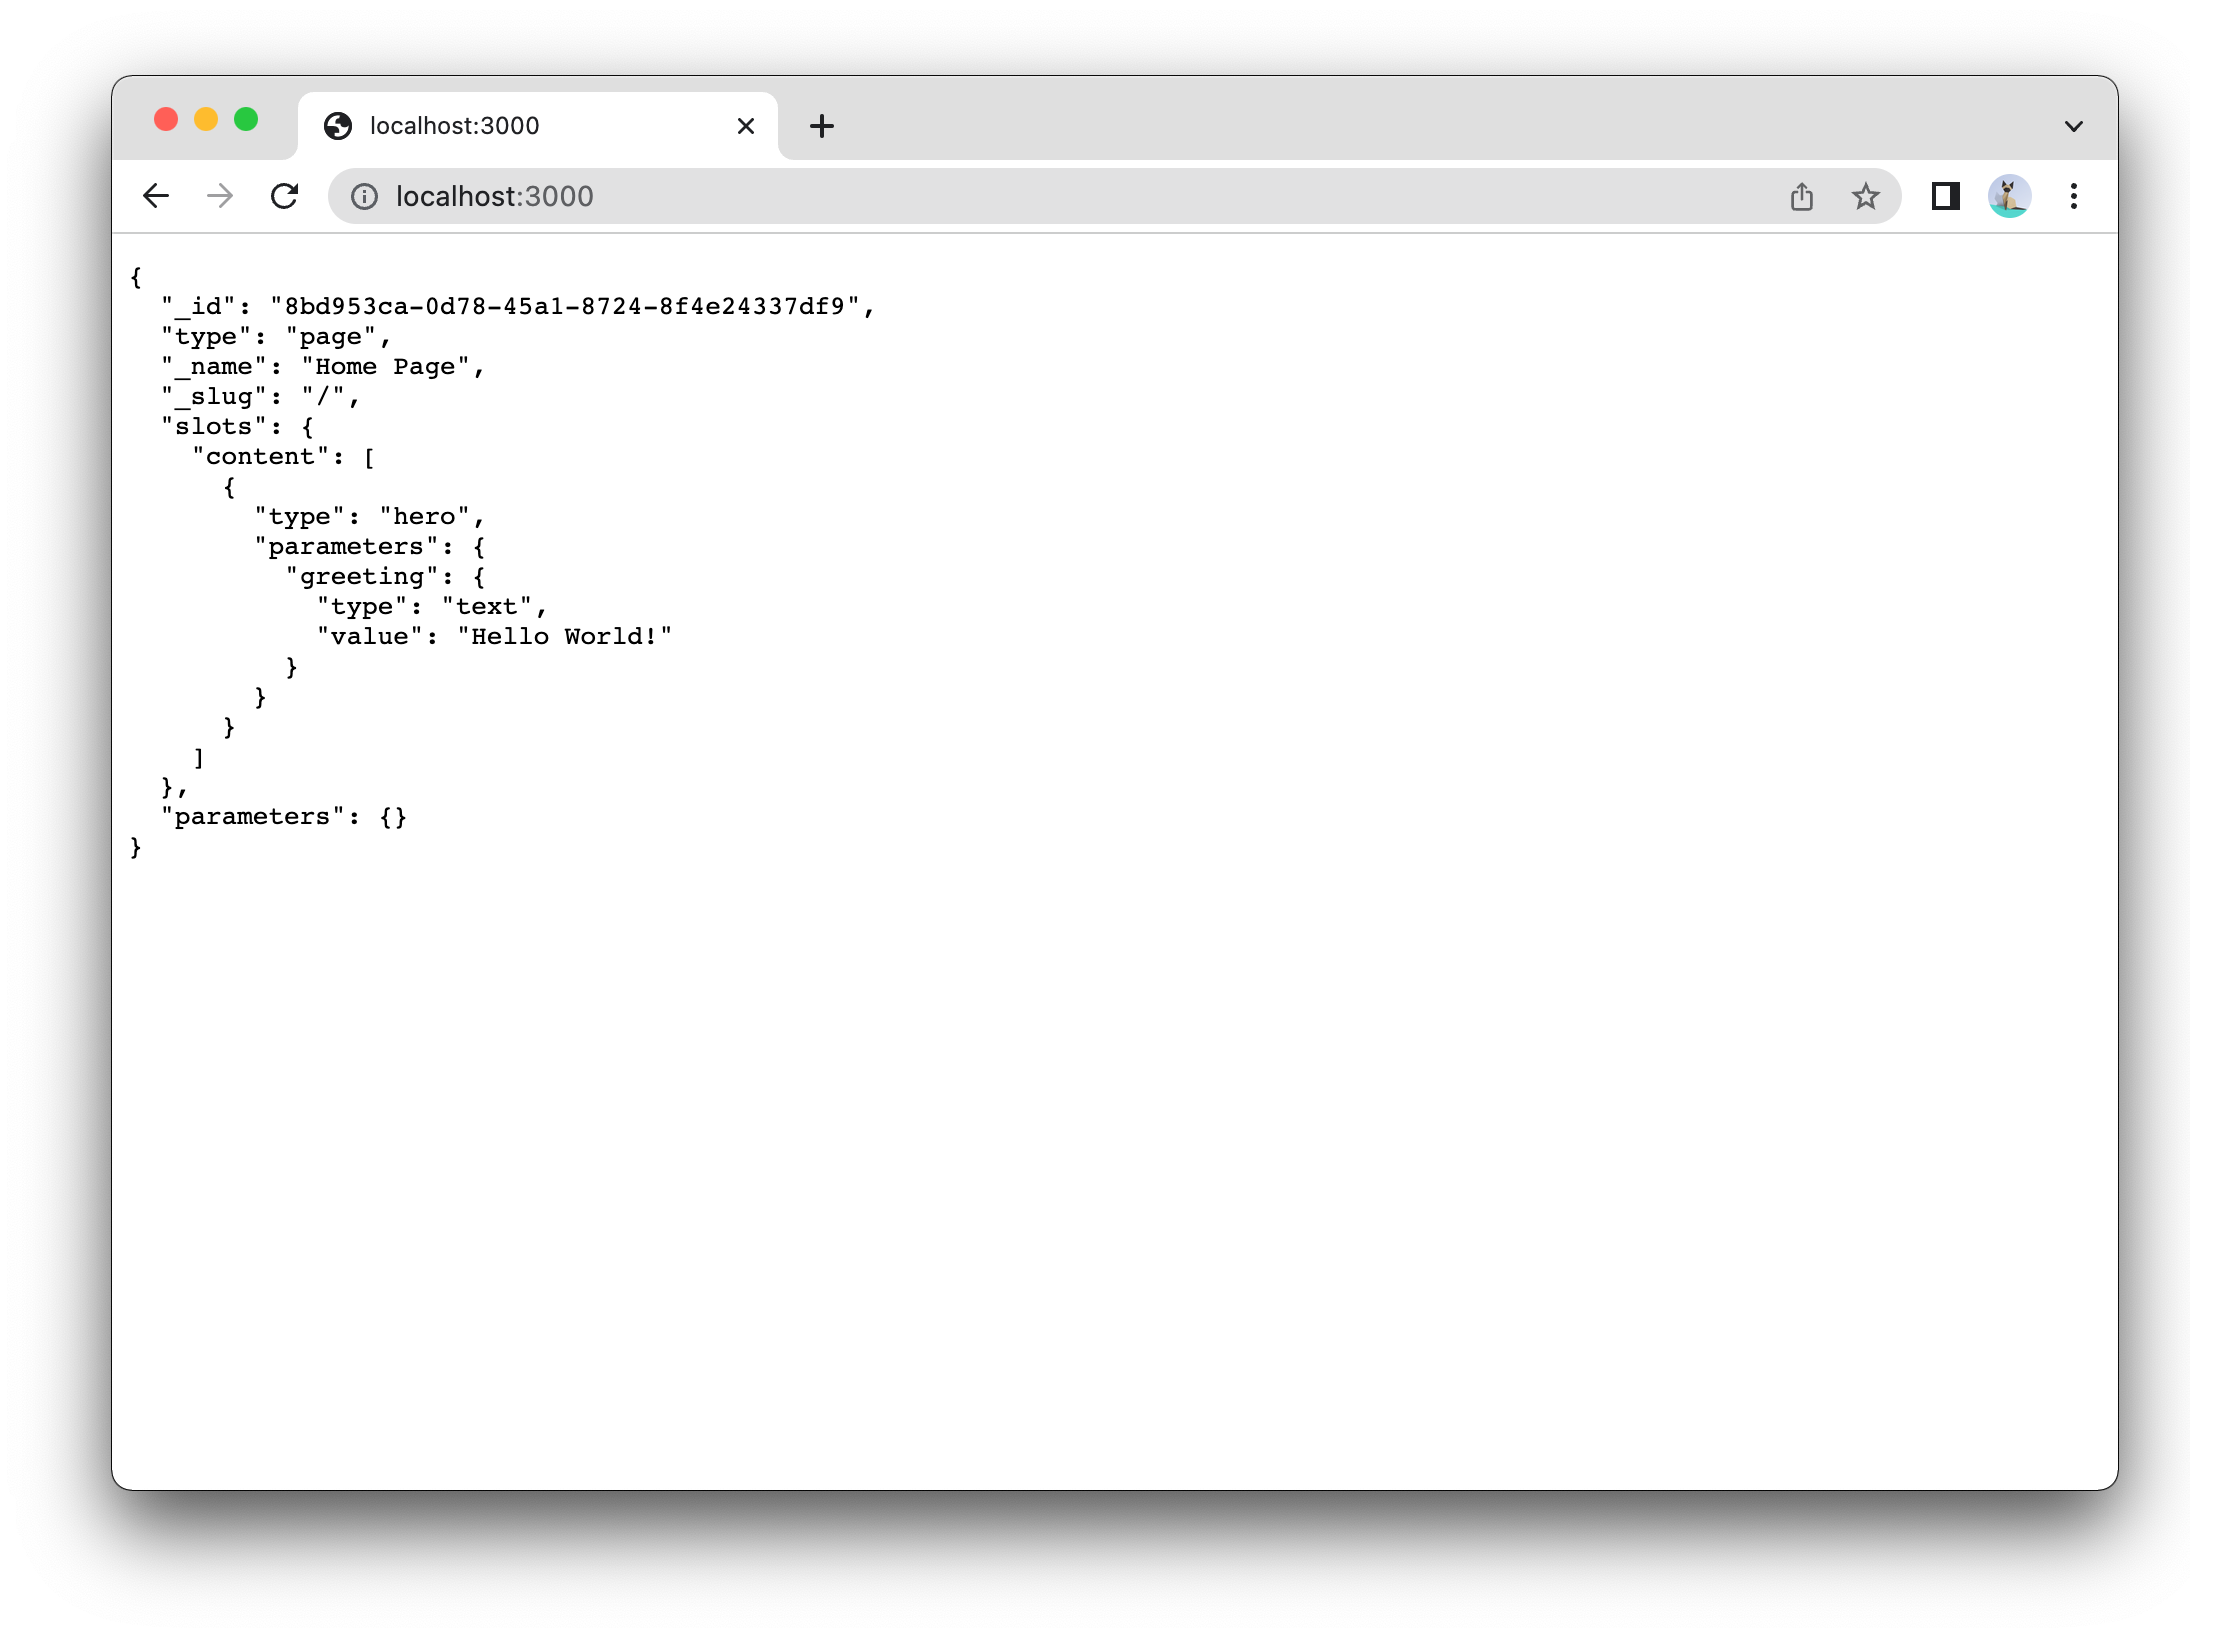
pages/[[slug]].vuefile with the code below to render the composition as JSON:pages/[[slug]].vue<script lang="ts" setup>
const route = useRoute();
const fullSlug = `/${route.params.slug ?? ''}`;
const { $useComposition } = useNuxtApp();
const { data } = await $useComposition({ slug: fullSlug });
const composition = computed(() => data.value?.composition);
</script>
<template>
<pre>{{ composition }}</pre>
</template>The
$useCompositioncomposable is provided by the Uniform Nuxt module.Modify the
app.vuefile to render our page instead of the welcome one:app.vue<template>
<NuxtPage />
</template>Now you should be able to see the composition JSON rendered into your browser:
tip
If you are not seeing changes taking effect after you save, refresh the page manually (F5 or cmd+R).
Step 3.2: Render a full Composition
Now that we have the raw data of the composition rendering, let's render an actual Hero Vue component with the data coming from this composition.
First, let's create a new
Hero.vuecomponent under the/componentsfolder:components/Hero.vue<script lang="ts" setup>
defineProps<{
greeting: string;
}>();
</script>
<template>
<h2>{{ greeting }}</h2>
</template>To render composition, we use the
<Composition />and<SlotContent />components, which were auto-registered by the Uniform Nuxt module. Replace the<template />within[[slug]].vuewith the following ("content" is the name of the Page slot what we've set earlier):/pages/[[slug]].vue<template>
<Composition v-if="composition" :data="composition">
<SlotContent name="content" />
</Composition>
</template>We still can't see anything on the browser yet, and that's because the Composition component doesn't know what to render for each slot. To Fix this, we provide the
<Composition />component with aresolveRenderer, which is just a simple function that takes a Canvas component and returns the Vue component to be rendered:components/resolveRenderer.tsimport { ComponentInstance } from '@uniformdev/canvas';
import { DefaultNotImplementedComponent } from '@uniformdev/canvas-vue';
import Hero from './Hero.vue';
const mapping = {
hero: Hero,
};
export const resolveRenderer = (component: ComponentInstance) => {
return mapping[component.type] ?? DefaultNotImplementedComponent;
};DefaultNotImplementedComponentis useful for debugging, it renders a warning in case your mapping is missing a Vue component.Pass the
resolveRendererto the<Composition />component:pages/[[slug]].vue<script lang="ts" setup>
import { resolveRenderer } from '../components/resolveRenderer';
const route = useRoute();
const fullSlug = `/${route.params.slug ?? ''}`;
const { $useComposition } = useNuxtApp();
const { data } = await $useComposition({ slug: fullSlug });
const composition = computed(() => data.value?.composition);
</script>
<template>
<Composition v-if="composition" :data="composition" :resolveRenderer="resolveRenderer">
<SlotContent name="content" />
</Composition>
</template>And to facilitate the navigation between our different pages, let's create a navbar component and add it to the page component:
component/NavBar.vue<template>
<nav>
<NuxtLink to="/">Home</NuxtLink> | <NuxtLink to="/developer">Developer</NuxtLink> |
<NuxtLink to="/marketer">Marketer</NuxtLink>
</nav>
</template>pages/[[slug]].vue<script lang="ts" setup>
import { resolveRenderer } from '../components/resolveRenderer';
const route = useRoute();
const fullSlug = `/${route.params.slug ?? ''}`;
const { $useComposition } = useNuxtApp();
const { data } = await $useComposition({ slug: fullSlug });
const composition = computed(() => data.value?.composition);
</script>
<template>
<div>
<NavBar />
<Composition v-if="composition" :data="composition" :resolveRenderer="resolveRenderer">
<SlotContent name="content" />
</Composition>
</div>
</template>We also wrap everything in a
<div>as Nuxt requires pages to have a single root element.
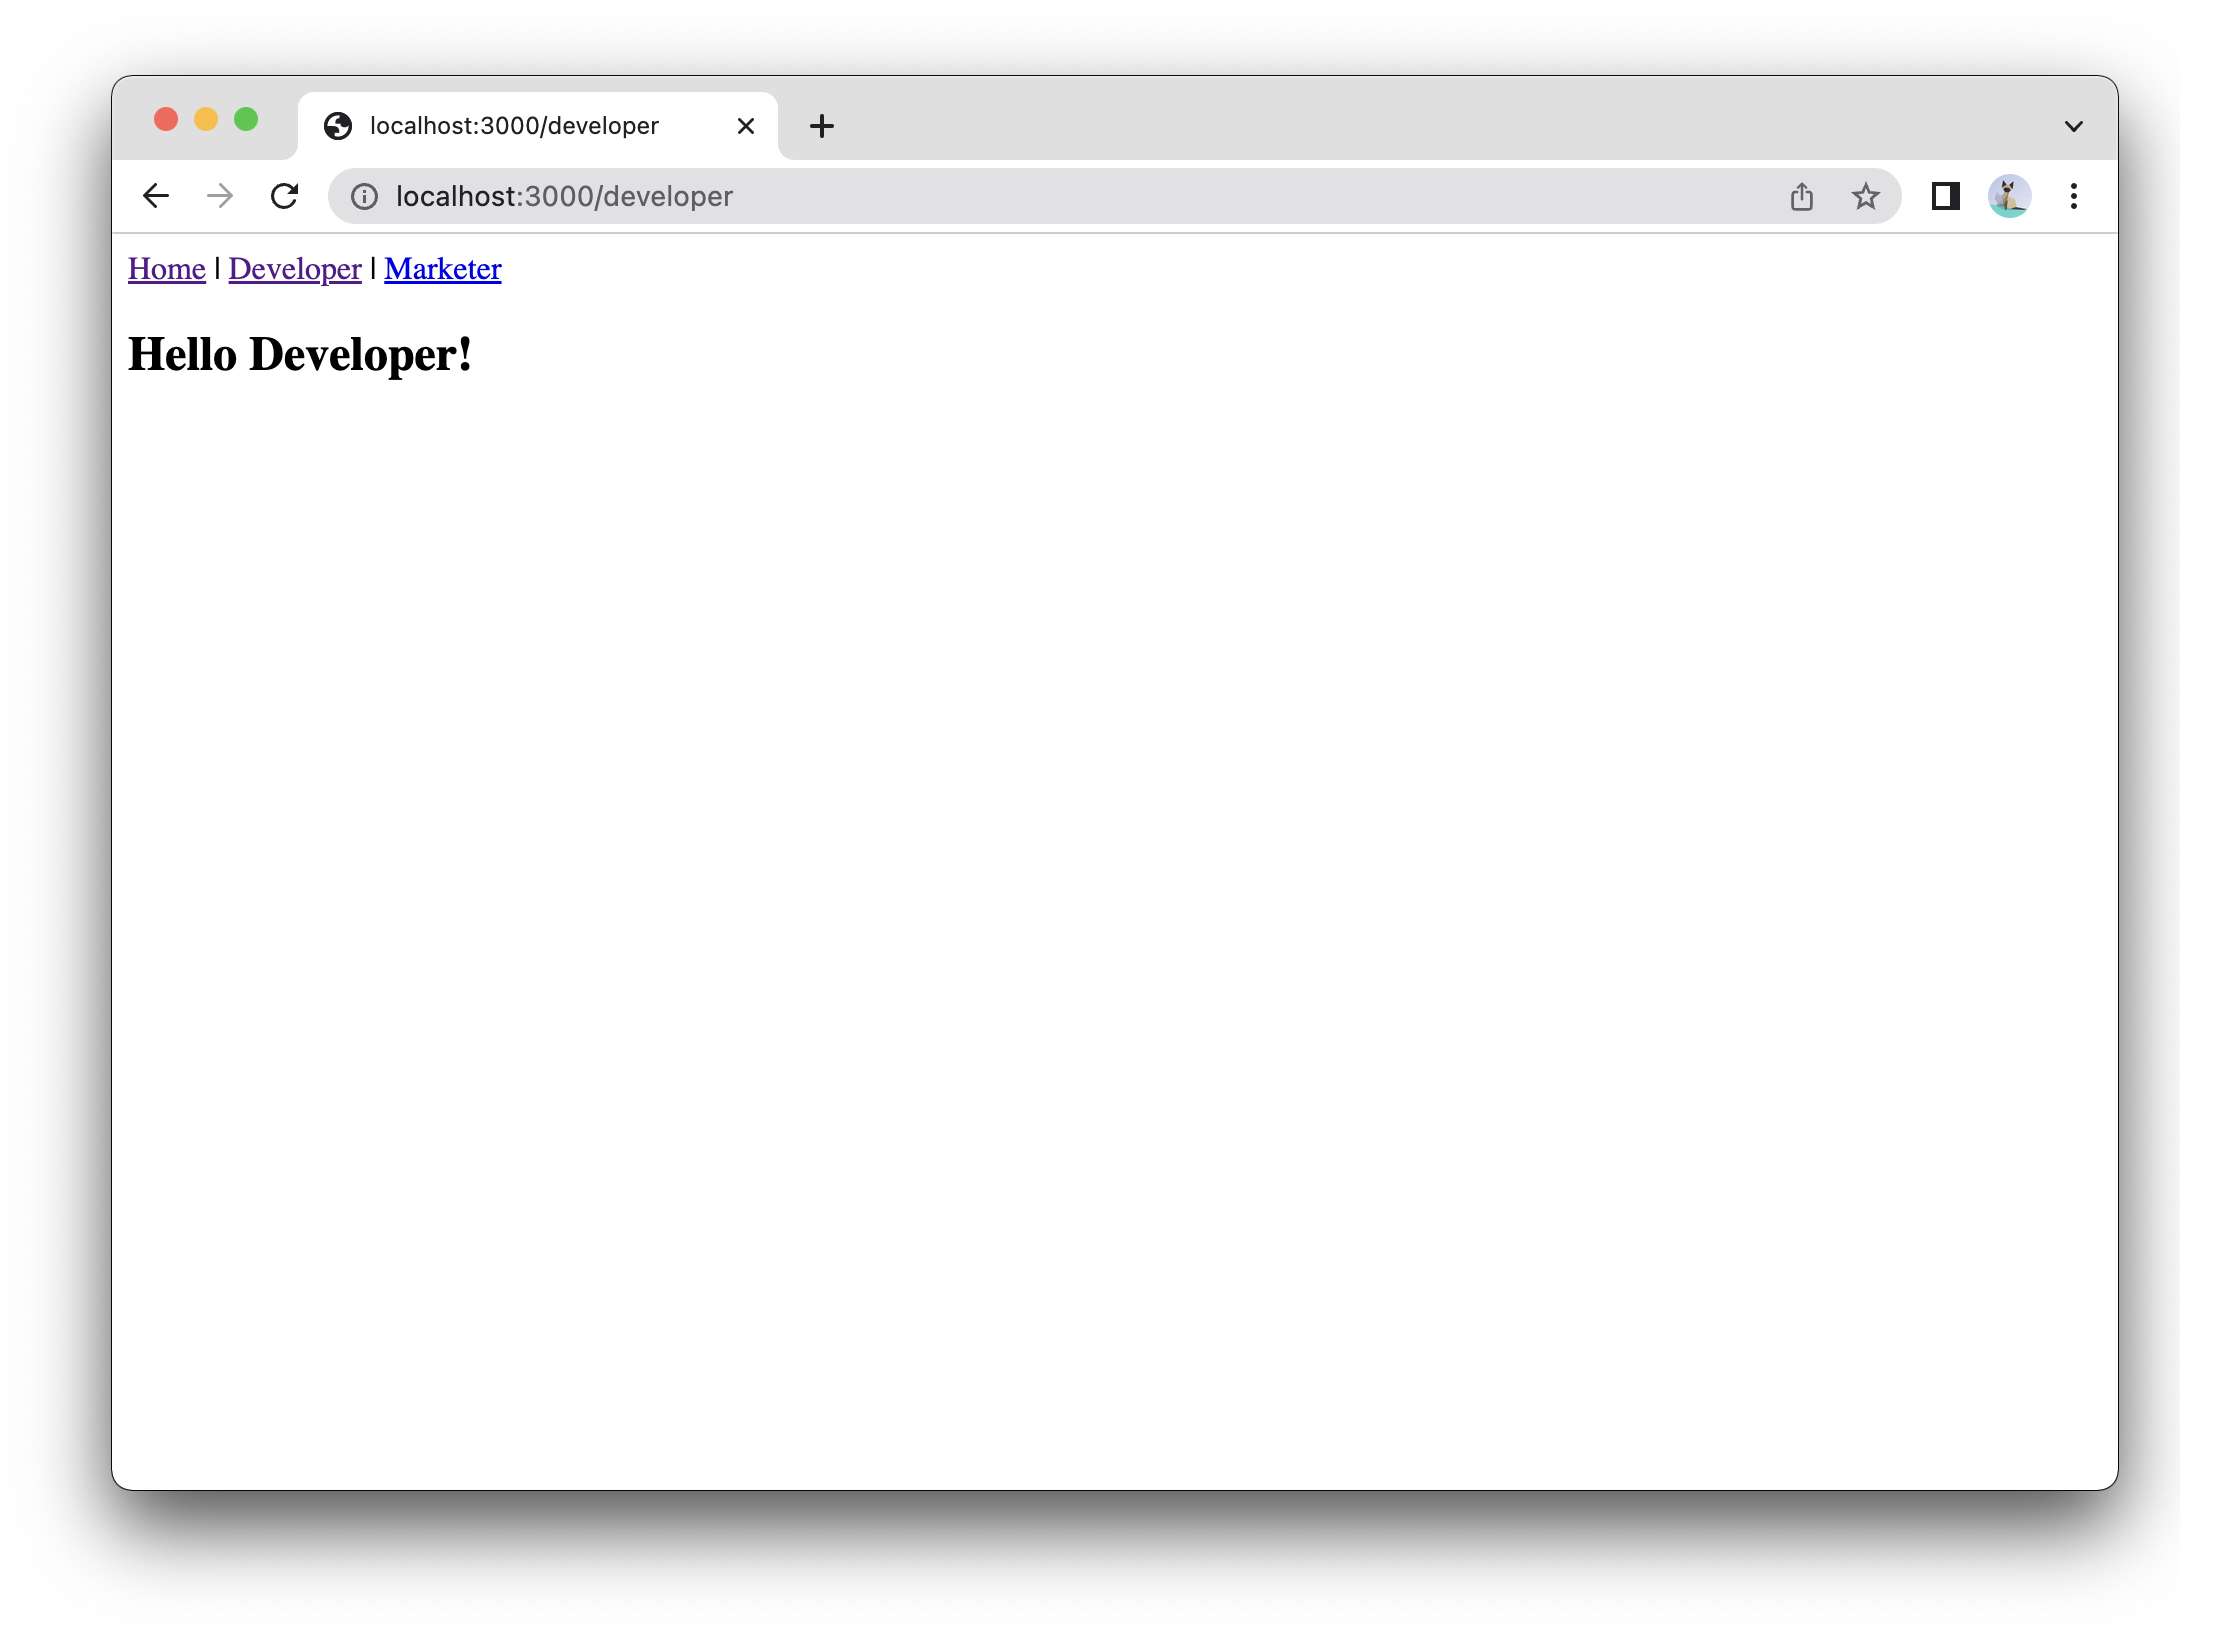
Now you should be able to see the content of your compositions with the ability to navigate between them:
success
Congratulations, you successfully rendered your first Canvas composition!
Step 4: Enable Uniform Context
Uniform Context will allow you to personalize your content and run A/B tests, to enable this capability, follow the easy steps below:
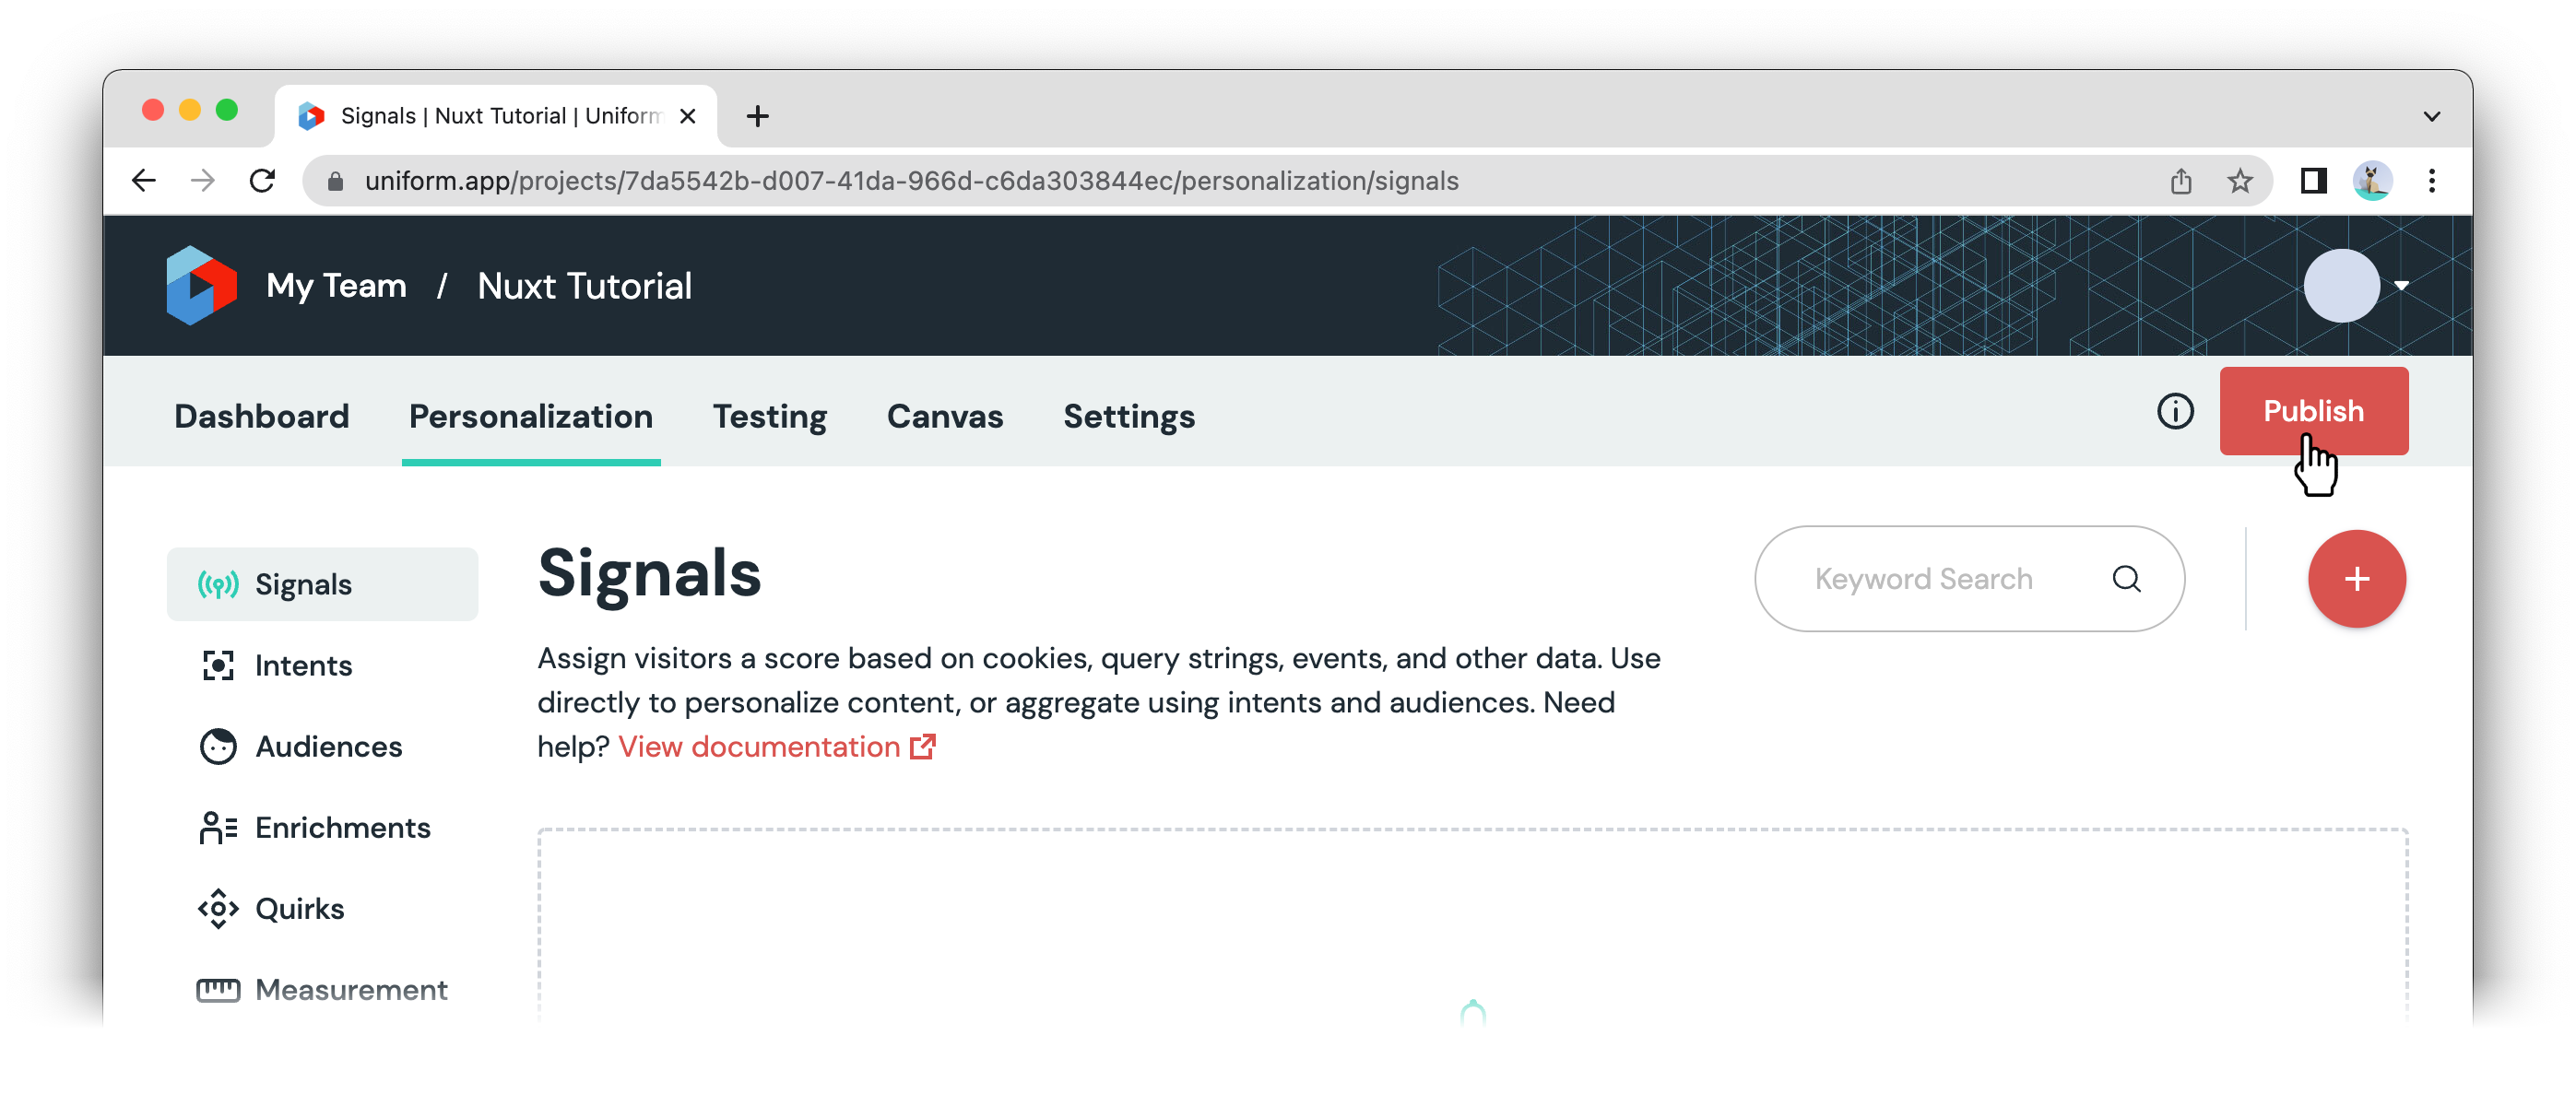
Publish the manifest
To be able to fetch the manifest, we need to publish it, even if it's still empty at the moment.
Install Uniform CLI
- npm
- yarn
- pnpm
npm install @uniformdev/cli --save-devyarn add @uniformdev/cli --devpnpm add @uniformdev/cli --save-devAdd a script to fetch your Context manifest and run it before build:
package.json{
"scripts": {
"dev": "npm run context:manifest && nuxt dev",
"build": "npm run context:manifest && nuxt build",
"generate": "npm run context:manifest && nuxt generate",
"preview": "nuxt preview",
"context:manifest": "uniform context manifest download --output ./context-manifest.json"
},
...
}Pass the manifest to the Uniform Nuxt module
nuxt.config.tsimport { defineNuxtConfig } from 'nuxt';
import manifest from './context-manifest.json';
export default defineNuxtConfig({
modules: [
[
'@uniformdev/uniform-nuxt',
{
projectId: process.env.UNIFORM_PROJECT_ID,
readOnlyApiKey: process.env.UNIFORM_API_KEY,
manifest,
},
],
],
transpile: ['@uniformdev/canvas-vue', '@uniformdev/context-vue'],
});
success
Now your application is ready to be personalized and A/B tested. Learn more about Uniform Context.
Live preview
The Uniform Nuxt module enables Live Preview out of the box.
To access the live preview mode, just append the preview=true query string param to your composition URL.
e.g. https://<your-app>/developer?preview=true
The module takes care of fetching the draft version of your composition instead of the published one.
When in preview mode, a ⚡️ emoji is prepended to the title of the page.
Summary
Now that you completed this tutorial, let's recap what we were able to achieve:
- We started from a vanilla Nuxt app
- Added Uniform Canvas SDK incrementally
- Converted a static page to the one that can be dynamically controlled without any code changes by your business users.
Now you have a personalizable and A/B testable Nuxt application in just a few steps!
If you'd like to see the sources for the end result app, check out this repo:
git clone https://github.com/uniformdev/nuxt-canvas-context-helloworld.git