BigCommerce Integration
Intro
Uniform and BigCommerce integration allow you to use the product content from your BigCommerce store and build fast personalizable storefronts with it by leveraging modern Jamstack architecture and powerful JavaScript frameworks developers love, like the React-based Next.js and the Vue.js-based Nuxt. You are able to reference individual products and build product collection components and personalize, as well as A/B test, the experiences built using your commerce data.
This article shows the essential parts of how to install the BigCommerce integration and perform initial configuration using a single component.
Getting started
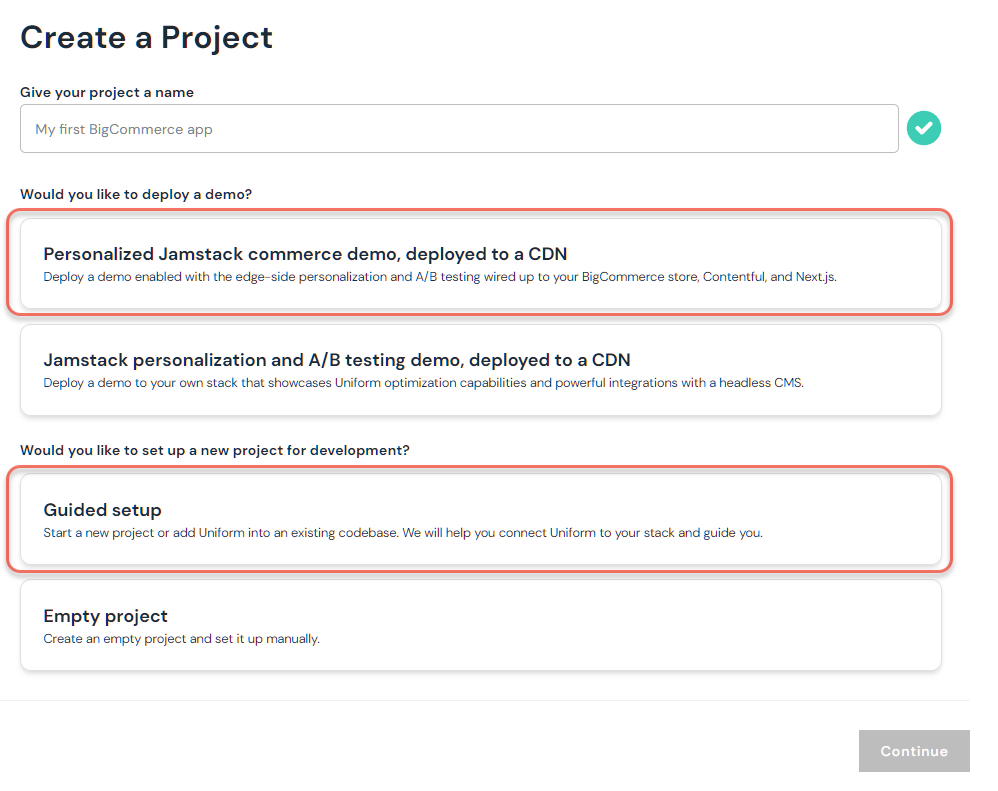
Start by creating your new account on uniform.app. This option assumes you have a BigCommerce store setup already and you are the owner of it. Pick one of the options below after you accept terms and service agreement:
- Personalized Jamstack commerce demo, deployed to a CDN
- Guided setup
Option 1: Deploy Personalized Jamstack commerce demo
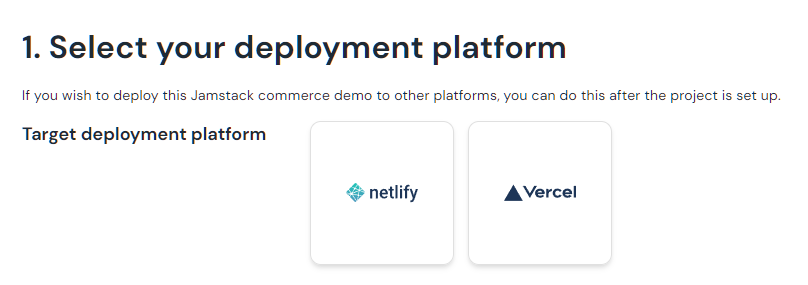
This step will deploy a simple storefront web app from this GitHub repository. This sample web app is connected to Contentful CMS, it comes with some sample content, and can be deployed anywhere where you can run a Jamstack web application. At the moment, the GUI-based deployment is enabled with either Netlify or Vercel options.
You would need the following in order to complete this step:
- A GitHub account. If you don‘t have a GitHub account, sign up for free here.
- A Contentful account with the ability to add a new space. If you don‘t have a Contentful account, sign up for free here.
- Store owner login to your BigCommerce store. If you don‘t have a new BigCommerce store, sign up for a free trial here.
Follow the steps in the wizard to complete the process:
- Login to Contentful (this establishes the integration to pull marketing content from this headless CMS).
- Connect to your BigCommerce store
- Deploy to either Netlify or Vercel (depending on your selection).
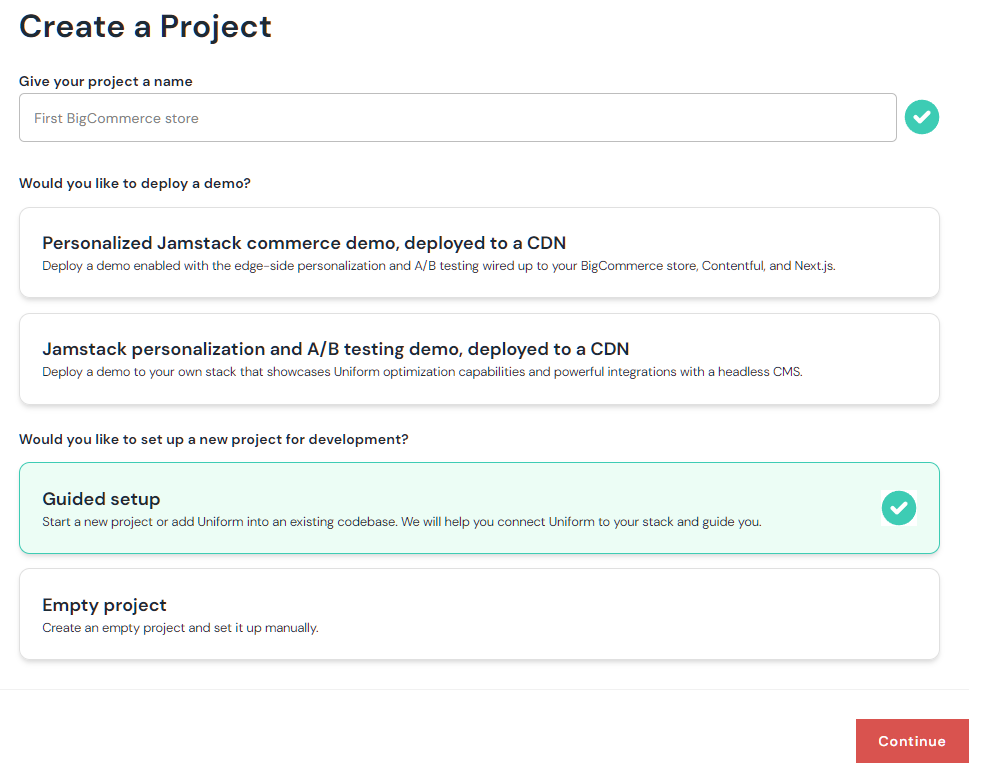
Option 2: Guided setup
This flow is designed for developers who want to create a new project from scratch without deploying any sample content or sample apps alongside with it. This is recommended if you would like to add the Uniform and BigCommerce capabilities into your existing web app or starting a new project.
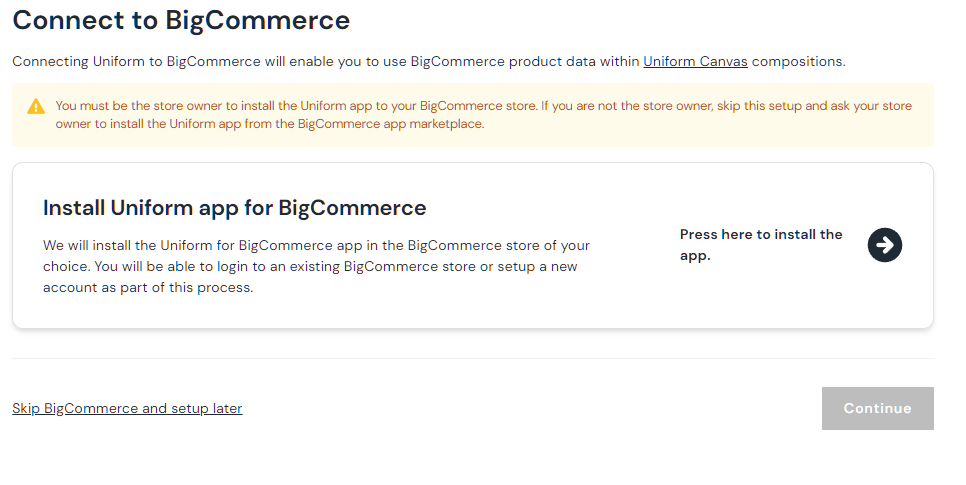
You will need to select the integrations you are planning on using with BigCommerce.
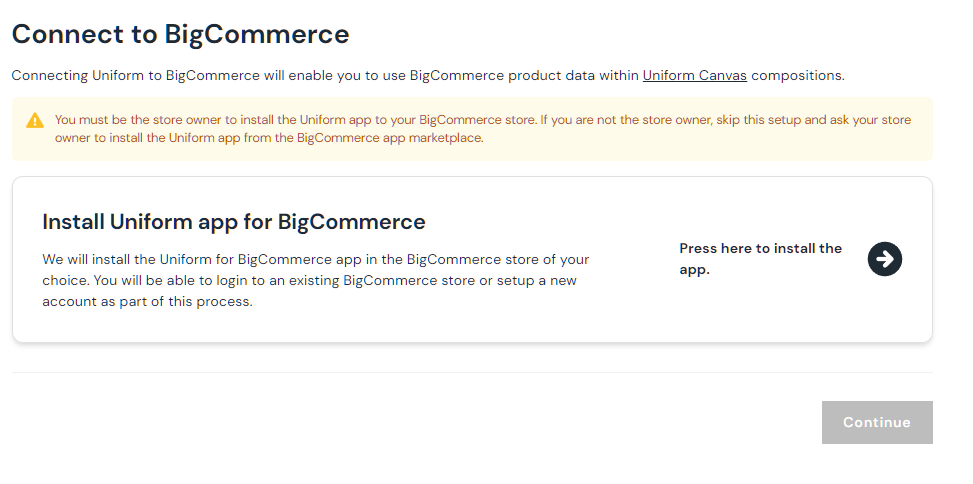
During next step, install the Uniform app for BigCommerce. This will enable the Uniform project to communicate with your store.
At the end of the process you will be given a set of environment variables and can proceed wiring your Next.js or Nuxt.js app and adding ability to fetch BigCommerce data.
Option 3: Start from the BigCommerce store
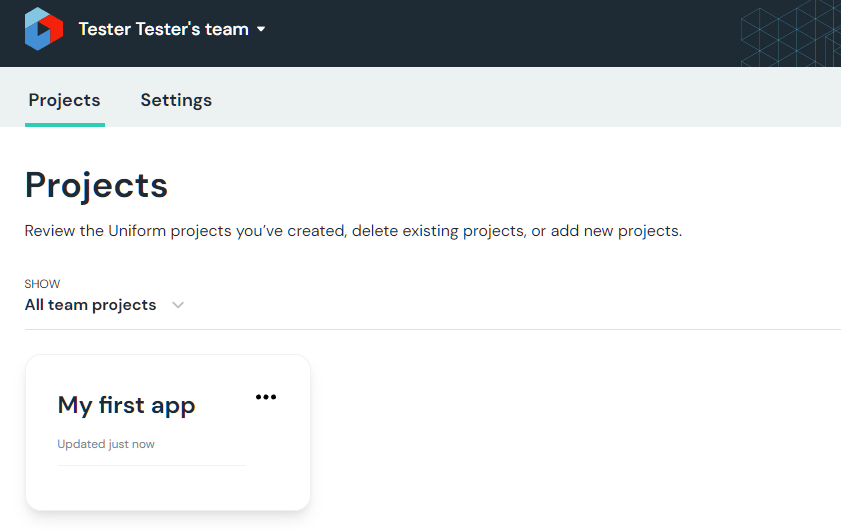
This option requires you to have an existing Uniform.app account where you have at least one team:
This option allows enabling the BigCommerce integration via app installation right from your store.
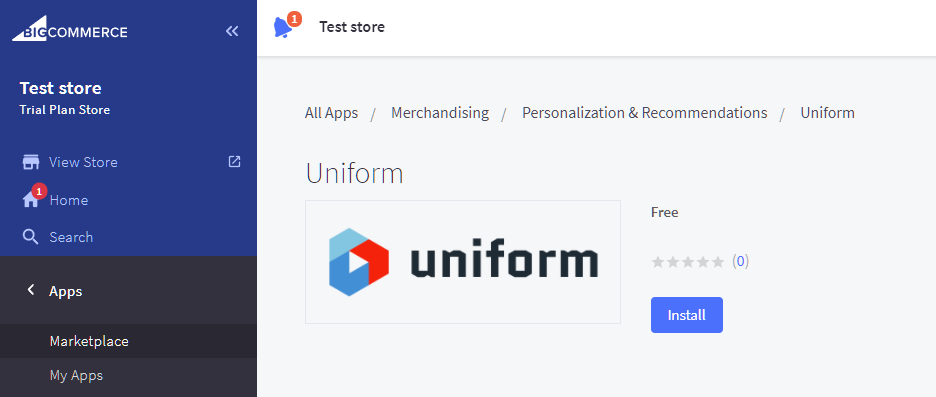
Locate the Uniform app on BigCommerce store: https://www.bigcommerce.com/apps/uniform/
"Get this app", login to your store.
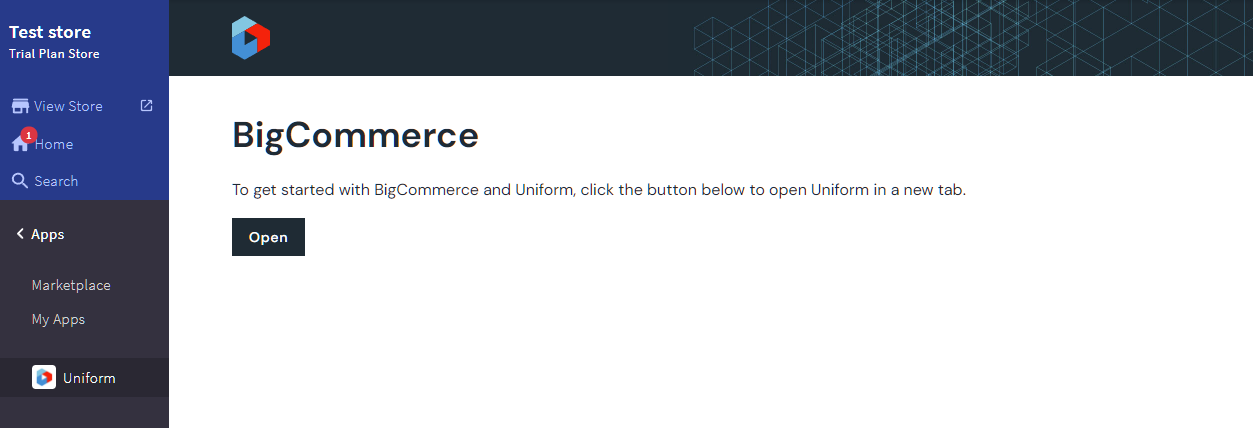
Click "Install":
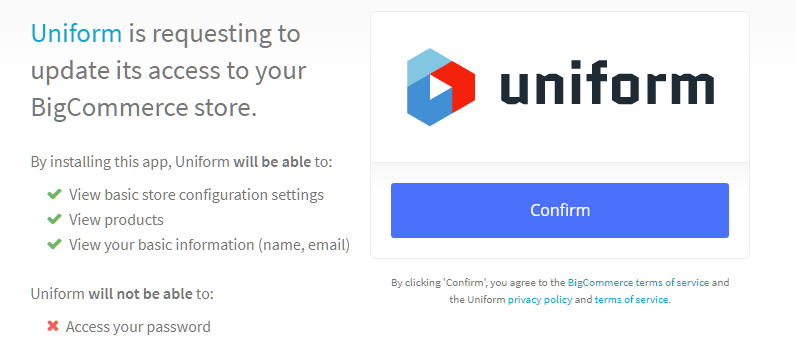
Review and confirm requested access details (Uniform needs read only access to your product catalog in order to link to it):
Click Open to pop up a window where you login to your Uniform.app account:
After the login, select the project which you would like to link your BigCommerce store with:
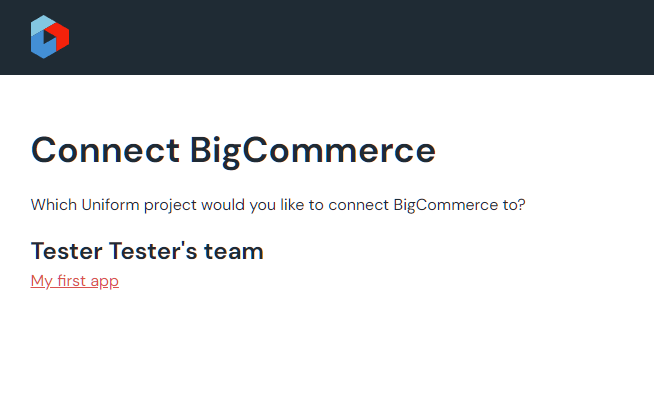
That's it! Now you are able to start linking your Components in Uniform Canvas to your BigCommerce products.
Using the integration
Explore your Landing composition in Canvas
After you navigate to the dashboard, proceed to the Canvas tab, where you can take further steps:
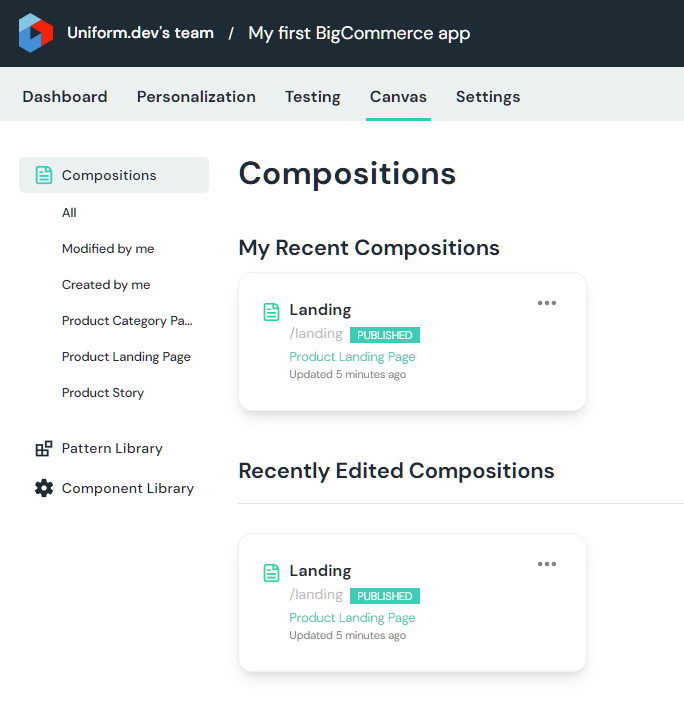
Explore the "Landing" composition that powers the home page of this site.
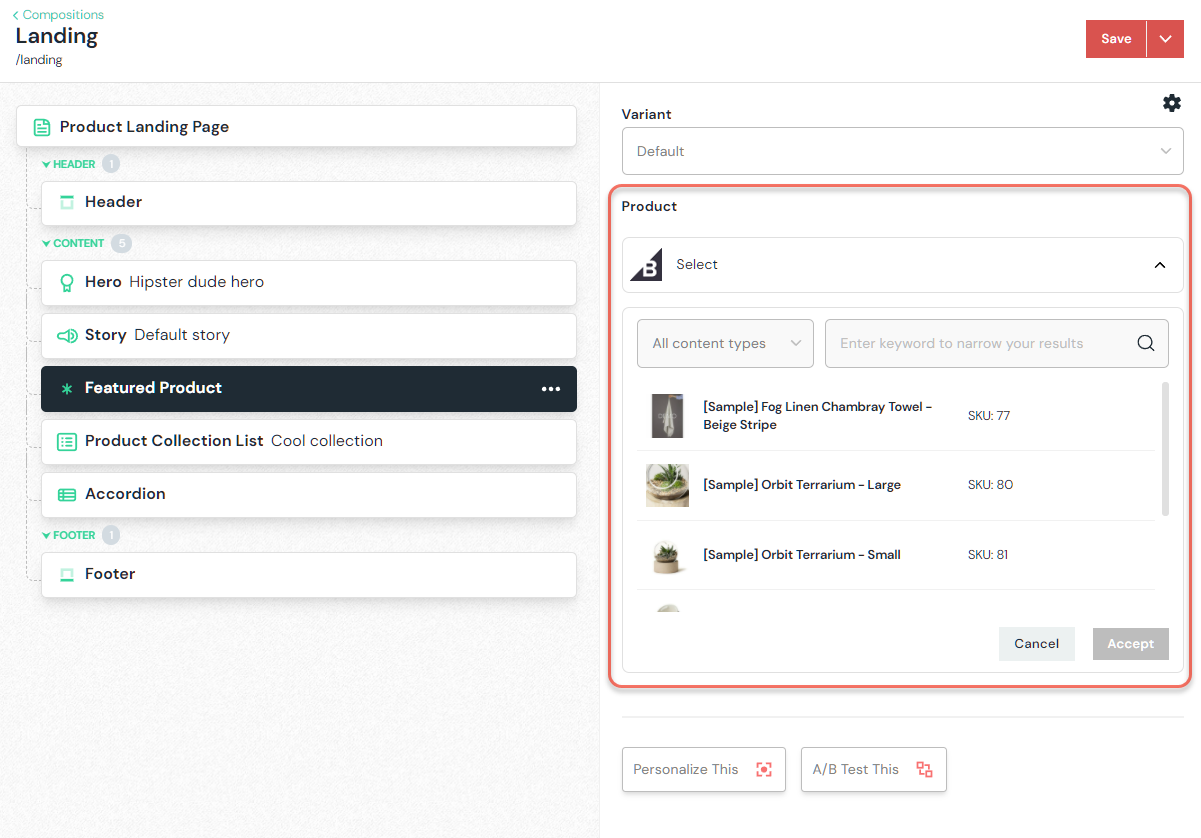
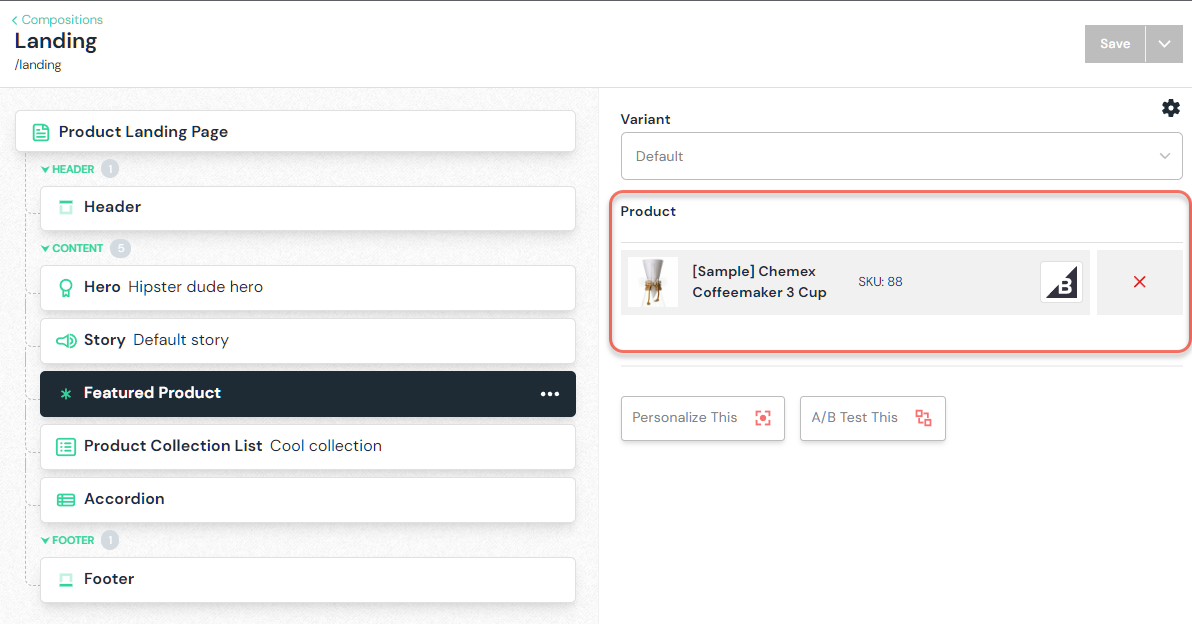
Link the Featured Product component with one of the products from your store and save the composition changes.
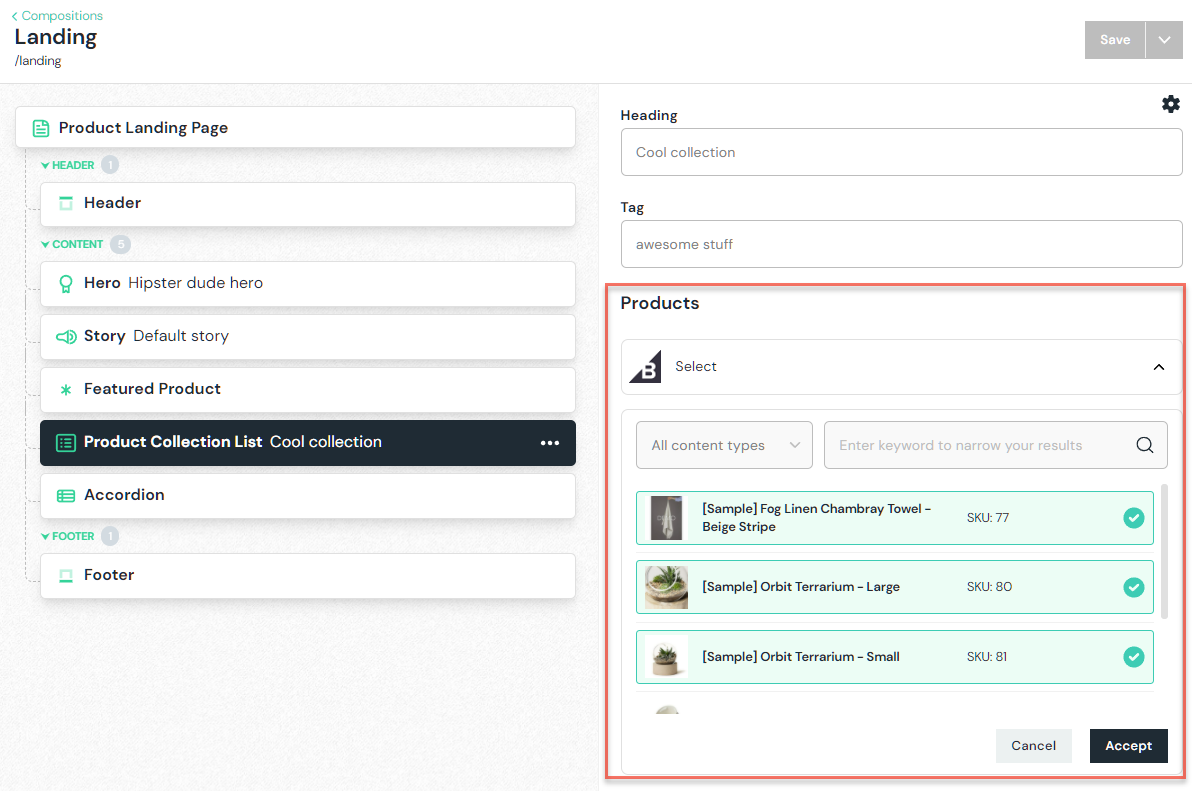
Link the Product Collection List component to one or multiple products from your BigCommerce store and save the composition:
Explore other components that are connected to your Contentful CMS space.
Create your BigCommerce linked component parameter
Component parameters allow linking your presentation component, like "Featured Product" with your data in BigCommerce. Below are the steps required to perform this.
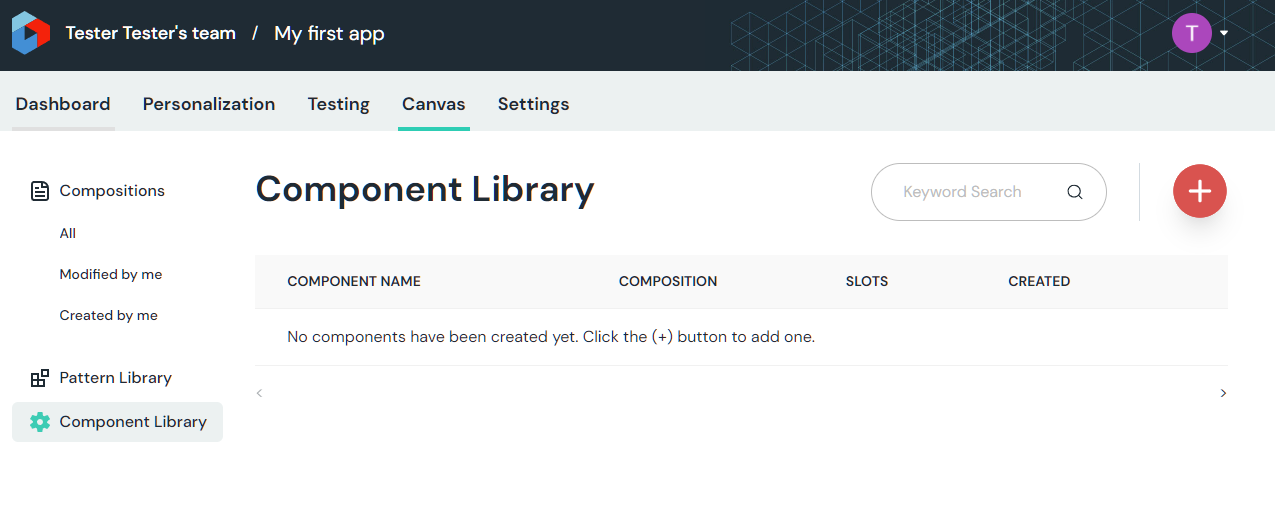
Open Component Library in Uniform / Canvas and create a new Component:
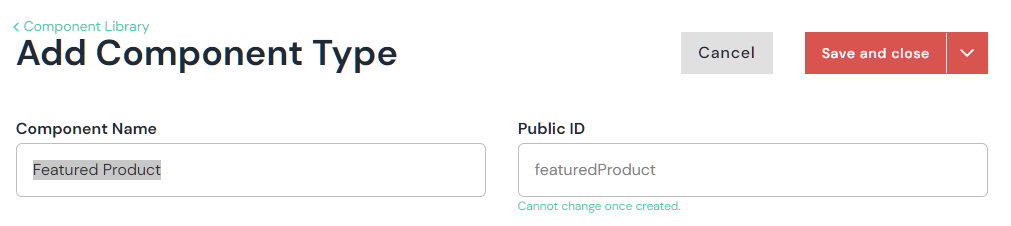
Let's call it Featured Product:
If you don't have existing compositions, mark this component as a composition component:

Now let's add a new parameter:
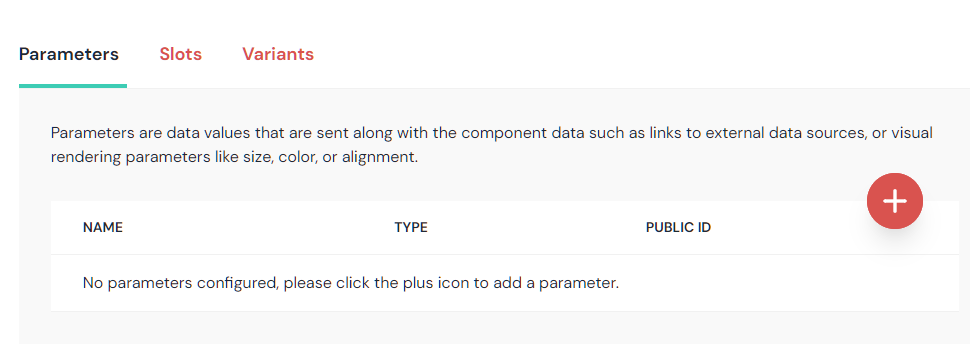
Let's call the parameter Product. Pick the
BigCommerce Productparameter type: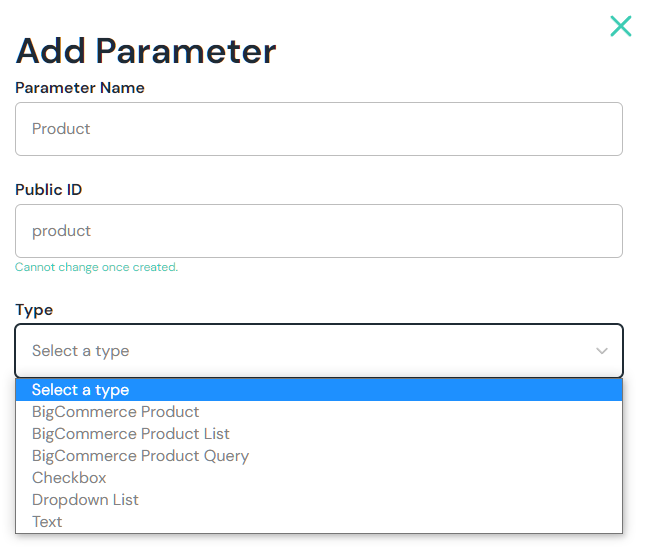
Save and close.
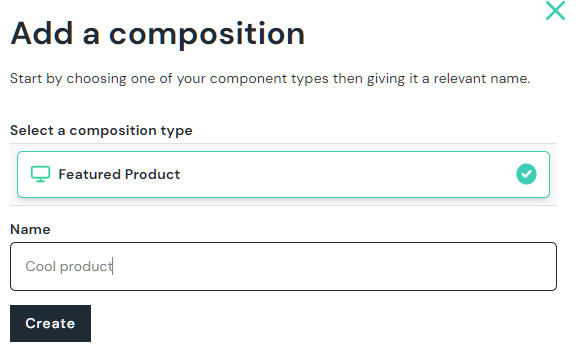
Create a composition and link to a BigCommerce product
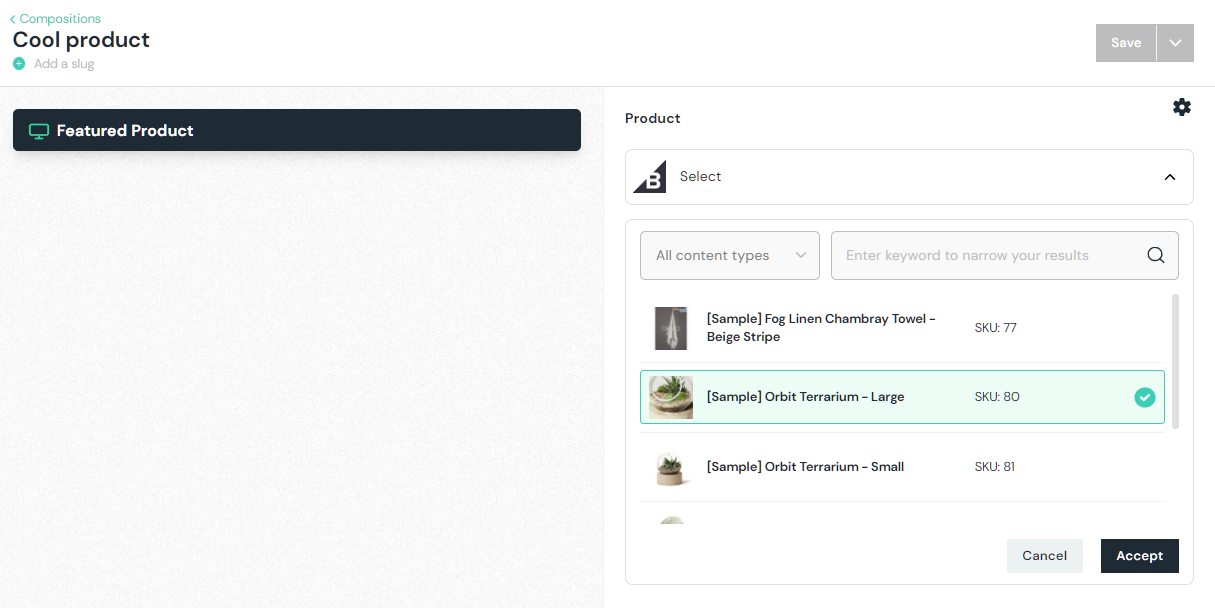
Now let's head over to the Compositions area and create a new composition from the Featured Product type:
Now this composition should allow us to select a featured product from your BigCommerce store catalog:
Personalize or A/B test a component
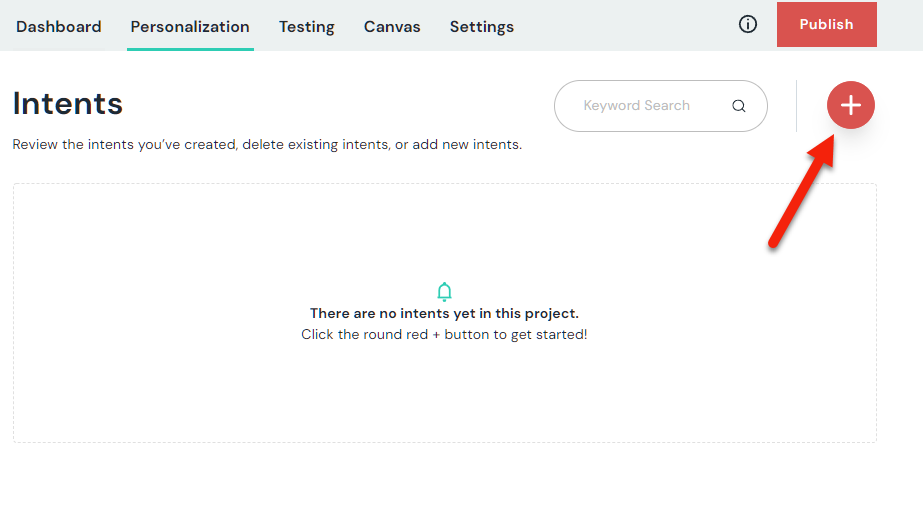
This demo site is already pre-wired for Personalization and A/B testing, but we will need to create a new intent before we can apply these features. Start by creating a new intent from the Personalization tab:
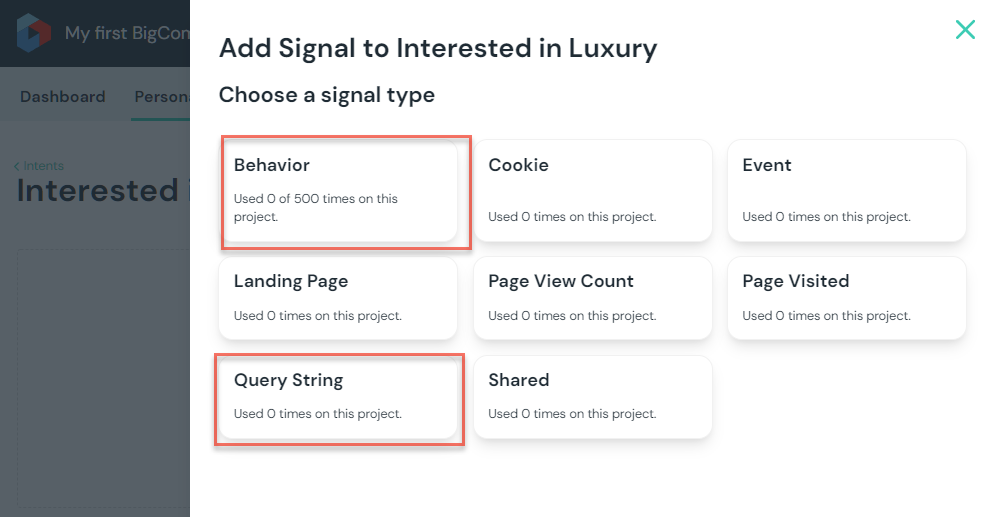
And call it according to one of your audience intents, like "Interested in Luxury Products". Add one of the signals (either Behavior or Query String):
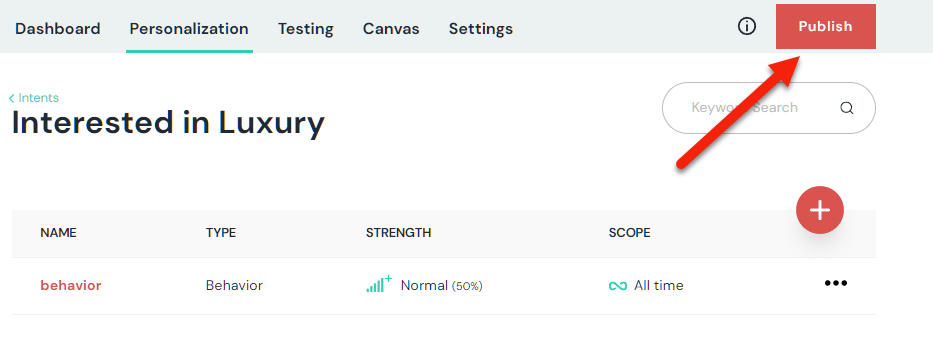
This is how this intent is expected to be resolved. After you are done setting up the intent, publish these changes:
Now we are ready to personalize. We recommend starting with the Hero component for personalization and the Featured Product component for A/B testing, but you can do this on any component.
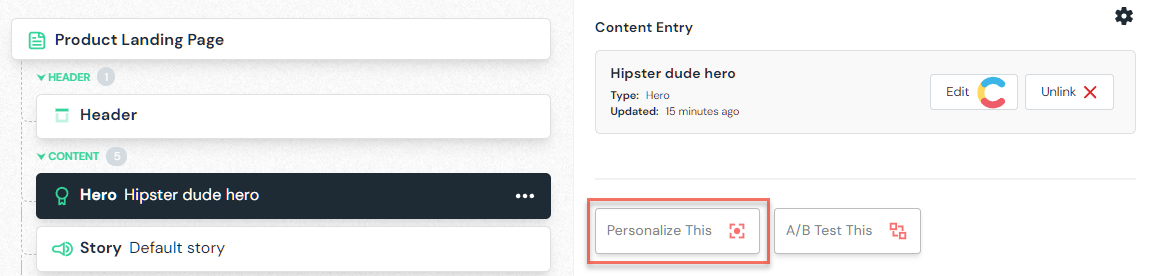
Clicking Personalize This will convert your component into the Personalization container, allowing to add any number of personalization variants. You will be able to tag each personalization variant with intent:

This is how easy it is to personalize!
Learn more about how to apply the Personalization and A/B testing features within Canvas here.
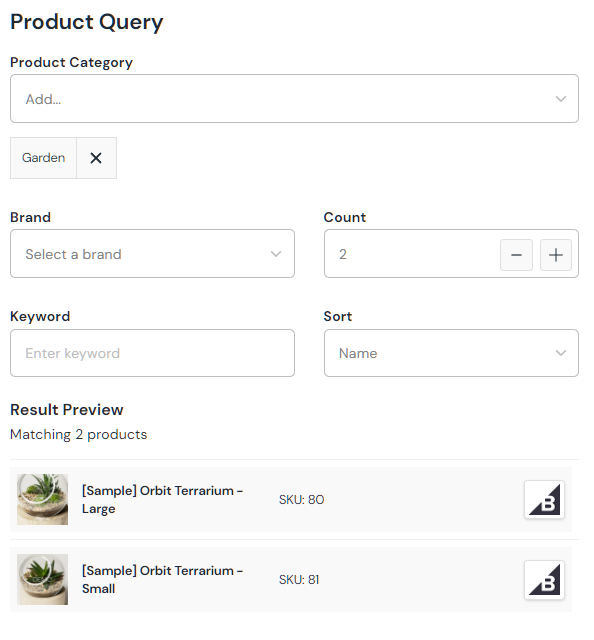
Check out other BigCommerce parameter types
Uniform BigCommerce integration allows to also build product lists by either allowing the selection of multiple products using the BigComerce Product List parameter type or by allowing the users to build a product query instead, by using the BigCommerce Product Query parameter type. This means that Uniform Canvas will store the query but not the concrete product selections, allowing to keep the product collection components powered by this parameter to be more dynamic:
Post-installation configuration
Configure Store Hash and API Token
First, we need to acquire a new API token from BigCommerce.
Log in to your BigCommerce store.
Go to
Advanced Settings→API accounts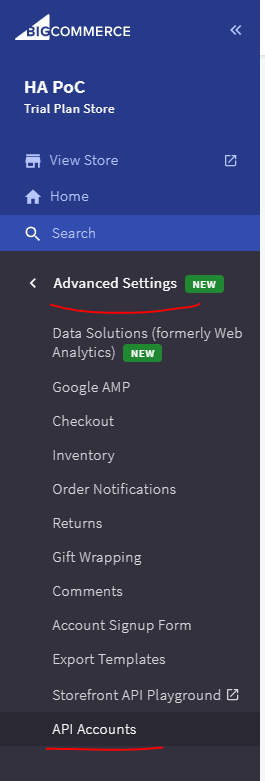
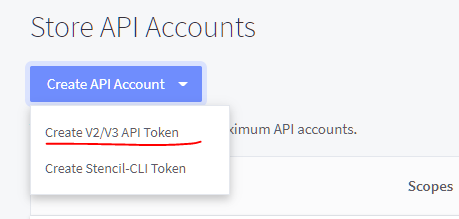
Create API Account → Create V2/V3 API Token
Notice the store hash in the API path. Copy this value to the clipboard. We will use it for the
BIGCOMMERCE_STORE_HASHenvironment variable.
Make sure you toggled at least read-only access on Content and Product resources:


Important ☝
Depending on your implementation use case, you may need more permissions for the transactional functionality implementation.
Save your API credentials in a secure place.
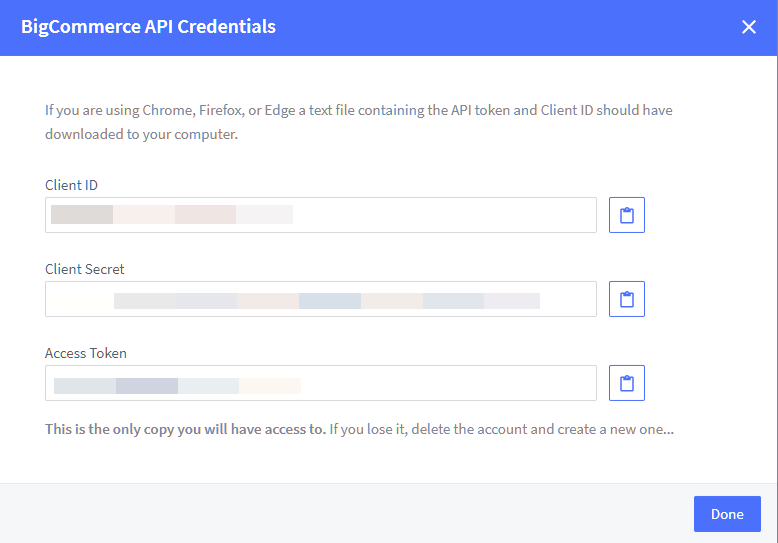
Save the value of
Access Tokenas it will be used as a value of theBIGCOMMERCE_TOKENenvironment variable.
Now that we have the values we need, we need to apply them in two places:
Update your environment variables everywhere where they are used at the moment (within your
.envfile and within your CDN setup on Netlify or Vercel, for example).BIGCOMMERCE_STORE_HASH=abc
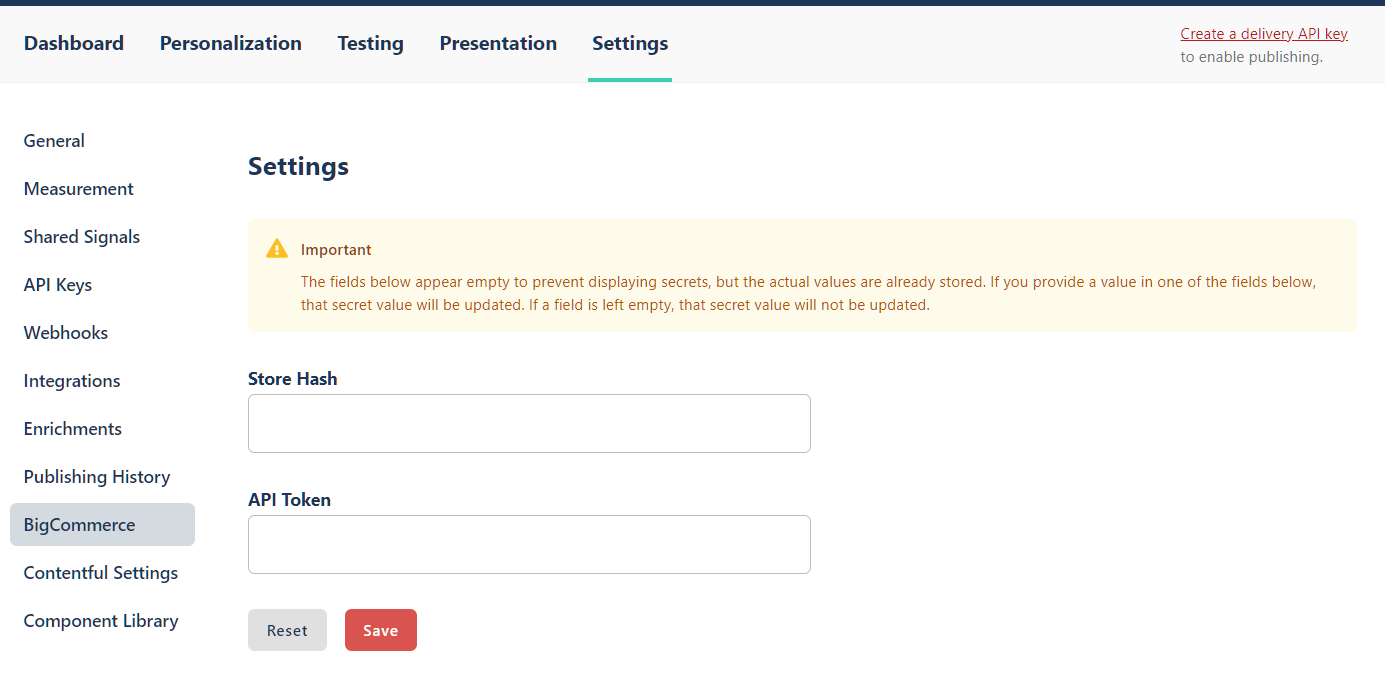
BIGCOMMERCE_TOKEN=asdasdasdasdasdas13312312Apply the same values on the BigCommerce integration settings page within your Uniform project. Click Save after new values are in place:
Add a webhook for your CDN
For your demo site to update after a composition is published, you need to create a new webhook that notifies your selected CDN that the site needs to be updated after the composition is published. You would need to register a new webhook within your new Uniform project. Learn more about how to set up the webhook here.
Enable live preview with Netlify
Uniform Canvas supports live preview. To enable this feature and have the "Preview" button show up within Canvas, you will need to configure the Preview settings for your project and make sure your Next.js app has preview enabled. Learn more about how to configure live preview for this newly deployed demo site here.
Next steps
We only scratched the surface here. This post covered the essential parts of how to add BigCommerce integration with Uniform and how to set up your first component.
The process of adding BigCommerce integration into your consuming web application is a separate effort dependent on the specific nature of your web application, and is described here.