Enabling Optimize on an Existing Kontent Project
Optimize Deprecation
Uniform Optimize has been deprecated and replaced by Context, a more powerful and flexible personalization solution. Optimize is not being discontinued at this time, but it will not receive updates or new features.
We do not recommend starting a new project with Optimize. If you have an existing project that uses Optimize, you can upgrade your project to Context at no cost using our upgrade guide. If you have any issues with this process you can contact our team.
This guide will walk you through adding Uniform Optimize to an existing Kontent project as well as linking the Uniform Optimize Kontent integration to your Uniform Optimize project.
Setting up Uniform Optimize
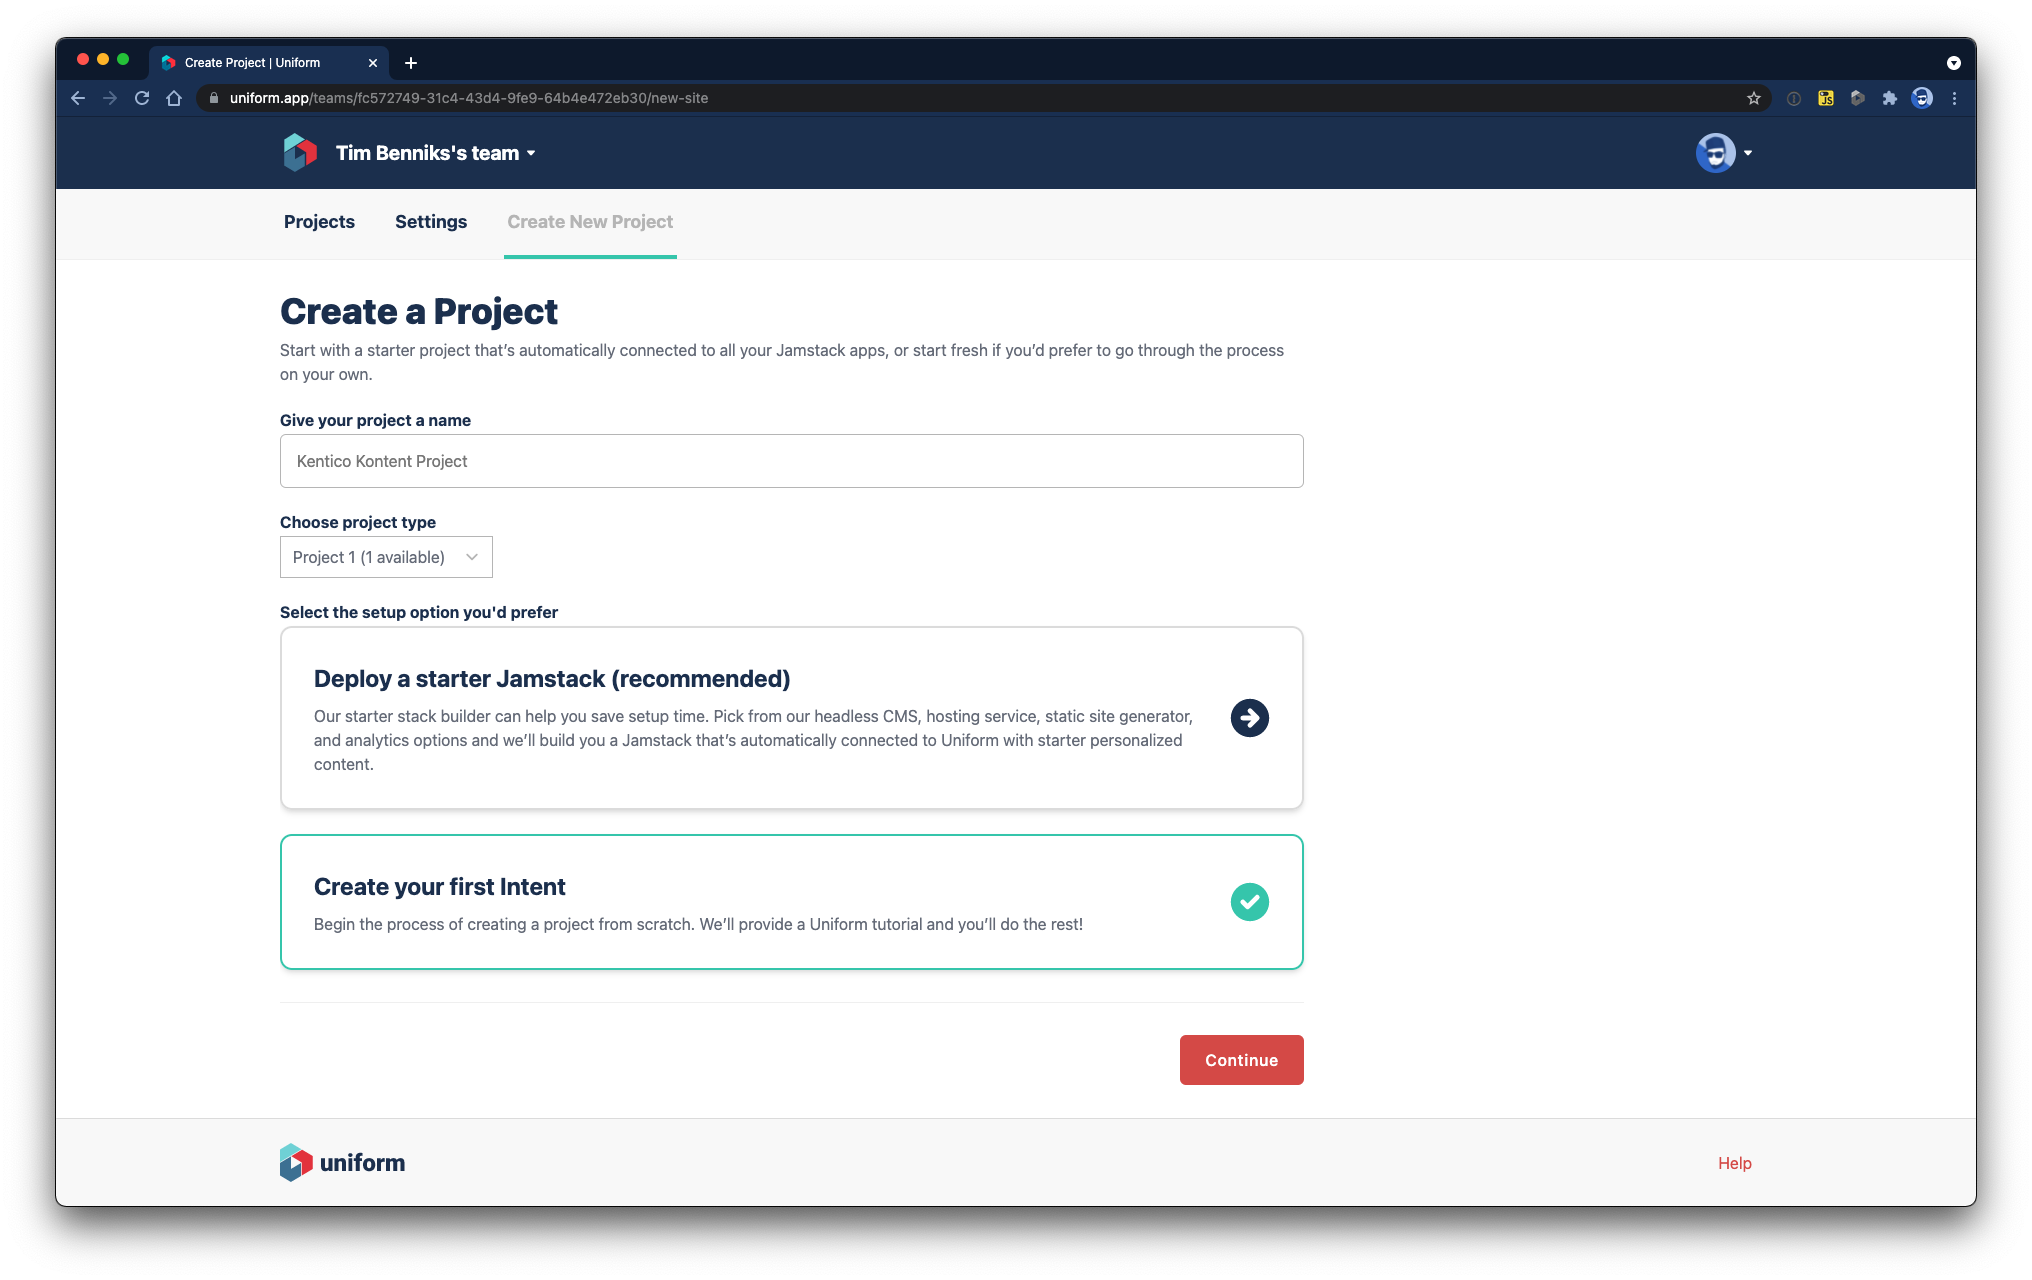
Navigate to https://uniform.app/ and create an account if you have not already and accept the Terms of use and Privacy Policy. Create a new project.
Provide a project name that will allow you to identify this project later. Select Create your first intent. This option bypasses the onboarding flow associated with creating a new starter site. This option will also allow the creation of intents for your existing site.
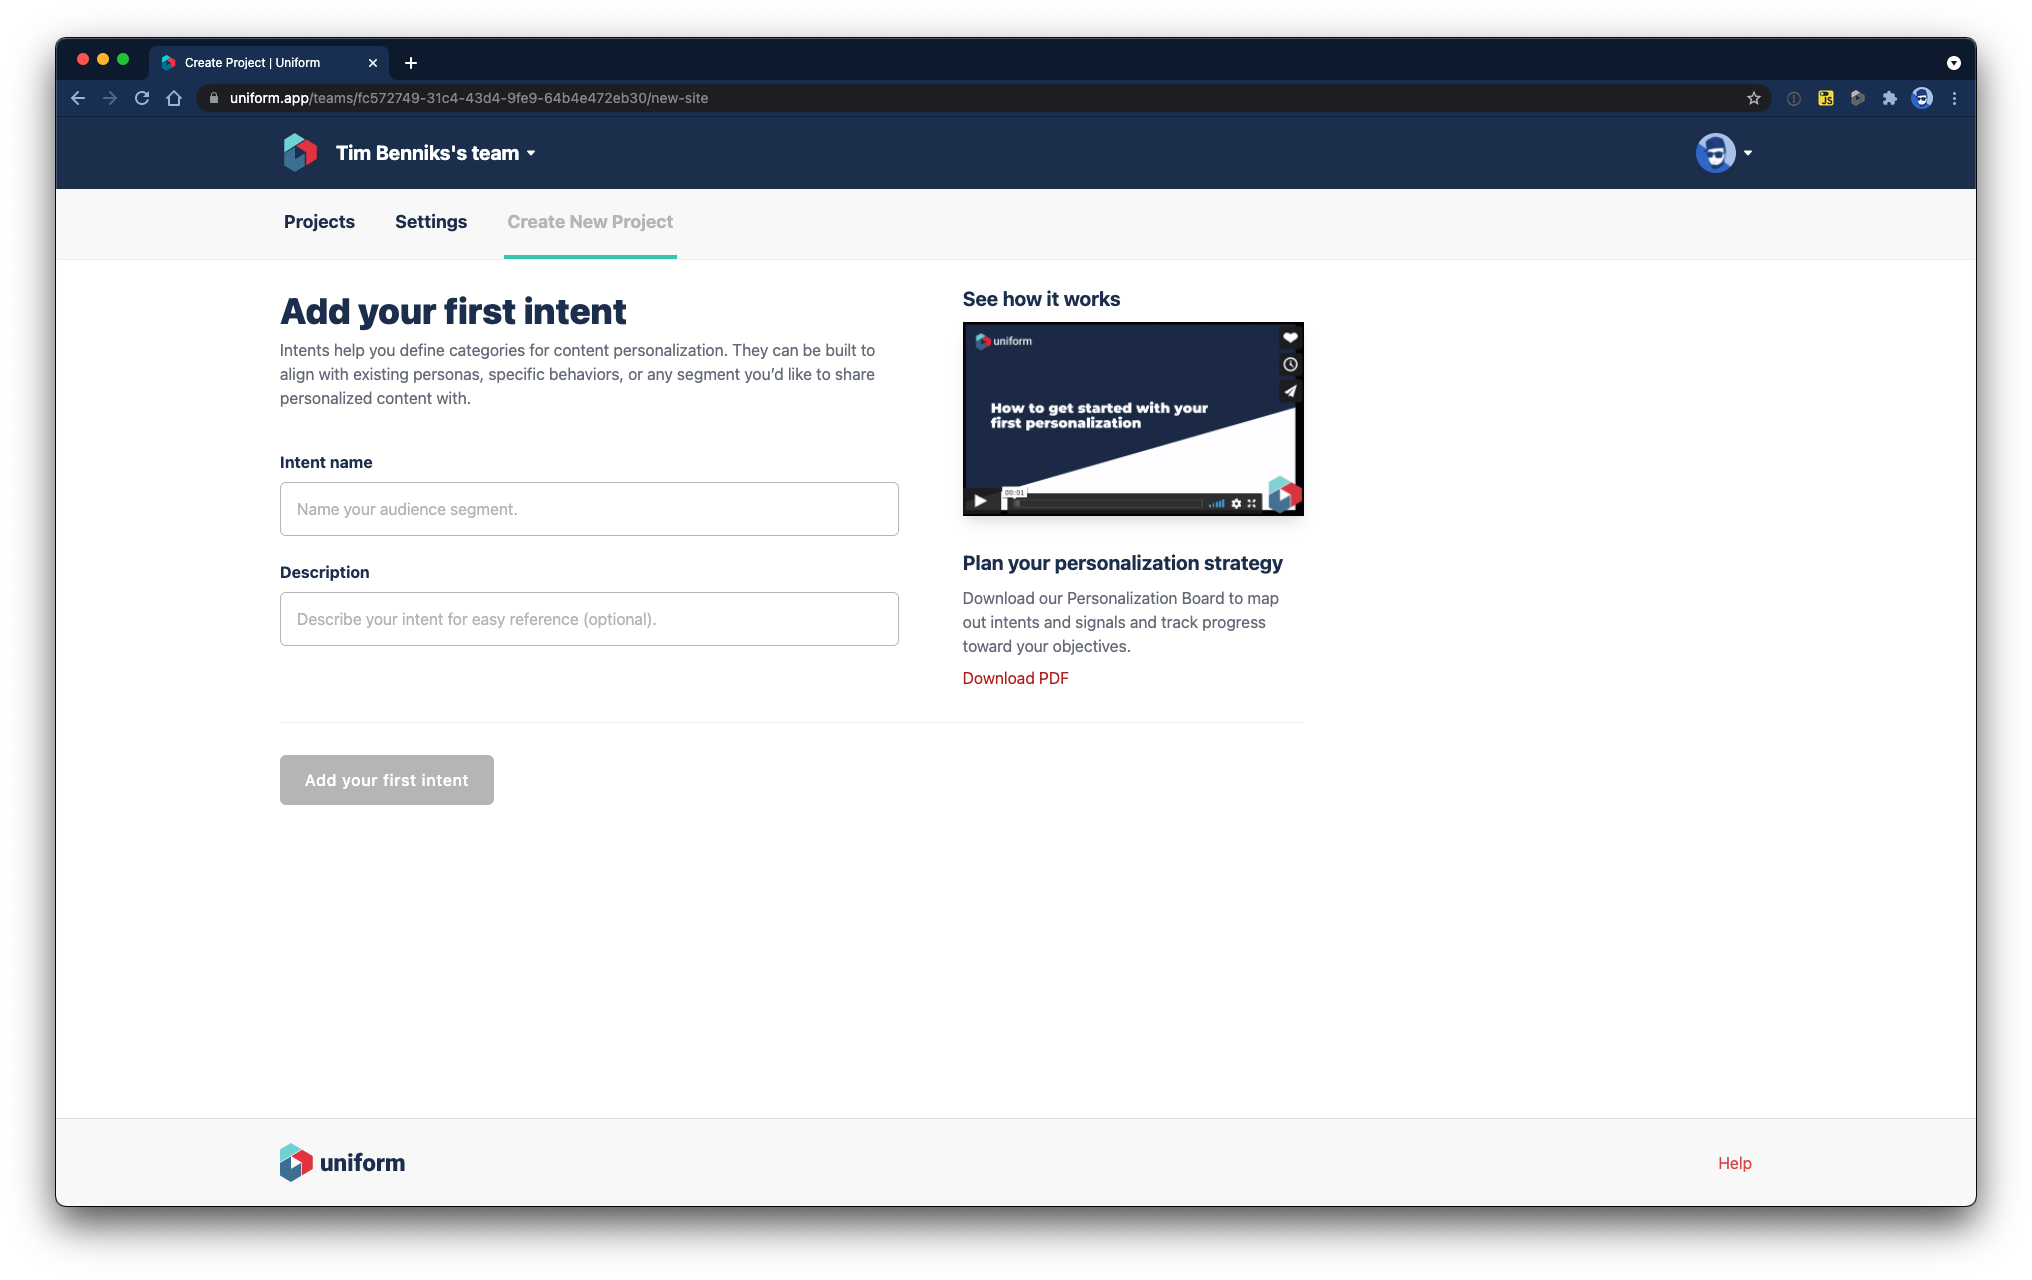
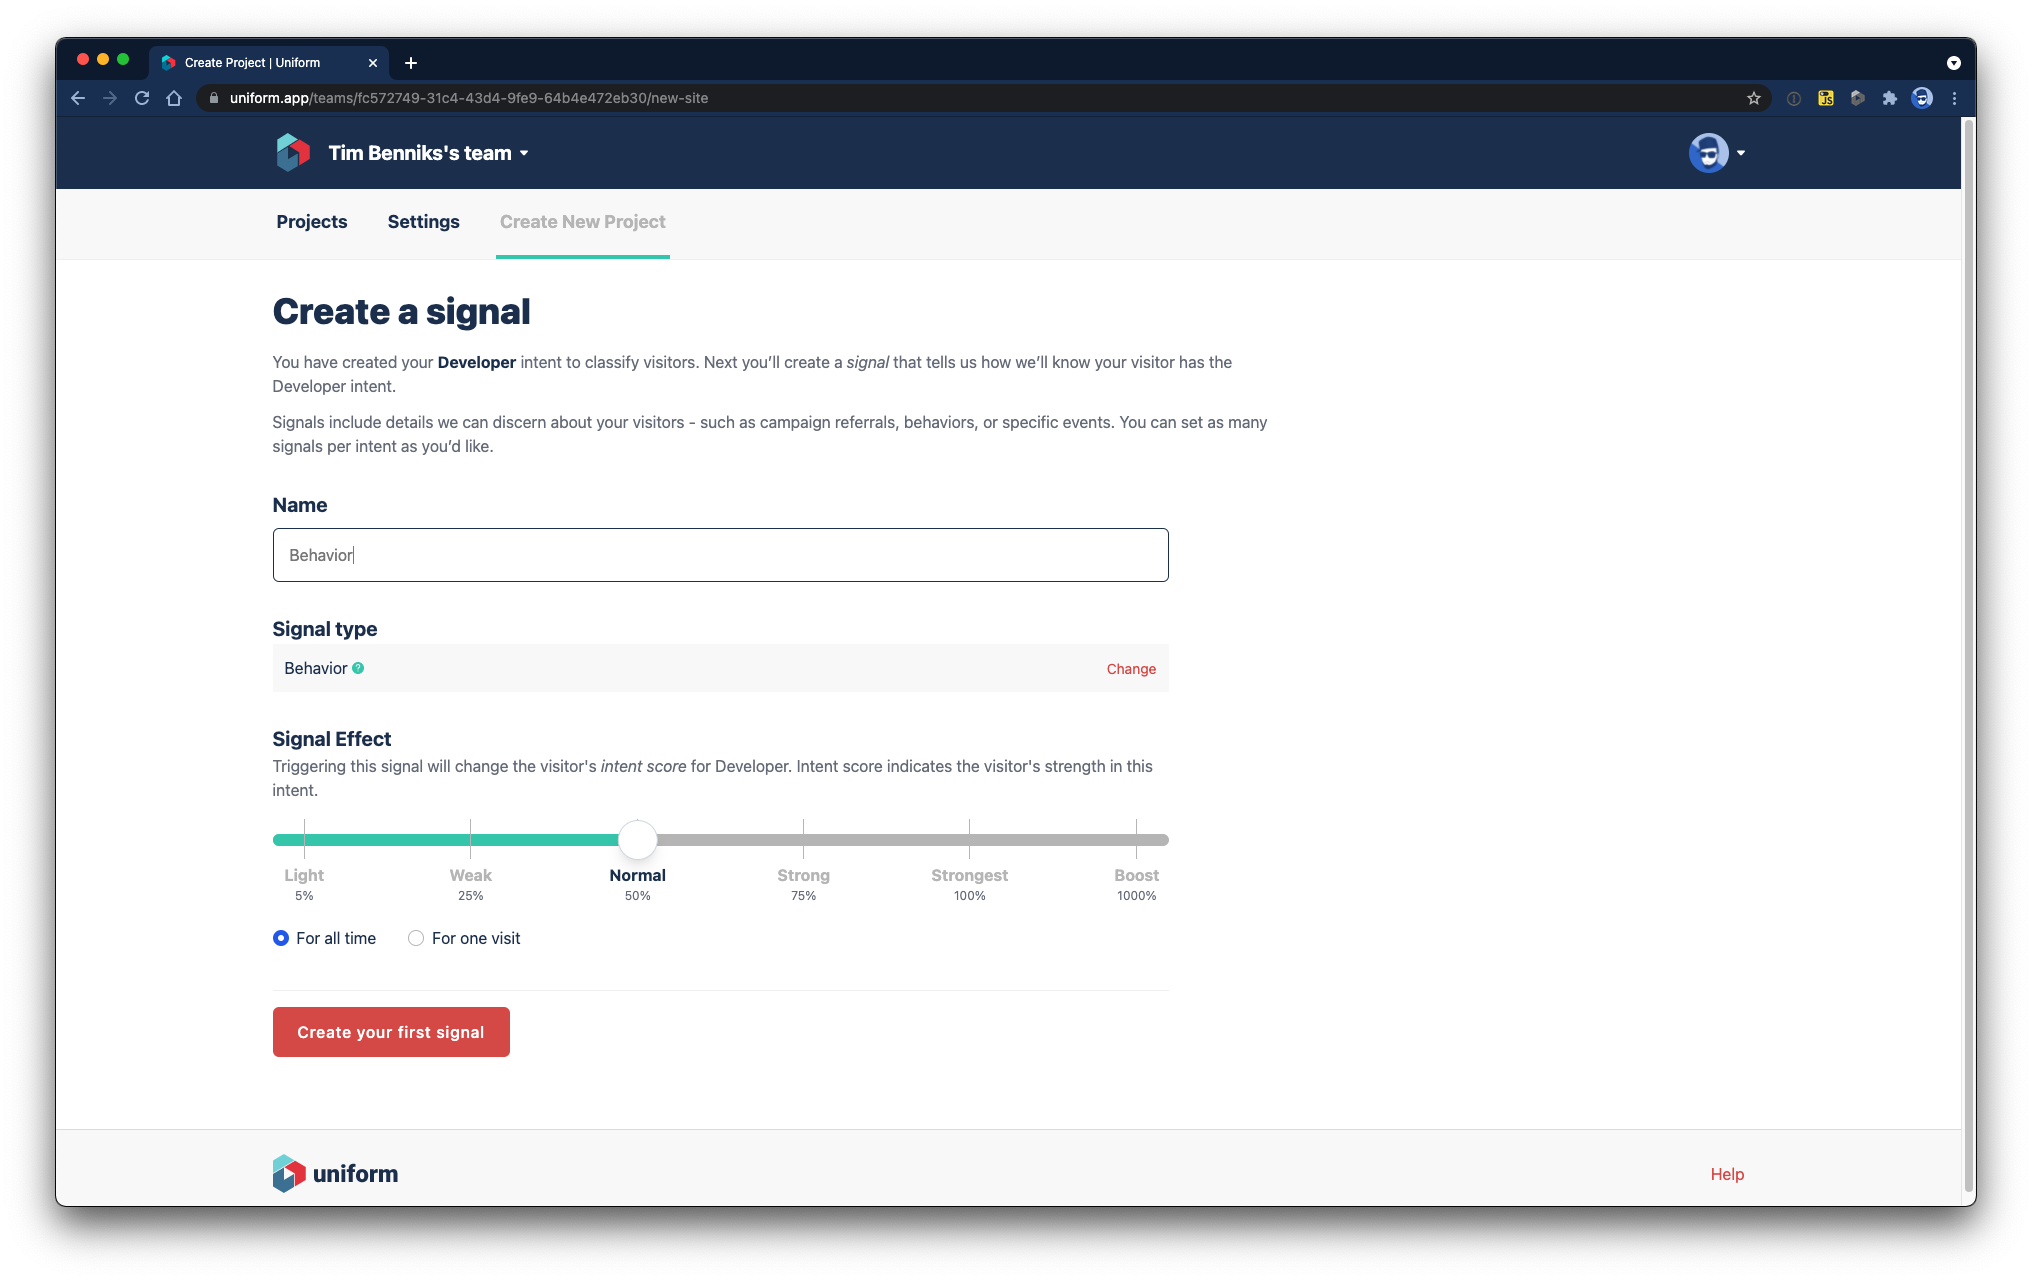
Add your first Intent. Add a name, and optionally a description.
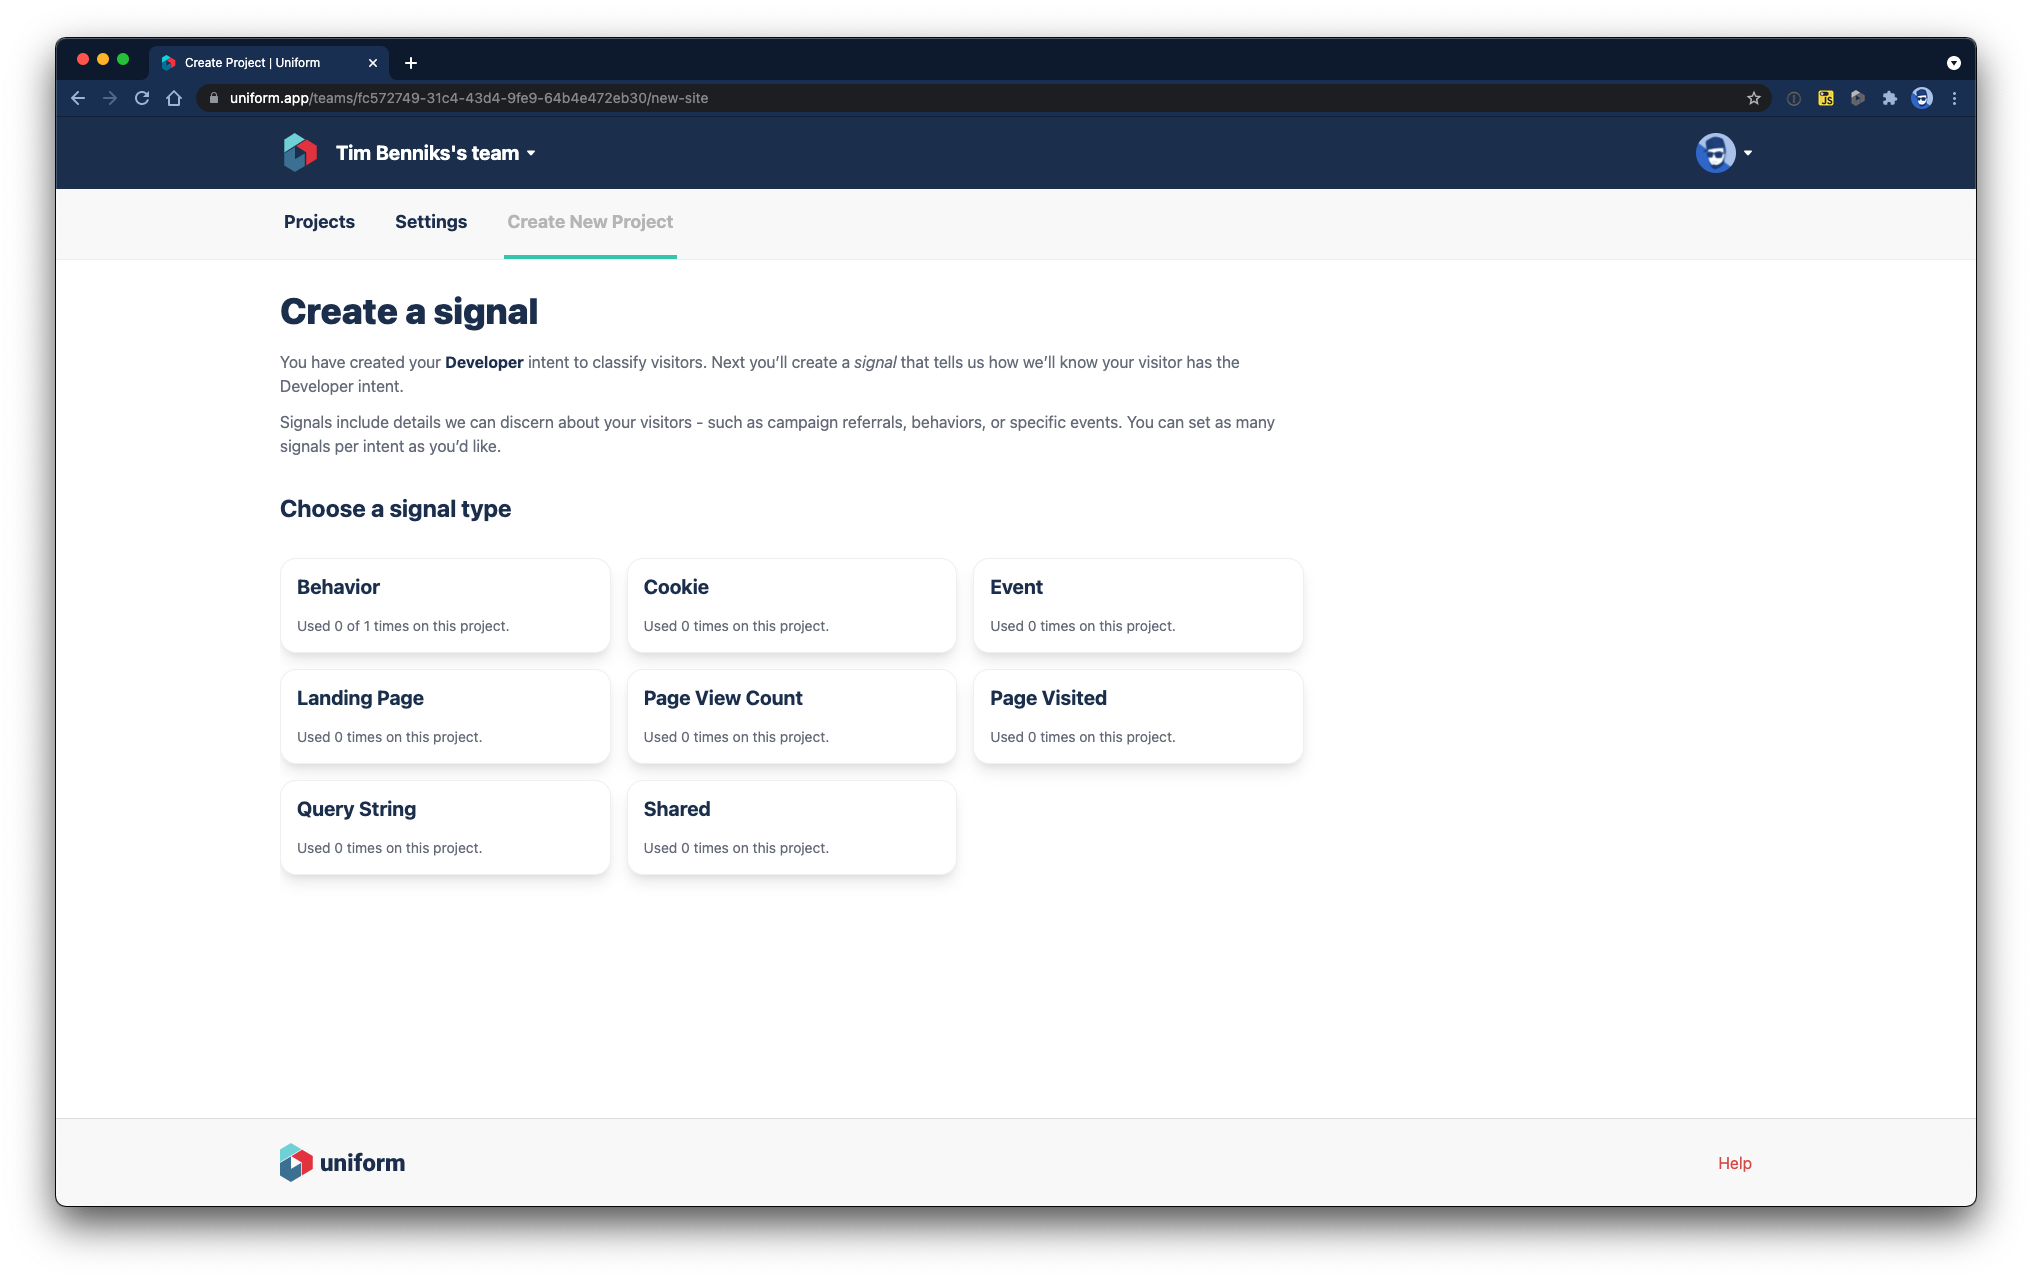
Choose a Signal that helps Uniform Optimize track the user and calculate score against the intent.
Now that the first intent and signal have been created, click on Settings to create an API key that connects Uniform Optimize to Kentico Kontent.
- Click the Create an API key link near the Publish button.
- Click the (+) button to create a new API key.
- Give the key a descriptive name, such as 'Kontent'
- Add permissions to the project that you created previously.
- Check off the Uniform Optimize > Read Drafts permission. This will let Kontent read un-published intent data that it needs.
- Click Create, and save the API key and project ID you are shown for later. If you forget the API key value, you will need to delete and re-create the key; it is only shown once.
Once the API Key is added, use the back button to return to your project, then click Publish to publish our first intent.
Kontent Plugin Installation
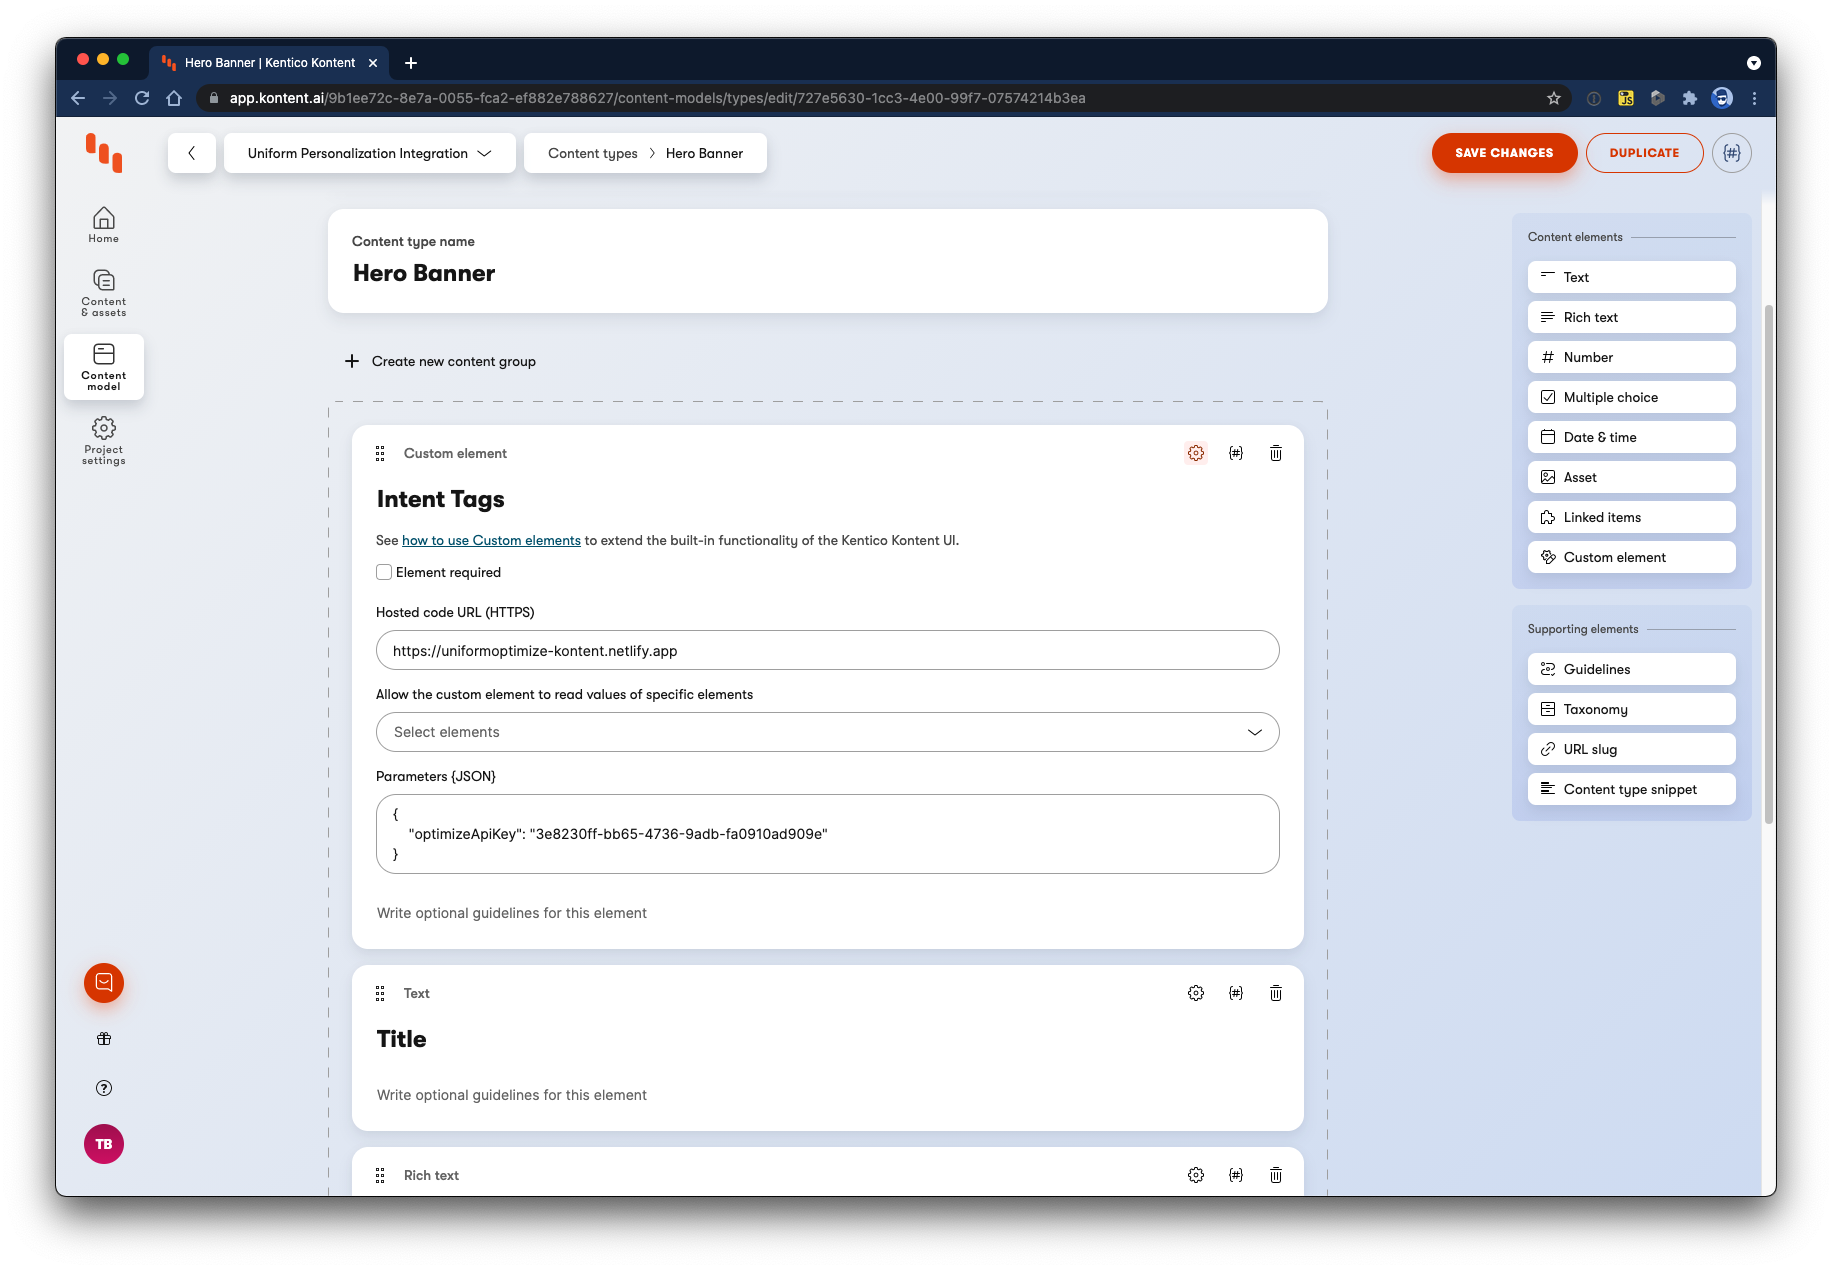
Create a component that needs an Intent Tag and add a Custom Element to the data model.
- Call the Custom Element Intent Tags
- In the URL field add https://uniformoptimize-kontent.netlify.app
- In the parameters field add the API key you just created, and your project ID (You can find this within Uniform Optimize on the project's General Settings at the bottom, or in the project's URL).
{
  optimizeApiKey: "<YOUR API KEY>",
  optimizeProjectId: "<YOUR PROJECT ID>",
}